1. Introduction and Overview
The Flashpoint R2 XPro II is a state-of-the-art 2.4GHz wireless flash trigger designed specifically for Canon cameras. It provides robust and reliable control over your Flashpoint R2 and Godox X-system flashes, enabling precise lighting adjustments for professional photography. This manual details the features, setup, operation, maintenance, and troubleshooting for your R2 XPro II trigger.

Image 1.1: The Flashpoint R2 XPro II Wireless Flash Trigger, showcasing its compact design and clear LCD display.
2. Кутуда эмне бар
Пакетти ачкандан кийин, төмөнкү нерселердин бардыгы камтылганын текшериңиз:
- Flashpoint R2 XPro II Wireless Flash Trigger for Canon
- Колдонуучунун Колдонмосу (бул документ)
- USB-C Cable (for firmware updates)
Note: AA batteries are required for operation and are not included.
3. Продукциянын өзгөчөлүктөрү
The Flashpoint R2 XPro II offers a comprehensive set of features designed to enhance your flash photography:
- Reliable 2.4GHz Radio System: Ensures consistent flash firing with minimal misfires, offering a robust connection up to 300-400 feet (90-120 meters).
- Кеңейтилген берүү диапазону: Control your flashes from significant distances, ideal for complex studio setups or outdoor shoots.
- Versatile Multi-Channel Control: Features 32 channels and 5 dedicated TTL groups (A-E) plus 16 manual groups (0-9, A-F), providing extensive control and customization for multiple flash units.
- Толук TTL колдоо: Automatically adjusts flash power for perfectly exposed images, adapting to changing light conditions with Canon cameras.
- Жогорку ылдамдыктагы синхрондоштуруу (HSS): Achieve sync speeds up to 1/8000s, allowing you to freeze fast motion or use wide apertures in bright ambient light.
- Large Dot Matrix LCD Display: Provides clear visibility of settings with adjustable backlight.
- Камтылган Bluetooth: Enables smartphone app control for convenient remote adjustments.
- Программалык камсыздоону жаңыртуу: Via USB-C port for future compatibility and feature enhancements.
- Instant Flip Locking Hot Shoe: Securely attaches the trigger to your camera.
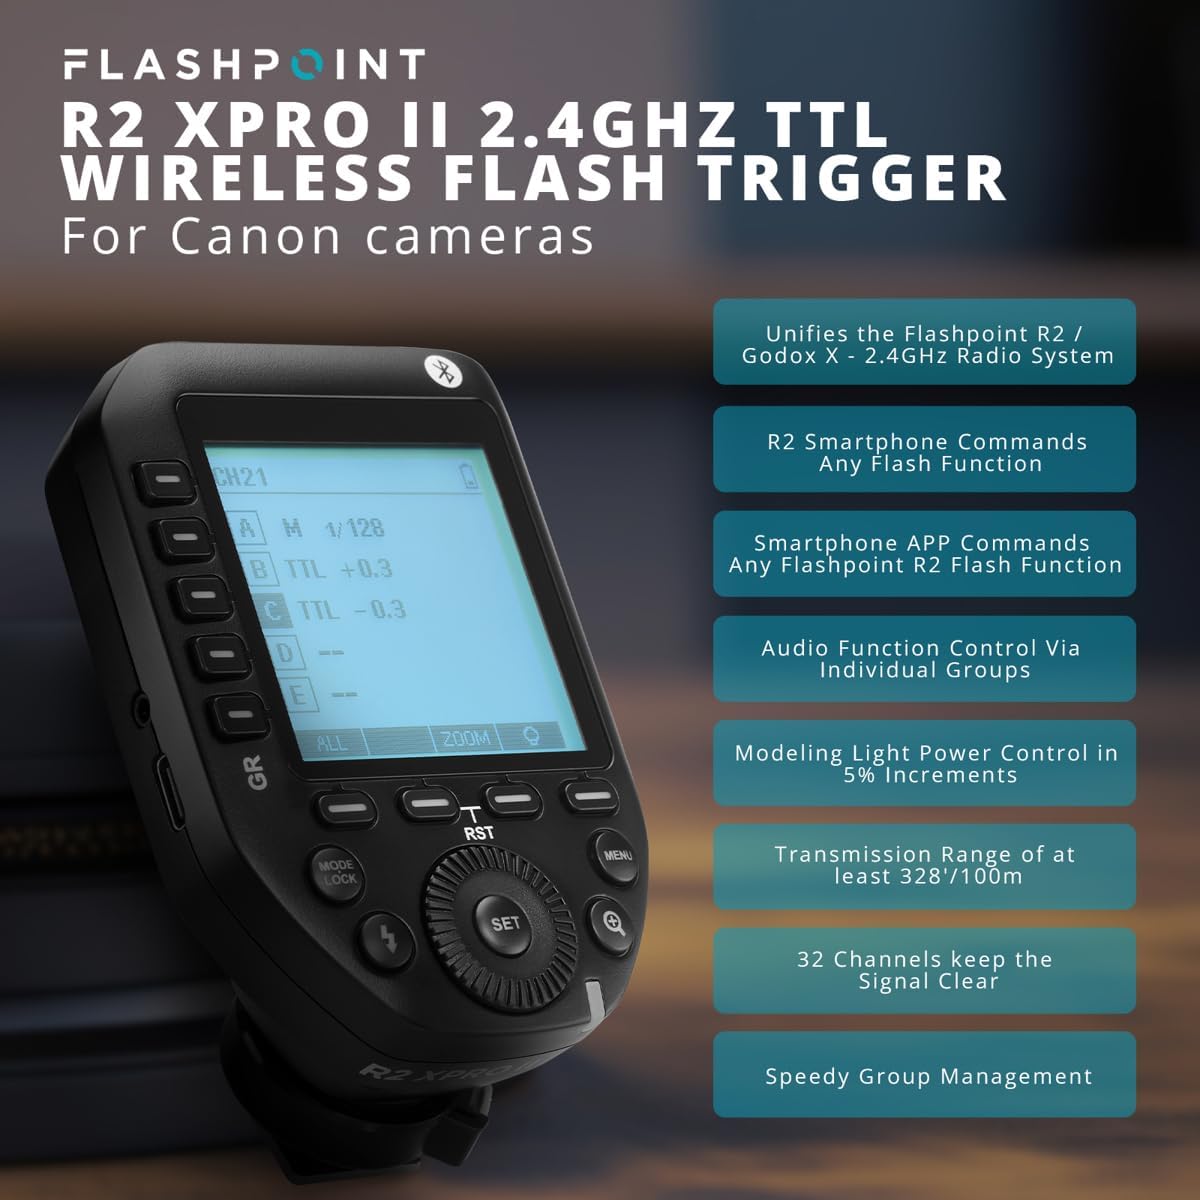
Image 3.1: Key features of the Flashpoint R2 XPro II, highlighting its capabilities.
4. Орнотуу
4.1. Батареяны орнотуу
The R2 XPro II uses two AA batteries. To install:
- Locate the battery compartment cover on the underside of the trigger.
- Капкакты жылдырыңыз.
- Бөлүмдүн ичинде көрсөтүлгөндөй туура полярдуулукту (+/-) камсыз кылып, эки АА батарейканы салыңыз.
- Батарея уясынын капкагын бекем жабыңыз.

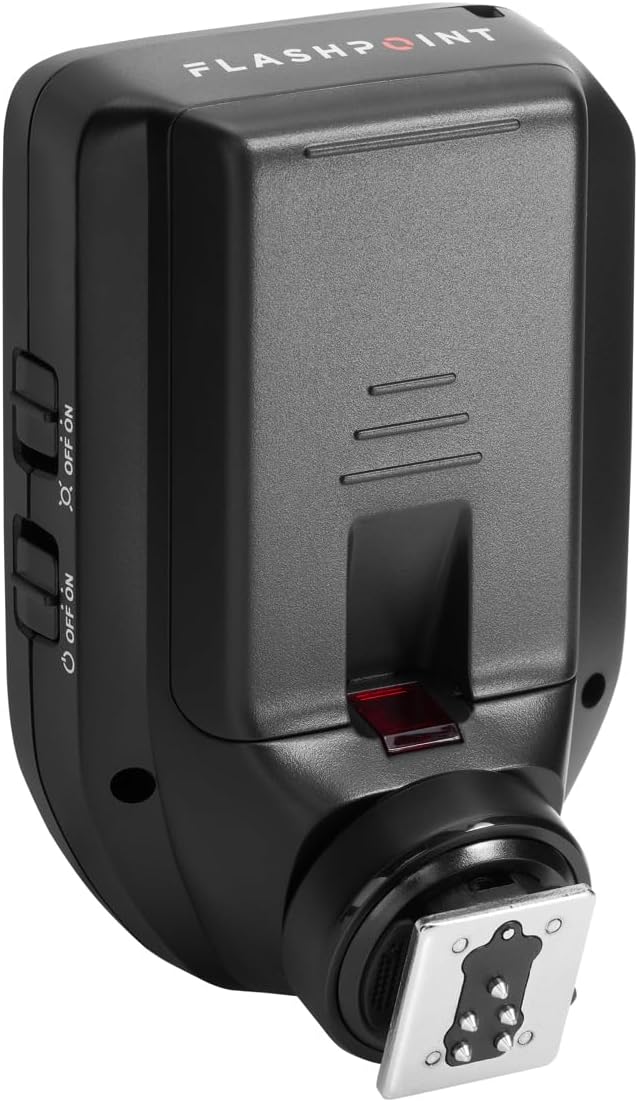
Image 4.1: Battery compartment of the R2 XPro II, ready for AA battery insertion.
4.2. Камерага орнотуу
To mount the trigger on your camera's hot shoe:
- Ensure the trigger is powered off.
- Slide the hot shoe foot of the R2 XPro II into your camera's hot shoe.
- Push the locking lever forward to secure the trigger firmly in place.
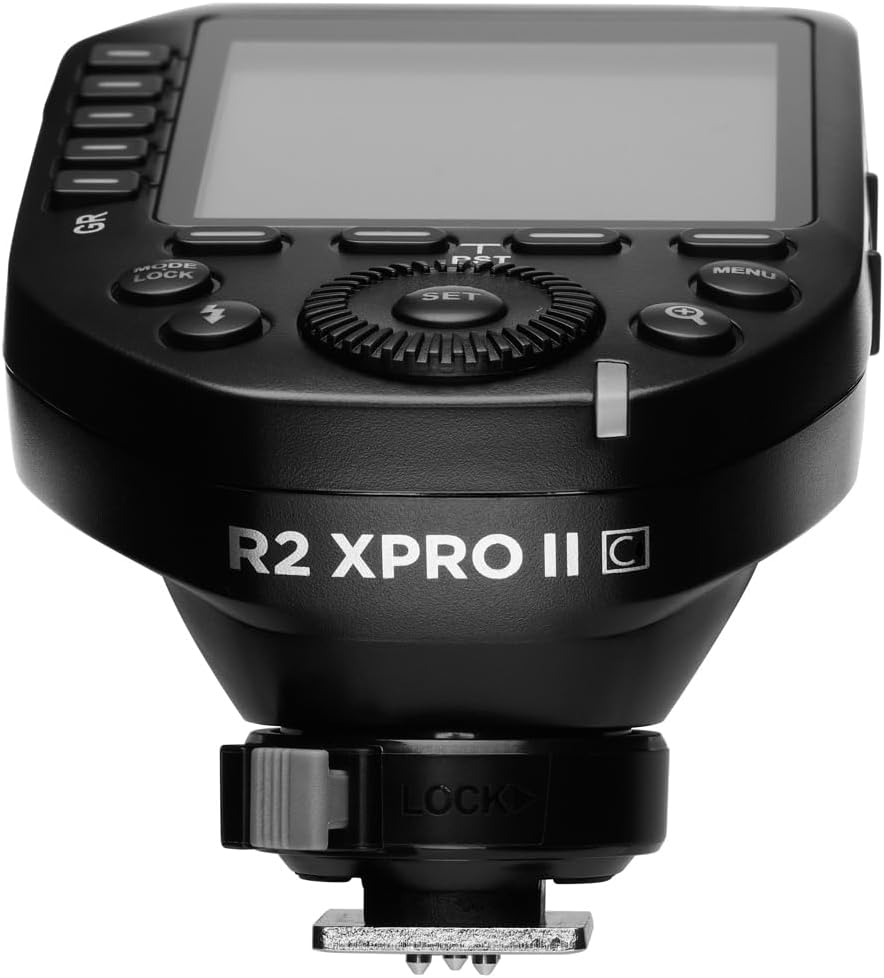
Сүрөт 4.2: Астыңкы бети view of the R2 XPro II, highlighting the hot shoe and locking lever.
4.3. Баштапкы күйгүзүү жана негизги орнотуулар
After mounting, power on the trigger using the ON/OFF switch located on the side. The LCD display will illuminate. You may need to set the channel and group to match your flash units. Refer to Section 5 for detailed operating instructions.
Сүрөт 4.3: Каптал view of the R2 XPro II, indicating the location of the power switch.
5. Иштөө нускамалары
5.1. Күйгүзүү / Өчүрүү
Use the dedicated ON/OFF switch on the side of the unit to power the trigger on or off.
5.2. Navigating the Display and Controls
The R2 XPro II features a large LCD display and intuitive buttons for easy navigation.

Сүрөт 5.1: жогорудан ылдыйга view of the R2 XPro II display and control layout.
- LCD дисплей: Shows current channel, group settings, flash mode (TTL/M/Multi), power output, and battery status.
- GR Buttons (Left Side): Used to select and adjust individual groups (A-E).
- SET баскычы: Confirms selections and enters sub-menus.
- Терүү: Rotates to change values (e.g., power output, channel number).
- MODE/LOCK Button: Cycles through flash modes (TTL, Manual, Multi) and locks/unlocks settings.
- Flash баскычы: Test fire button.
- MENU баскычы: Системанын жөндөөлөрүнө кирет.
- Magnifying Glass Button: Zoom function for detailed group view.
5.3. Setting Channels and Groups
To ensure proper communication, the trigger and your flash units must be set to the same channel and group.
- басыңыз МЕНЮ button to access system settings.
- Navigate to the Channel (CH) setting using the dial and press SET.
- Rotate the dial to select the desired channel (1-32) and press SET ырастоо үчүн.
- To adjust groups, press the corresponding GR button (A-E) on the left side.
- Use the dial to change the flash mode (TTL/M/Multi) or power output for the selected group.
5.4. TTL Mode Operation
In TTL (Through-The-Lens) mode, the trigger automatically adjusts flash power based on the camera's metering. This is ideal for fast-paced shooting where lighting conditions change frequently.
- Ensure your flash unit is also set to TTL mode.
- On the R2 XPro II, press the MODE/LOCK button until "TTL" is displayed for the desired group(s).
- The trigger will communicate with your camera to determine the appropriate flash output.
5.5. Кол режиминин иштеши
Manual mode provides precise control over flash power, allowing you to set the output from 1/1 to 1/256 in 1/3 stop increments.
- басыңыз MODE/LOCK button until "M" (Manual) is displayed for the desired group(s).
- Use the dial to adjust the power output for each group.
- The display will show the current power setting (e.g., M 1/128).
5.6. Жогорку ылдамдыктагы синхрондоштуруу (HSS)
HSS allows you to use flash at shutter speeds faster than your camera's native sync speed (e.g., 1/250s), up to 1/8000s. This is useful for overpowering ambient light or using wide apertures in bright conditions.
HSS is typically enabled automatically when your camera's shutter speed exceeds the normal sync speed while the trigger is in TTL or Manual mode. Ensure your flash unit also supports HSS.
5.7. Using the Test Fire Button
арналган баскычын басыңыз Flash button (lightning bolt icon) to test fire all active flash units. This is useful for checking flash readiness and light output before taking a picture.
5.8. Bluetooth and Smartphone App Control
The R2 XPro II features built-in Bluetooth for remote control via a smartphone application. Download the Flashpoint R2 app (or compatible Godox app) from your device's app store. Follow the app's instructions to pair your trigger and control flash settings remotely.
6. Техникалык тейлөө
6.1. Тазалоо
To clean the trigger, use a soft, dry cloth. For stubborn dirt, a slightly damp кездемени колдонсо болот, бирок түзмөккө ным кирбегенин текшериңиз. Катуу химиялык заттарды же абразивдүү тазалоочу каражаттарды колдонбоңуз.
6.2. Батареяга кам көрүү
- Remove batteries if the trigger will not be used for an extended period to prevent leakage.
- Use high-quality AA alkaline or NiMH rechargeable batteries.
- Колдонулган батарейкаларды жергиликтүү эрежелерге ылайык таштаңыз.
6.3. Сактоо
Store the R2 XPro II in a cool, dry place, away from direct sunlight, extreme temperatures, and high humidity. Keep it in its original packaging or a protective case to prevent damage.
6.4. Микропрограмманы жаңыртуу
Flashpoint periodically releases firmware updates to improve performance, add features, or ensure compatibility with new camera models. To update the firmware:
- Visit the official Flashpoint webакыркы микропрограмма жана жаңыртуу нускамалары үчүн сайт.
- Connect the R2 XPro II to your computer using the supplied USB-C cable.
- Follow the instructions provided on the Flashpoint website to complete the update process.

Сүрөт 6.1: Каптал view of the R2 XPro II, highlighting the USB-C port for firmware updates.
7. Кыйынчылыктарды
If you encounter issues with your Flashpoint R2 XPro II, refer to the following common problems and solutions:
| Көйгөй | Мүмкүн себеп | Чечим |
|---|---|---|
| Триггер күйбөйт. | Өлүк же туура эмес орнотулган батарейкалар. | Check battery polarity, replace with fresh AA batteries. |
| Жарк этпейт. | Incorrect channel/group settings; trigger not securely mounted; flash unit issues. | Ensure trigger and flashes are on the same channel and group. Check trigger is fully seated on camera hot shoe. Verify flash units are powered on and ready. |
| Inconsistent firing or limited range. | Interference; low battery; obstructions. | Change channel. Replace batteries. Reduce distance or clear line of sight between trigger and flashes. |
| TTL exposure issues. | Flash exposure compensation set incorrectly; firmware outdated. | Check flash exposure compensation settings on both camera and trigger. Update firmware. |
| Display not working or frozen. | Программанын катасы; аз батарея. | Remove and reinsert batteries. Replace batteries. If issue persists, contact support. |
8. Техникалык шарттар
| Атрибут | Нарк |
|---|---|
| Продукциянын өлчөмдөрү | 5.25 x 4 x 2.8 дюйм |
| Элемент Салмагы | 9.3 унция |
| ASIN | B0BZ7PQ2PB |
| Элемент моделинин номери | R2 XPro II |
| Дата биринчи жеткиликтүү | 21-март, 2023-жыл |
| Өндүрүүчү | Flashpoint |
| Зымсыз жыштык | 2.4 ГГц |
| Каналдар | 32 |
| Топтор | 5 TTL Groups (A-E), 16 Manual Groups (0-9, A-F) |
| Шайкештирүү ылдамдыгы | 1/8000сек чейин (Жогорку ылдамдыктагы синхрондоштуруу) |
| Power Source | 2 x AA батарейкалар (киргизилген эмес) |
9. Кепилдик жана колдоо
For information regarding warranty coverage and technical support for your Flashpoint R2 XPro II, please refer to the official Flashpoint webсайтка же түздөн-түз кардарларды тейлөөгө кайрылыңыз. Сатып алуу квитанциясын кепилдик дооматтары үчүн сатып алуунун далили катары сактаңыз.
Flashpoint Official Webсайт: www.adorama.com/g/flashpoint


