1. Киришүү
This manual provides essential information for the safe and effective operation of your VOLANTEXRC P-47 Thunderbolt RC Plane (Model 761-16 RTF). This 4-channel WWII warbird model is designed for beginners and experienced pilots alike, featuring the Xpilot gyro stabilization system and one-key aerobatic functions. Please read this manual thoroughly before operating the aircraft.
2. Пакеттин мазмуну
Төмөндө тизмеленген нерселердин баары пакетиңизде бар экенин текшериңиз:
- P-47 Thunderbolt RC Plane (Fully Assembled)
- 2.4Ghz Transmitter (Remote Control)
- Lithium Polymer Batteries (2 included)
- USB заряддоо кабели
- Запастык пропеллер
- Конуучу шаймандардын топтому
- Колдонуучунун колдонмосу (бул документ)

Image: The VOLANTEXRC P-47 Thunderbolt RC Plane shown with its remote control, two batteries, spare propellers, USB charging cable, and landing gear.
3. Setup and Pre-Flight Preparation
3.1. Батареяны кубаттоо
- Connect the provided Lithium Polymer battery to the USB charging cable.
- USB кубаттоочу кабелди ылайыктуу USB кубат булагына сайыңыз (мисалы, компьютердин USB порту, USB дубал адаптери).
- The indicator light on the USB charger will show the charging status. Refer to the charger's specific instructions for light indications (typically red for charging, green for fully charged).
- Ensure batteries are fully charged before each flight for optimal performance and flight time.
3.2. Өткөргүчтүн батареясын орнотуу
The transmitter requires 4 AA batteries (not included). Open the battery compartment on the back of the transmitter and insert the batteries, observing correct polarity.
3.3. Landing Gear Installation (Optional)
The aircraft comes with a landing gear set. For ground take-offs and landings, attach the landing gear as shown in the diagram. For hand-launching, especially for beginners or in grassy areas, the landing gear can be omitted to prevent damage during rough landings.
3.4. Пропеллерди текшерүү
The plane is pre-assembled. Ensure the propeller is securely attached. The propeller features a saver mechanism, allowing it to detach upon impact to prevent damage. Reattach if it comes off.

Сүрөт: Жакын план view of the propeller and its saver mechanism, designed to protect the propeller and motor during impacts.
4. Иштөө нускамалары
4.1. Күйгүзүү ырааттуулугу
- Адегенде өткөргүчтү күйгүзүңүз.
- Connect the flight battery to the aircraft. Place the aircraft on a level surface.
- Wait for the aircraft to bind with the transmitter. A series of beeps or flashing lights will indicate successful binding.
4.2. Flight Control Modes (Xpilot Stabilization System)
The Xpilot gyro stabilization system offers three flight control levels:
- Beginner Mode (Full Assist): Provides maximum stabilization and restricted control angles, making it easier for new pilots to learn.
- Intermediate Mode (Partial Assist): Offers increased control angles with some stabilization, suitable for pilots gaining confidence.
- Expert Mode (Manual Control): Disables stabilization for full manual control, ideal for experienced pilots performing advanced maneuvers.
Switch between modes using the designated button on the transmitter. Refer to the transmitter diagram for button location.
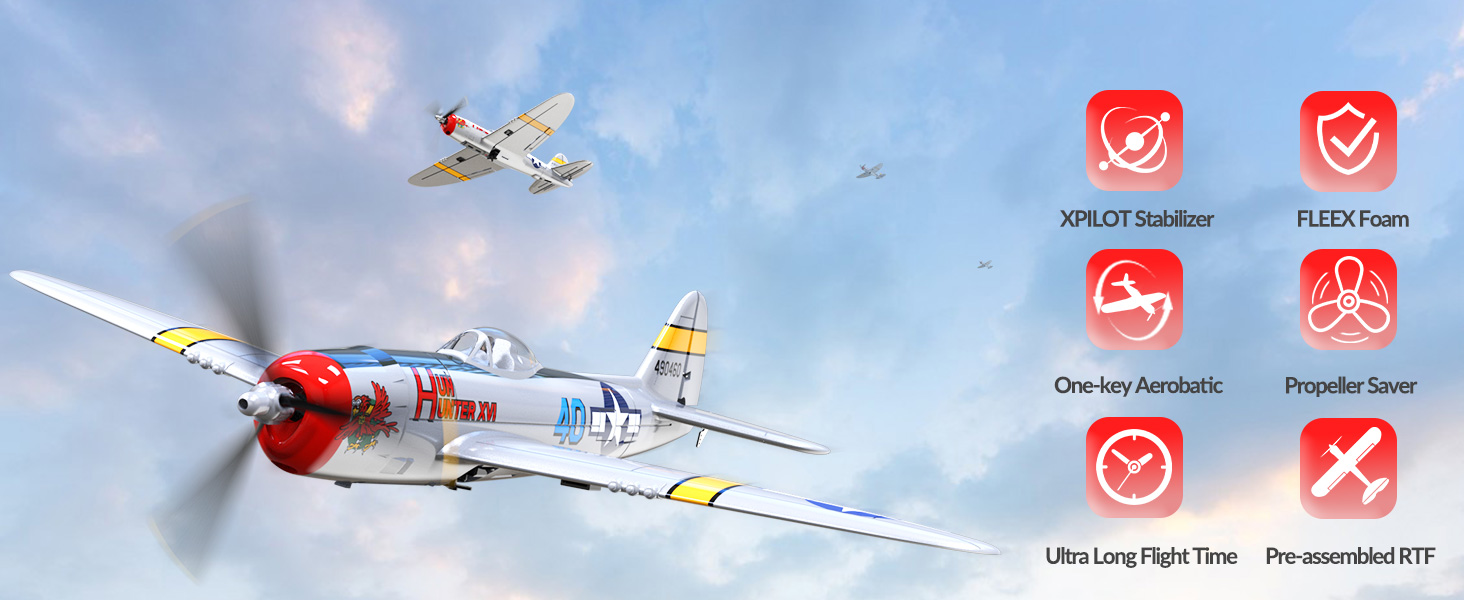
Image: Visual representation of the three flight modes: Full Assist (restricted angle), Soft Assist (increased angle), and No Assist (manual control).
4.3. Take-Off
For beginners, hand-launching is recommended:
- Hold the middle of the plane firmly.
- Ensure you are in Beginner or Intermediate flight mode.
- Advance the throttle to approximately 2/3 power.
- Gently throw the plane forward horizontally into the wind.
For ground take-offs with landing gear, gradually increase throttle and steer using the rudder (if applicable) until the plane gains sufficient speed for lift-off.

Image: Step-by-step guide on how to hand-launch the RC plane, showing proper grip and launch direction.
4.4. Учууну башкаруунун негизги каражаттары
Your 4-channel transmitter controls the following:
- Муунткуч: Controls motor speed and altitude (left stick, vertical).
- Айлрондор: Controls roll (right stick, horizontal).
- Лифт: Controls pitch (right stick, vertical).
- Руль: Controls yaw (left stick, horizontal).
4.5. One-Key Aerobatics
To perform aerobatic maneuvers, press the dedicated one-key aerobatics button on the transmitter and then pull the right joystick in the desired direction (e.g., up for a loop, left/right for a roll). The Xpilot system will automatically execute the maneuver.

Image: Illustration of the one-key aerobatics feature, showing the button on the transmitter and the resulting flight path.
4.6. Low Battery / Out of Control Alarm
The transmitter will emit an audible alarm when the aircraft's battery is low or if the aircraft flies beyond the 656 ft (200m) control range. Upon hearing this alarm, immediately guide the aircraft back and prepare for landing.

Image: Depiction of the low battery and out-of-range alarm, showing the plane flying at a distance and the transmitter indicating a low battery warning.
5. Техникалык тейлөө
5.1. Жалпы кам көрүү
- Keep the aircraft clean and free from dirt, dust, and moisture.
- Inspect the airframe for any damage after each flight. The durable foam construction is designed to withstand minor impacts.
- Ensure all control surfaces (ailerons, elevator, rudder) move freely and are not obstructed.
5.2. Propeller Maintenance
Regularly check the propeller for cracks or damage. Replace damaged propellers immediately using the provided spares. Note that the 2-blade propeller is generally more durable than the 3-blade propeller during impacts.
5.3. Батареяны сактоо
Store Lithium Polymer batteries in a cool, dry place, away from direct sunlight and flammable materials. Do not store fully charged or fully discharged for extended periods. Refer to battery safety guidelines for proper storage voltage.
6. Кыйынчылыктарды
| Көйгөй | Мүмкүн себеп | Чечим |
|---|---|---|
| Учак башкаруу элементтерине жооп бербейт. | Unbound transmitter/receiver, low transmitter battery, aircraft battery disconnected. | Ensure proper power-on sequence. Check transmitter batteries. Reconnect aircraft battery. |
| Aircraft flies erratically or drifts. | Incorrect flight mode, trim settings, damaged control surface. | Switch to Beginner mode. Adjust trim on transmitter. Inspect control surfaces for damage. |
| Propeller not spinning or grinding noise. | Propeller detached, motor obstruction, damaged motor/gearbox. | Reattach propeller. Clear any obstructions. Contact support if motor/gearbox is damaged. |
| Кыска учуу убактысы. | Батарея толук заряддалган эмес, эски батарея, агрессивдүү учуп жатат. | Ensure battery is fully charged. Consider replacing old batteries. Fly less aggressively. |
| Aircraft loses signal at short range. | Interference, damaged antenna, low transmitter battery. | Fly in open areas away from interference. Check transmitter batteries. |
7. Техникалык шарттар
| Өзгөчөлүк | Деталь |
|---|---|
| Модель номери | EXA76116RRB2 (761-16 RTF) |
| Продукциянын өлчөмдөрү | 20 x 13.38 x 4 дюйм |
| Элемент Салмагы | 1.76 унция |
| Башкаруу каналдары | 4 Channels (Aileron, Elevator, Rudder, Throttle) |
| Турукташтыруу системасы | Xpilot Gyro Stabilizer |
| Алыстан башкаруу жыштыгы | 2.4 ГГц |
| Control Distance | 656 фут (200 м) чейин |
| Учуу убактысы | 15 мүнөткө чейин (ар бир батарейка үчүн) |
| Батареялар талап кылынат | 2 Lithium Polymer (included for plane), 4 AA (not included for transmitter) |
| Сунушталган Жаш | 14 жаш жана андан жогору |
| Өндүрүүчү | EXHOBBY |

Image: Diagram showing the length (15.75 inches) and wingspan (12.13 inches) of the P-47 Thunderbolt RC plane.
8. Кепилдик жана колдоо
For warranty information, technical support, or replacement parts, please contact the manufacturer, EXHOBBY, directly. Refer to the product packaging or the official VOLANTEXRC webучурдагы байланыш маалыматтары үчүн сайт.
Always ensure you are using genuine VOLANTEXRC parts for optimal performance and safety.


