1. Киришүү
Thank you for choosing the KENT Diamond Induction Cooktop 2000W. This appliance is designed for efficient, fast, and safe cooking, offering a modern alternative to traditional gas and electric cookers. This manual provides essential information for the safe and effective use, maintenance, and troubleshooting of your new induction cooktop. Please read it thoroughly before operation and retain it for future reference.
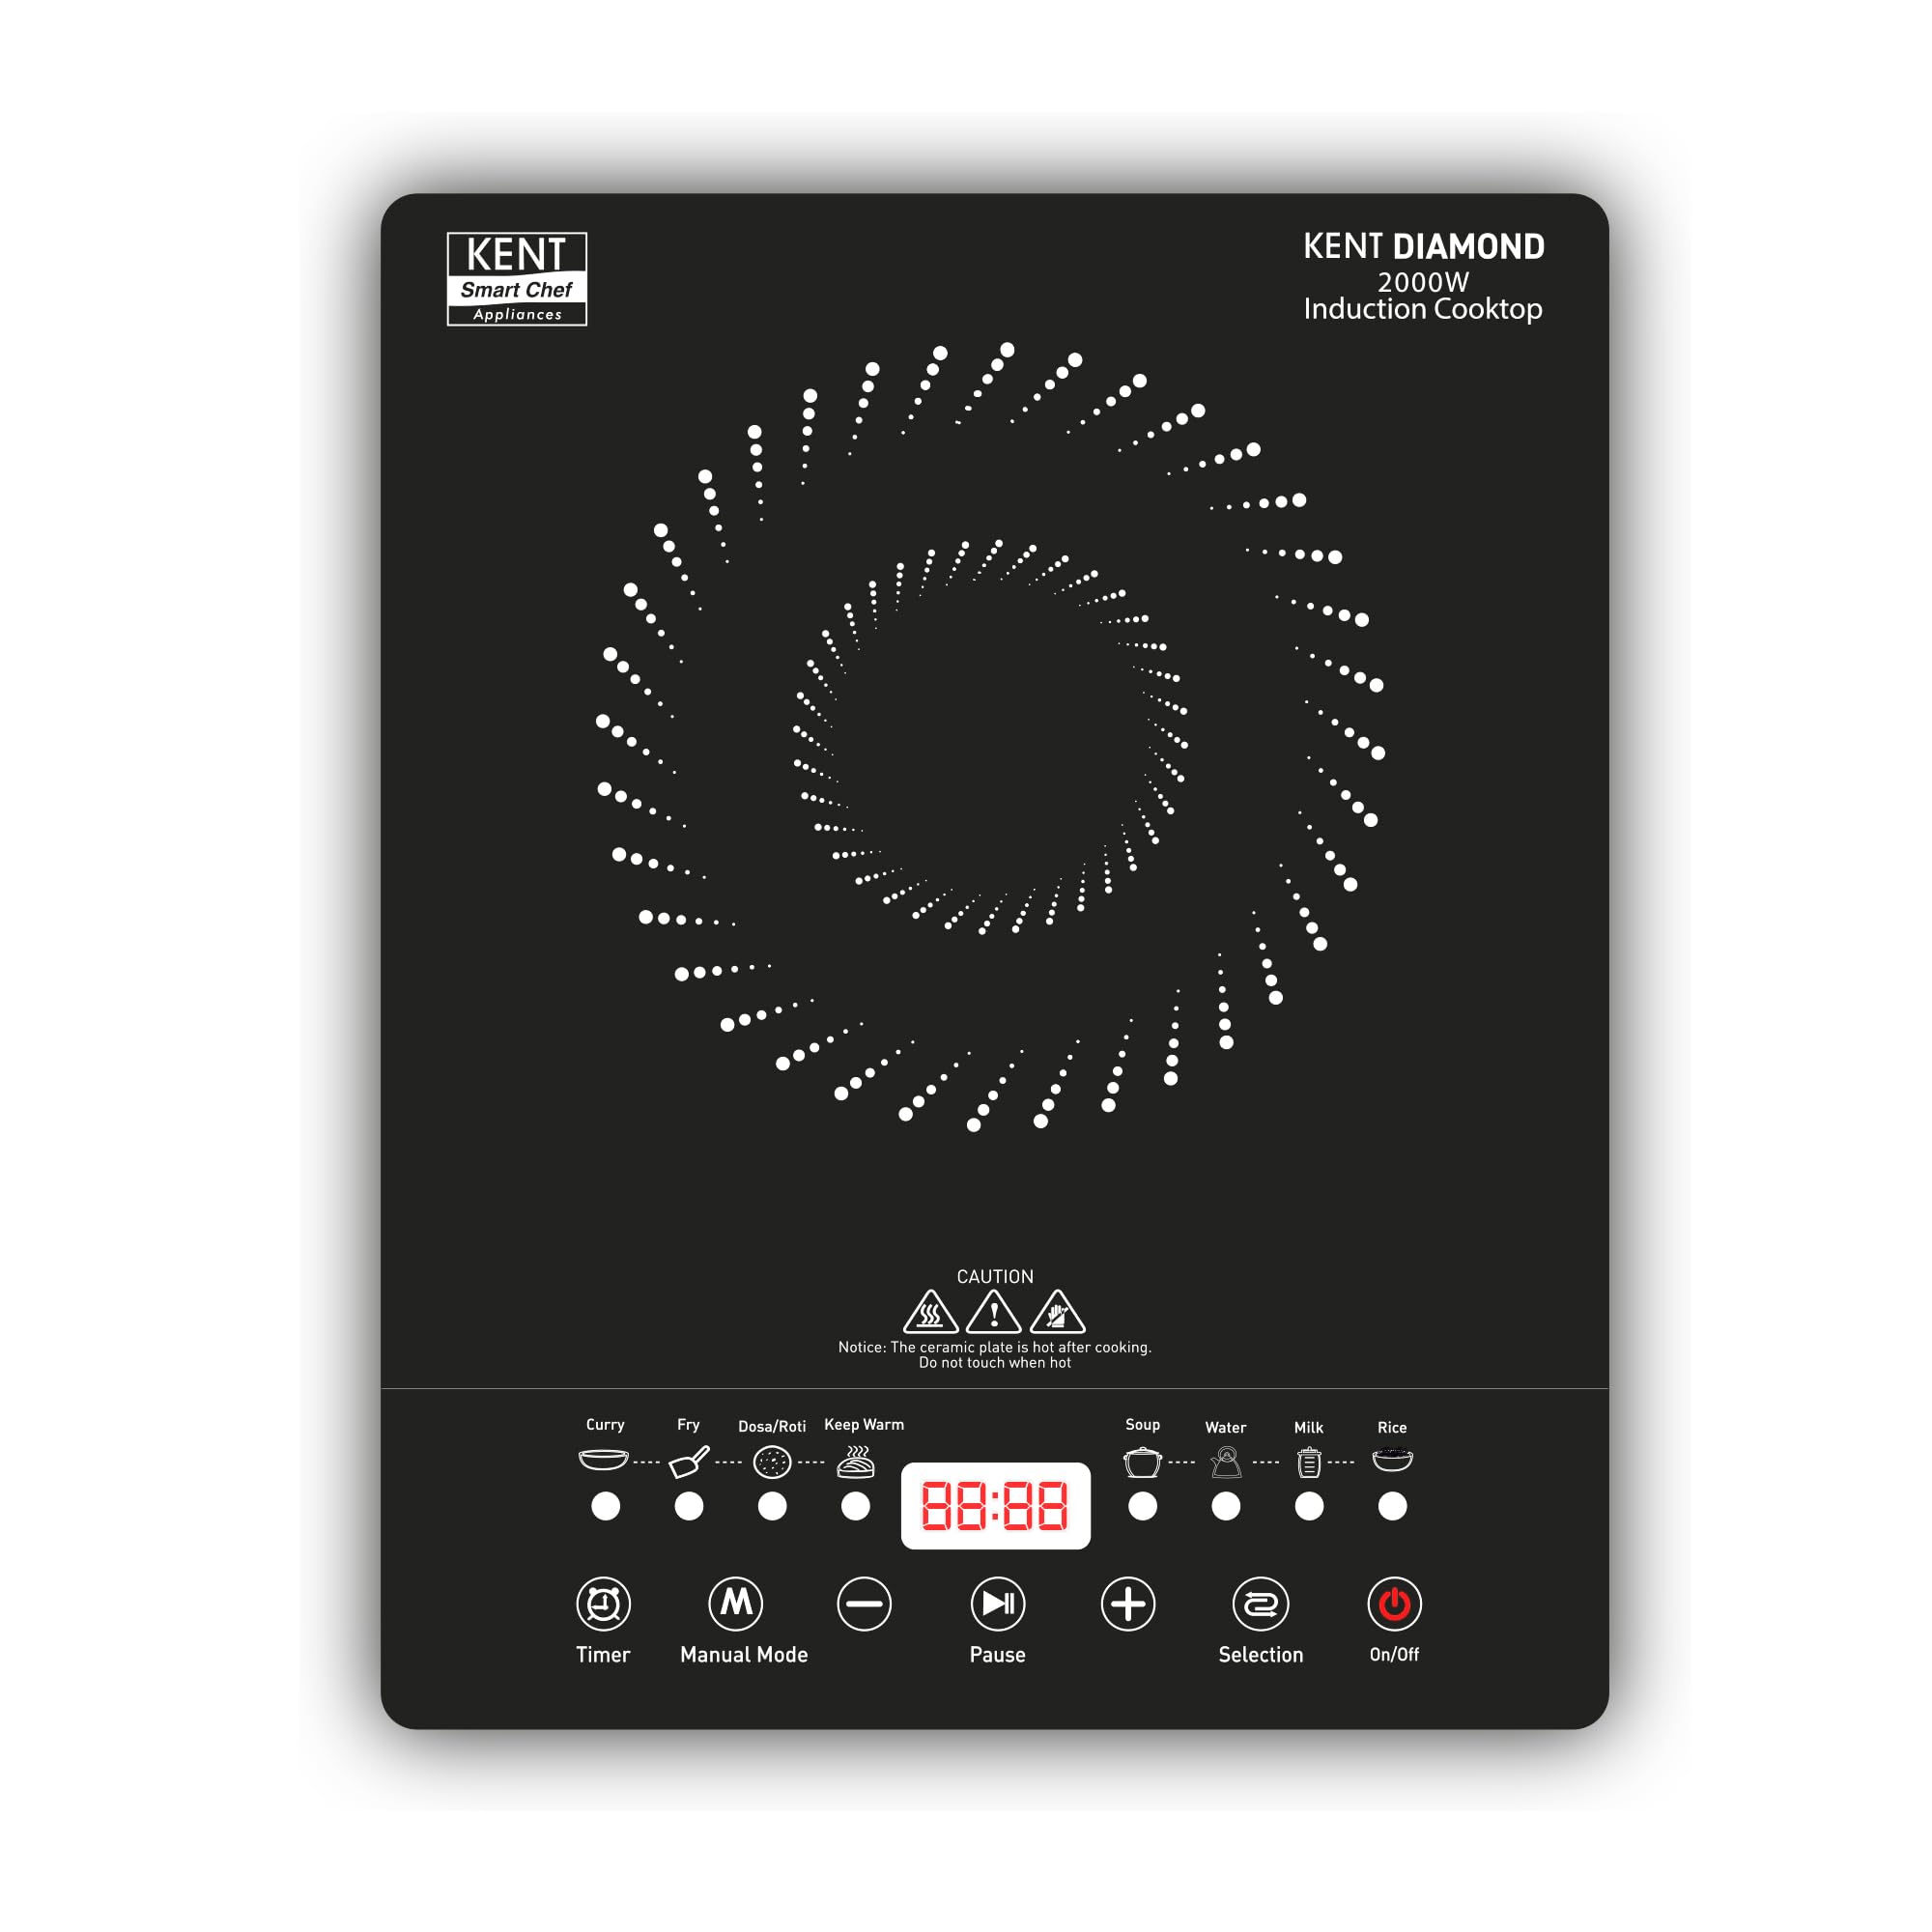
Image 1.1: The KENT Diamond Induction Cooktop 2000W. This image displays the sleek black cooktop with its control panel and induction heating zone.
2. Коопсуздук нускамалары
Коопсуз эксплуатацияны камсыз кылуу жана зыян келтирбөө үчүн төмөнкү коопсуздук чараларын сактаңыз:
- Шайманды, электр шнурун же сууга же башка суюктуктарды розеткага салбаңыз.
- VoltagТуташтырардан мурун шайманда көрсөтүлгөн е сиздин жергиликтүү кубат булагыңызга дал келет.
- Place the cooktop on a stable, flat, heat-resistant surface, away from flammable materials.
- Электр шнурунун же сайгычы бузулуп калса, же шайман иштебей калса же кандайдыр бир зыянга учураса, шайманды иштетпеңиз.
- Use only induction-compatible cookware. Non-magnetic cookware will not heat.
- Иштеп жаткан учурда балдарды жана үй жаныбарларын шаймандан алыс кармаңыз.
- The ceramic plate remains hot after cooking. Do not touch when hot.
- Do not block the air vents on the cooktop, as this can lead to overheating.
- Колдонбогондо жана тазалоодон мурун шайманды розеткадан ажыратыңыз.
- Do not place metallic objects such as knives, forks, spoons, or lids on the induction cooktop surface, as they can become hot.
3. Продукт бүтүп калдыview
The KENT Diamond Induction Cooktop features a durable microcrystalline glass top and intuitive feather touch buttons with an LED display for ease of use.
Негизги өзгөчөлүктөрү:
- 2000W кубаттуулугу: Тез жана натыйжалуу жылытууну камсыз кылат.
- 8 Алдын ала коюлган менюлар: Includes Curry, Fry, Roti, Keep Warm, Soup, Water, Milk Boiling, and Rice for convenient cooking.
- Алдын ала коюлган таймер функциясы: Allows you to set cooking duration.
- Milk Boiling Function: Designed to prevent milk spillage during boiling.
- Жылытуу функциясы: Maintains food temperature for extended periods.
- Жөнгө температурасы: Offers precise control over cooking heat.
- Digital LED дисплей: Жөндөөлөрдүн жана абалдын так көрүнүшүн камсыз кылат.
- Жүндүү тийүү баскычтары: For smooth and easy operation.
- Microcrystalline Glass Top: Ensures safer cooking and easy cleaning.
- Overheat Protection & Auto Turn-Off: Ашыкча ысып кетүүнүн алдын алуу менен коопсуздукту жогорулатат.

Image 3.1: Close-up of the control panel. This image highlights the feather touch buttons and LED display for various functions like Timer, Manual Mode, Pause, Selection, and On/Off, along with indicators for preset menus.
4. Орнотуу
- Пакеттен чыгаруу: Этияттык менен анын таңгагынан плитаны алып салыңыз. Таңгакты келечекте сактоо же ташуу үчүн сактаңыз.
- Жайгашкан жери: Place the induction cooktop on a dry, stable, and level surface. Ensure there is adequate ventilation around the unit (at least 10 cm clearance from walls or other appliances).
- Кубат туташуу: Кубат шнурун жерге туташтырылган электр розеткасына туура вольт менен сайыңызtage (220 вольт).
- Алгачкы тазалоо: Айнек бетин жумшак, г менен сүртүңүзamp биринчи колдонуудан мурун кездеме.
5. Иштөө нускамалары
5.1. Негизги операция
- Place induction-compatible cookware centrally on the heating zone.
- басыңыз On/Off button to power on the cooktop. The LED display will illuminate.
- Select a cooking function using the Тандоо button or choose a preset menu.
- Adjust temperature or power level using the + жана - баскычтар.
- Өчүрүү үчүн, басыңыз On/Off button again. The fan may continue to run for a short period to cool the unit.
5.2. Using Preset Menus
The cooktop features 8 preset menus for common cooking tasks:
- Карри
- Fry
- Roti (Dosa/Roti)
- Жылытуу
- Шорпо
- Суу
- Milk Boiling
- Күрүч
To use a preset menu, press the Тандоо button repeatedly until the desired menu indicator lights up. The cooktop will automatically adjust power and temperature settings for that specific task.

Image 5.1: The cooktop displaying the 8 preset menu options. This image shows the cooktop with various dishes, illustrating the versatility of its preset functions for different cooking needs.
5.3. Температураны жана кубаттуулукту жөндөө
In Manual Mode, you can precisely control the temperature or power level using the + жана - buttons to suit your cooking requirements.
5.4. Таймер функциясы
басыңыз Таймер button to set a cooking duration. Use the + жана - buttons to adjust the time. The cooktop will automatically switch off once the set time has elapsed.
5.5. Milk Boiling Function
This specialized function is designed to boil milk without spillage. Select the Milk Boiling preset, and the cooktop will manage the heating process to prevent overflow.

Image 5.2: The cooktop demonstrating the auto-off function during milk boiling. This image shows milk boiling in a pot on the cooktop, highlighting the safety feature that prevents spillage.
5.6. Жылуу кармоо функциясы
жандырыңыз Жылытуу preset to maintain your food at an optimal serving temperature after cooking. This function is ideal for keeping dishes warm until ready to serve.
6. Техникалык тейлөө жана тазалоо
Индукциялык плитаңыздын узак мөөнөттүү иштешин жана оптималдуу иштешин үзгүлтүксүз тазалоо камсыздайт.
- Тазалоодон мурун ар дайым плитаны электр розеткасынан сууруп, толугу менен муздаганга чейин күтүңүз.
- Wipe the microcrystalline glass surface with a soft, damp кездеме жана жумшак жуугуч. Кежир тактар үчүн, атайын керамикалык же индукциялык плиталар үчүн иштелип чыккан абразивдүү тазалагычты колдонуңуз.
- Абразивдүү жаздыкчаларды, катуу химиялык заттарды же болоттон жасалган жүндү колдонбоңуз, анткени алар бетти чийип коюшу мүмкүн.
- Clean the exterior body with a soft, damp кездеме. Суунун ички компоненттерге киришине жол бербеңиз.
- Ensure the ventilation openings are free from dust and debris. Use a soft brush or vacuum cleaner to gently clear them.

Image 6.1: The cooktop showcasing its full microcrystalline glass top. This image emphasizes the smooth, durable, and easy-to-clean surface of the induction cooktop.
7. Кыйынчылыктарды
If you encounter issues with your KENT Diamond Induction Cooktop, refer to the following common problems and solutions:
| Көйгөй | Мүмкүн себеп | Чечим |
|---|---|---|
| Ашкана күйбөйт. | Электр энергиясы жок; Электр зымы туура эмес сайылган. | Розетканы текшерип, шнурдун бекем сайылганын текшериңиз. |
| Идиш ысытылбайт. | Cookware is not induction-compatible; Cookware is too small or too large for the heating zone. | Use induction-compatible cookware (magnetic base). Ensure cookware size is appropriate for the heating zone. |
| Дисплейде ката коду көрсөтүлөт (мисалы, E0, E1). | Specific error condition (e.g., overheating, sensor fault). | Refer to the specific error code in a more detailed manual (if available) or contact customer support. Try unplugging and re-plugging the unit after a few minutes. |
| Желдеткич өчүрүлгөндөн кийин иштей берет. | Кадимки муздатуу процесси. | This is normal. The fan will stop automatically once the internal components have cooled down. |
If the problem persists after attempting these solutions, please contact KENT customer support.
8. Техникалык шарттар
Detailed technical specifications for the KENT Diamond Induction Cooktop 2000W:
| Спецификация | Нарк |
|---|---|
| Бренд | шаары |
| Модел | 116130 |
| Орнотуу түрү | Стол |
| Ватtage | 2000 Вт |
| Тtage | 220 вольт |
| Жылытуу элементтеринин саны | 1 |
| Күйүүчү түрү | Радиант |
| Control Console | Push Button |
| Материал | Plastic (with Microcrystalline Glass Top) |
| Түс | Кара |
| Элемент Салмагы | 2 кг |
| Элементтин өлчөмдөрү (LxWxH) | 28 x 35 x 6 сантиметр |
9. Кутуда эмне бар
продукт пакети, адатта, камтыйт:
- KENT Diamond Induction Cooktop Unit
- User Manual
Note: The JSON input mentioned "Includes 1 leaf" which is likely a data error. The standard contents for such an appliance are listed above.
10. Кепилдик жана колдоо
Your KENT Diamond Induction Cooktop is covered by a manufacturer's warranty. Please refer to the warranty card included with your product for specific terms and conditions, including the warranty period and coverage details.
For technical assistance, service requests, or any queries regarding your product, please contact KENT customer support through their official webсайтты же кепилдик документтериңизде көрсөтүлгөн байланыш маалыматын.


