1. Киришүү
This manual provides detailed instructions for the installation, configuration, and operation of your MAXSUN B760M WIFI DDR4 Motherboard. Designed for Intel LGA 1700 processors (12th and 13th Generation), this motherboard offers robust performance and connectivity for your computing needs. Please read this manual thoroughly before proceeding with installation to ensure proper setup and avoid potential issues.
2. Коопсуздук маалыматы
Компьютердин компоненттери менен иштөөдө ар дайым төмөнкү коопсуздук чараларын сактаңыз:
- Кайсы бир компоненттерге тийүүдөн мурун, кубат шнурун розеткадан сууруп алыңыз.
- Статикалык электр энергиясын чыгаруу үчүн антистатикалык билек боону тагыңыз же жерге туташтырылган металл нерсеге тез-тез тийип туруңуз.
- Handle components by their edges to avoid touching sensitive circuits.
- Компоненттерди нымдуулуктан жана өтө жогорку температурадан алыс кармаңыз.
- Ашыкча ысып кетүүдөн сактануу үчүн компьютериңиздин ичинде туура желдетүүнү камсыз кылыңыз.
3. Пакеттин мазмуну
Бардык элементтер сиздин энелик плата пакетиңизде бар экенин текшериңиз:
- MAXSUN B760M WIFI DDR4 Motherboard
- Колдонуучунун колдонмосу (бул же ушул сыяктуу документ)
- I / O Shield
- SATA маалымат кабелдери
- Wi-Fi антеннасы
- Драйвер CD/USB (же нускамаларды жүктөө)
- M.2 Screws/Standoffs
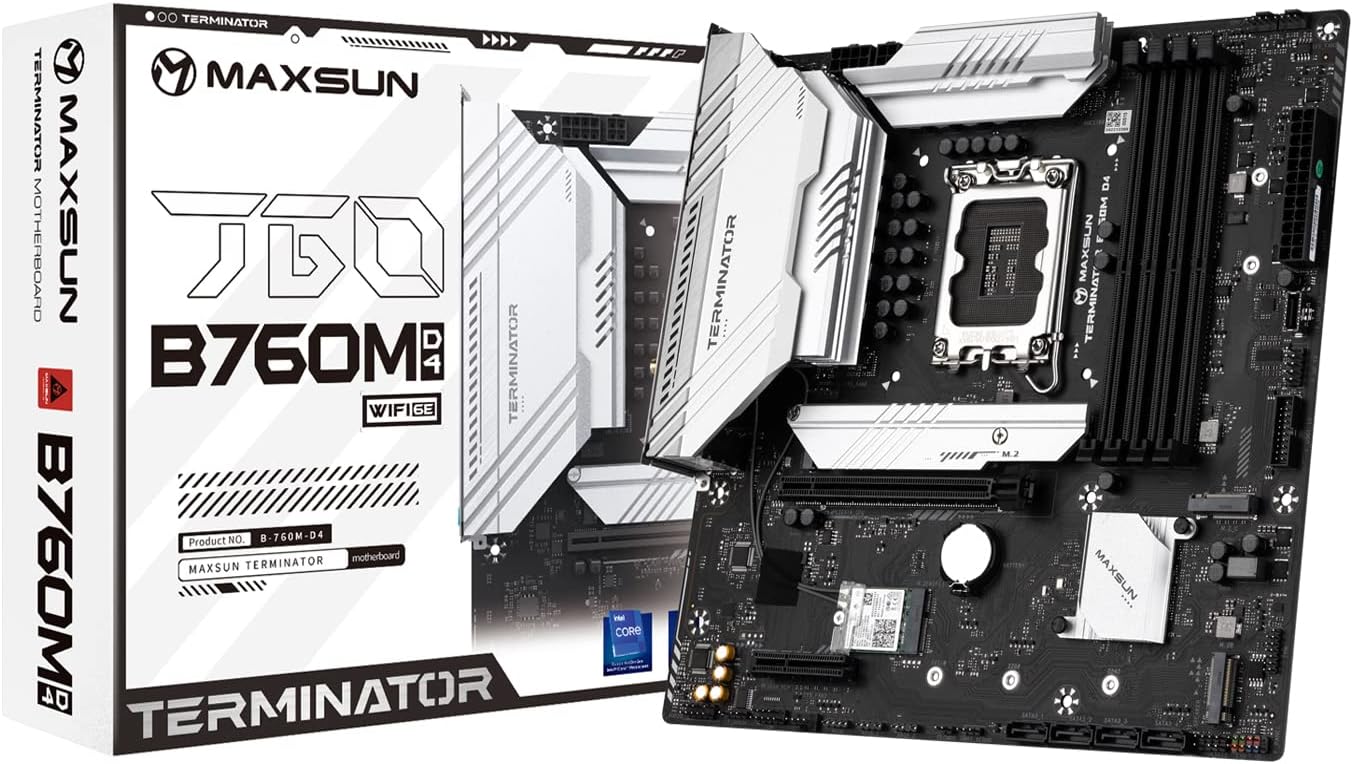
Figure 3.1: MAXSUN B760M WIFI DDR4 Motherboard and its retail packaging.
4. Motherboard Layout
Familiarize yourself with the various components and connectors on your motherboard.

4.1-сүрөт: жогорудан ылдыйга view of the MAXSUN B760M WIFI DDR4 Motherboard, highlighting the CPU socket, DIMM slots, PCIe slots, and M.2 slots.
4.1 Арткы I/O панели
The rear I/O panel provides external connectivity for peripherals.

4.2-сүрөт: Детальдуу view of the rear I/O panel, showing USB 2.0 ports, Clear CMOS button, DisplayPort, HDMI port, 2.5G LAN port, USB 3.2 ports, Wi-Fi antenna connectors, and audio jacks.
4.2 M.2 Slots
The motherboard features multiple M.2 slots for high-speed NVMe SSDs.

4.3-сүрөт: Бурчтуу view of the motherboard, illustrating the placement of the M.2 slots and the chipset heatsink.
5. Орнотуу жана орнотуу
Follow these steps to install your components onto the motherboard.
5.1 CPU орнотуу
- LGA 1700 розеткасын энелик платадан табыңыз.
- CPU розеткасынын рычагын ачып, жүктөө пластинасын көтөрүңүз.
- Carefully align the notches on your Intel 12th or 13th Gen CPU with the socket. Do not force the CPU into place.
- Жүктөө пластинасын түшүрүп, аны рычаг менен бекитиңиз.
- CPU муздаткычын өндүрүүчүнүн көрсөтмөлөрүнө ылайык орнотуңуз.
5.2 Эстутум (RAM) орнотуу
- Locate the four DDR4 DIMM slots. For dual-channel operation, refer to the motherboard's silkscreen for recommended slot pairing (usually slots 2 and 4, or 1 and 3).
- DIMM уячасынын эки учундагы клиптерди ачыңыз.
- DDR4 эстутум модулундагы оюкту DIMM уячасындагы ачкыч менен тууралаңыз.
- Эстутум модулунун эки учуна кысылганчалар орнотулганга чейин катуу басыңыз.
5.3 Сактагыч түзүлүштү орнотуу
M.2 NVMe SSD
- Locate an available M.2 slot.
- M.2 туруучу буроону алып салыңыз.
- M.2 SSDди уячага 30 градустук бурч менен салыңыз.
- SSDди акырын түртүп, M.2 бурама менен бекитиңиз.
SATA дисктери
- SATA маалымат кабелинин бир учун энелик платадагы SATA 3.0 портуна туташтырыңыз.
- SATA маалымат кабелинин экинчи учун SATA HDD/SSDге туташтырыңыз.
- Кубат берүүчү блоктон (PSU) SATA кубат кабелин дискке туташтырыңыз.
5.4 Кеңейтүү картасын орнотуу (PCIe)
- Locate the desired PCIe slot (e.g., PCIe X16 5.0 for a graphics card).
- Тийиштүү кеңейтүү уячасынын капкагын компьютериңиздин корпусунан алып салыңыз.
- Кеңейтүү картасын уячага тууралаңыз жана ал отурганга чейин катуу басыңыз.
- Картаны бурама менен корпуска бекитиңиз.
5.5 Кубат туташтыруу
- Connect the 24-pin ATX power connector from your PSU to the main power socket on the motherboard.
- Connect the 8-pin CPU power connector from your PSU to the CPU power socket near the CPU.
5.6 Front Panel Connections
Connect the cables from your PC case's front panel to the corresponding headers on the motherboard. These include:
- Power Switch (PWR_SW)
- Reset Switch (RESET_SW)
- Power LED (PWR_LED)
- HDD Activity LED (HDD_LED)
- Front Panel USB (USB 2.0, USB 3.2, Type-C)
- Front Panel Audio (HD_AUDIO)
Refer to the motherboard's silkscreen labels for correct pin orientation.
5.7 Rear I/O Connections
Connect your peripherals to the rear I/O panel:
- Дисплей: Connect your monitor to the HDMI or DisplayPort (DP) output.
- USB түзмөктөрү: Connect keyboards, mice, and other USB devices to the available USB 2.0 or USB 3.2 ports.
- Тармак: Connect an Ethernet cable to the 2.5Gb LAN port for wired internet.
- Wi-Fi: Attach the included Wi-Fi antenna to the connectors for wireless connectivity.
- Аудио: Динамиктерди же гарнитураны аудио уячаларына туташтырыңыз.
6. Иштөө нускамалары
6.1 BIOS/UEFI орнотуу
BIOS/UEFI орнотуунун утилитасына кирүү үчүн, компьютериңизди күйгүзүп, баскычын кайра-кайра басыңыз DEL key (or sometimes F2) during the boot process. Within the BIOS, you can configure system settings such as boot order, memory frequency, CPU settings, and enable/disable integrated peripherals.
6.2 Драйверди орнотуу
After installing your operating system, it is crucial to install the latest drivers for your motherboard's components. These include chipset drivers, LAN drivers, Wi-Fi drivers, audio drivers, and any other necessary utilities. Drivers can typically be found on the manufacturer's webсайтында же камтылган драйвер медиасында.
7. Техникалык тейлөө
Үзгүлтүксүз техникалык тейлөө энелик платаңыздын узак мөөнөттүү иштешин жана оптималдуу иштешин камсыз кылууга жардам берет:
- Тазалоо: Periodically clean dust from inside your PC case, especially around heatsinks and fans, using compressed air. Ensure the system is powered off and unplugged before cleaning.
- BIOS жаңыртуулары: Check the MAXSUN website for BIOS/UEFI updates. Updates can improve stability, add support for new hardware, or fix bugs. Follow the update instructions carefully to avoid damaging the motherboard.
- Драйвер жаңыртуулары: Keep your drivers updated to ensure compatibility and performance with your operating system and applications.
8. Кыйынчылыктарды
Көйгөйгө туш болсоңуз, көйгөйлөрдү чечүүнүн төмөнкү жалпы кадамдарын карап көрүңүз:
- Кубат жок: Ensure all power cables (24-pin ATX, 8-pin CPU) are securely connected. Check your power supply unit (PSU) and wall outlet.
- Дисплей жок: Verify that your monitor is connected to the graphics card (if installed) or the motherboard's integrated graphics ports (HDMI/DP). Reseat your RAM modules and graphics card.
- Системанын туруксуздугу/бузуулар: This can be caused by incompatible RAM, overheating, or faulty drivers. Test memory modules individually, monitor temperatures, and ensure all drivers are correctly installed.
- Boot Issues: Check boot order in BIOS. Ensure your operating system drive is detected. Try resetting CMOS (Clear CMOS button on rear I/O or jumper on motherboard).
- Перифериялык түзмөк аныкталган жок: Ensure the device is properly connected. Try a different port. Install necessary drivers.
9. Техникалык шарттар
Detailed technical specifications for the MAXSUN B760M WIFI DDR4 Motherboard:
| Өзгөчөлүк | Спецификация |
|---|---|
| Форма фактору | Micro ATX (24.5 x 24.5 cm) |
| Чипсет | Intel B760 |
| CPU розетка | Intel LGA 1700 (Supports 12th & 13th Gen Processors) |
| Memory Support | 4 x DDR4 DIMM slots, Dual Channel, 3200/OC+ MHz |
| картриджа Slots | 1 x PCIe X16 5.0, 1 x PCIe X4 3.0 |
| M.2 Slots | 3 x M.2 (NVMe PCIe 4.0 x4) |
| SATA порттору | 4 x SATA 3.0 6Gb/s (Supports RAID 0/1/5/10) |
| Video Outputs | 1 x DisplayPort, 1 x HDMI |
| USB порттору (арткы) | 2 x USB 3.2 Gen2x2 Type-C, 2 x USB 3.2, 2 x USB 2.0 |
| USB порттору (алдыңкы колонкалар) | 4 х USB 3.2, 4 х USB 2.0 |
| RGB Headers | 2 x 5V 3-pin ARGB, 1 x 12V 4-pin RGB |
| Аудио | 7.1 Канал HD Аудио |
| Ethernet | 2.5 Гб LAN |
| Зымсыз байланыш | WiFi 6E |
10. Кепилдик жана колдоо
The MAXSUN B760M WIFI DDR4 Motherboard typically comes with a 3-year limited warranty. Please retain your proof of purchase for warranty claims.
For further technical support, driver downloads, BIOS updates, or detailed documentation, please visit the official MAXSUN website or refer to the comprehensive PDF manual available at: http://www.maxsun.com.cn/docs/MS-Terminator B760M D4.pdf


