1. Киришүү
Welcome to the world of drone flying with your new NEHEME NH525 Drone. This manual provides essential information for the safe operation, setup, and maintenance of your drone. Please read it thoroughly before your first flight to ensure a safe and enjoyable experience. The NH525 is designed for ease of use, making it suitable for beginners and experienced pilots alike, featuring a 1080P HD camera for capturing stunning aerial footage.

Image: The NEHEME NH525 Drone, remote controller, batteries, and accessories.
2. Кутуда эмне бар
Орнотууну улантуудан мурун пакетте бардык компоненттер бар экенин текшериңиз.
- NH525 дрон
- Remote Controller (Note: 3*AAA Batteries are NOT Included)
- 2 x Lithium Ion Batteries (for drone)
- USB кубаттагыч кабели
- Запастык пропеллер
- Пропеллердин коргоочулары (4 даана)
- Колдонуучунун Колдонмосу (бул документ)
3. Орнотуу колдонмосу
3.1. Дрондун батареясын кубаттоо
Before first use, fully charge the drone batteries.
- Connect the drone battery to the USB charger cable.
- Plug the USB charger cable into a USB power adapter (e.g., computer USB port, phone charger adapter).
- The indicator light on the USB charger will show charging status (refer to charger's specific light indications, typically red for charging, green for full).
- Адатта, ар бир батарейканы заряддоо болжол менен 60-90 мүнөткө созулат.

Image: Drone battery and USB charging cable, illustrating the charging process.
3.2. Алыстан башкаруу пультунун батареяларын орнотуу
The remote controller requires 3 AAA batteries (not included).
- Пульттун артындагы батарея бөлүкчөсүн ачыңыз.
- Туура полярдуулукту (+/-) камсыз кылуу менен 3 AAA батарейкасын салыңыз.
- Батарея отсегин бекем жабыңыз.
3.3. Пропеллердин коргоочуларын бекитүү
For enhanced safety, especially for beginners, attach the propeller guards.
- Identify the four propeller guards.
- Align each guard with the corresponding arm of the drone.
- Gently snap or screw the guards into place (refer to drone diagram for exact attachment points).
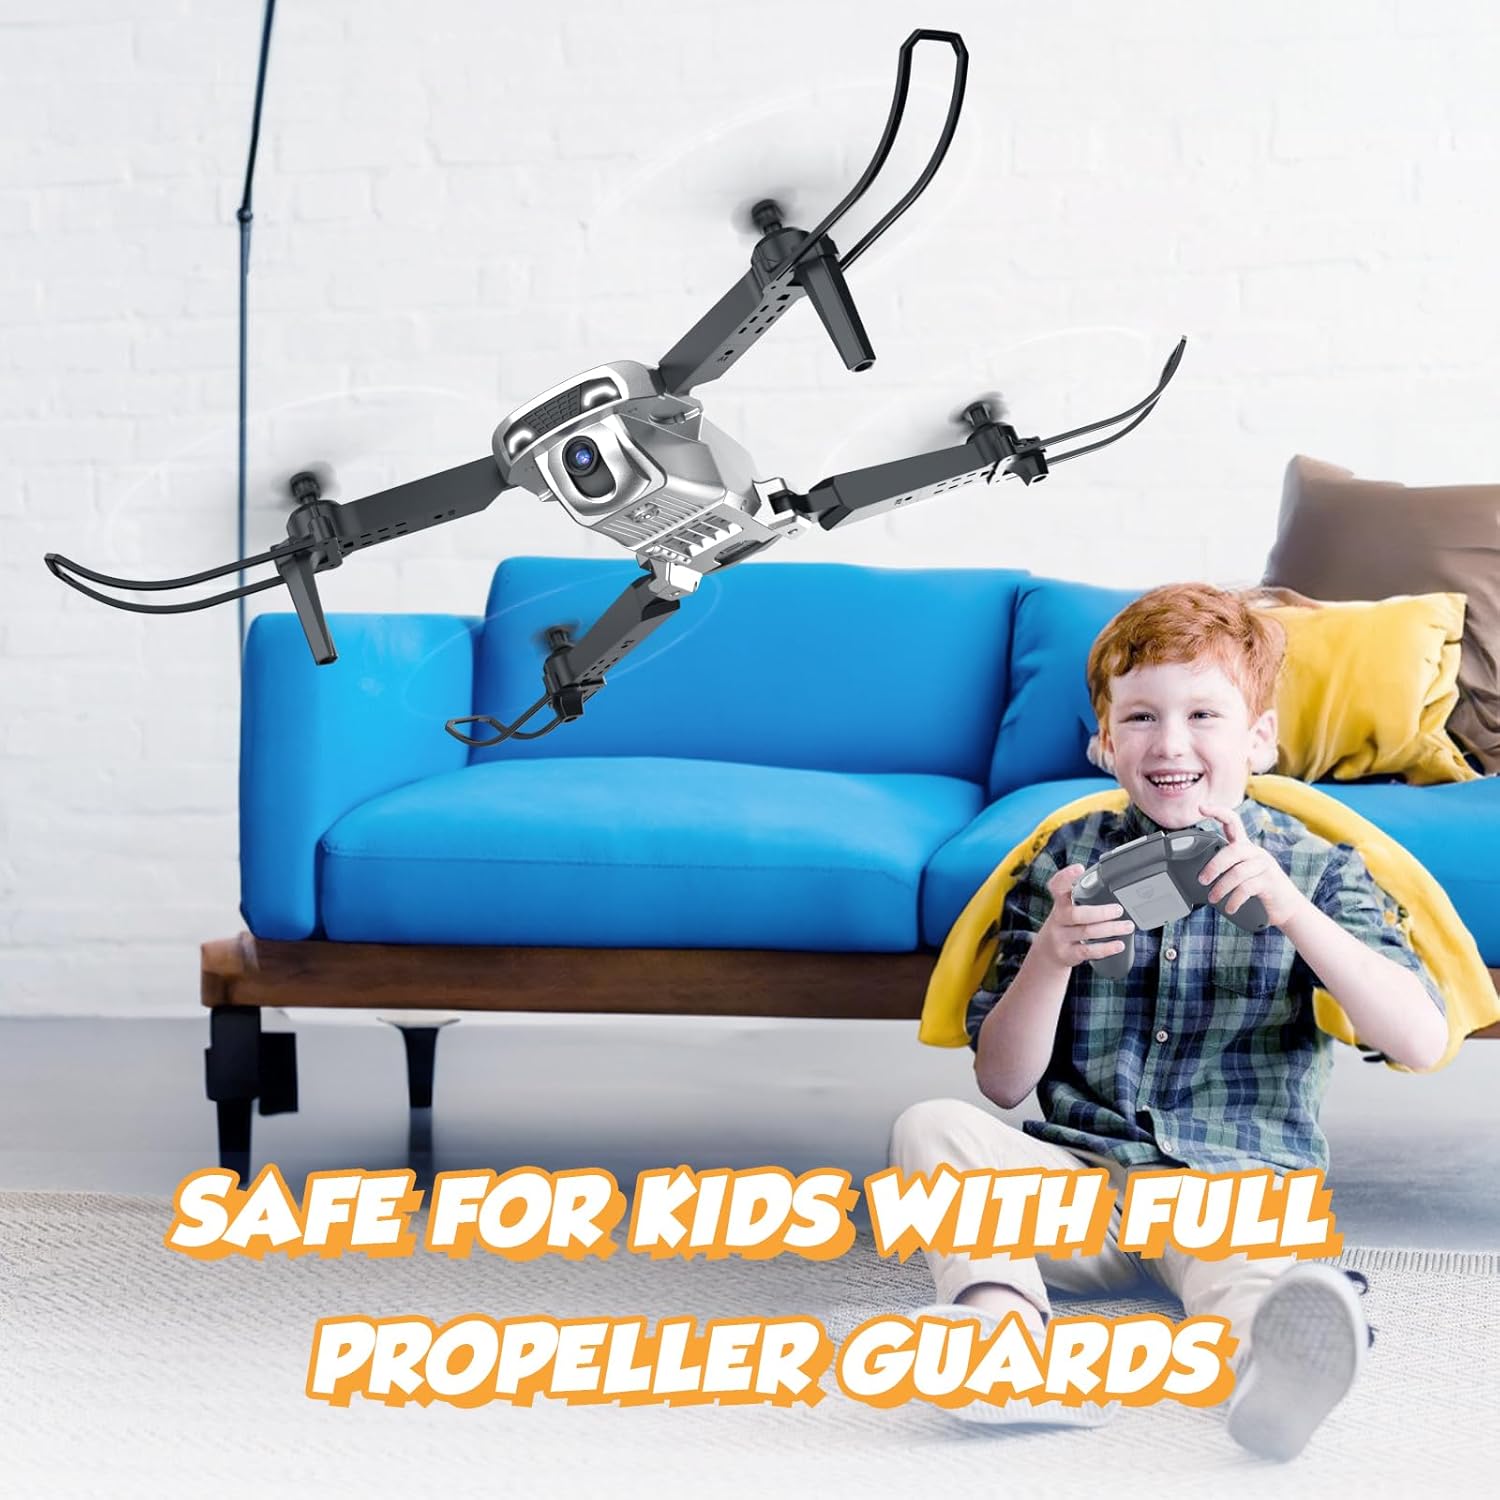
Image: The drone with full propeller guards, emphasizing safety for users.
3.4. Дрон батареясын орнотуу
Insert the charged battery into the drone.
- Дрондогу батарея бөлүкчөсүн табыңыз.
- Slide the charged battery into the compartment until it clicks into place.
- Ensure the battery is securely seated to prevent dislodging during flight.
3.5. Folding/Unfolding the Drone Arms
The NH525 features a foldable design for portability.
- To unfold: Gently pull each arm outwards until it locks into position.
- To fold: Press the release button (if present) or gently push the arms inwards until they are compact.
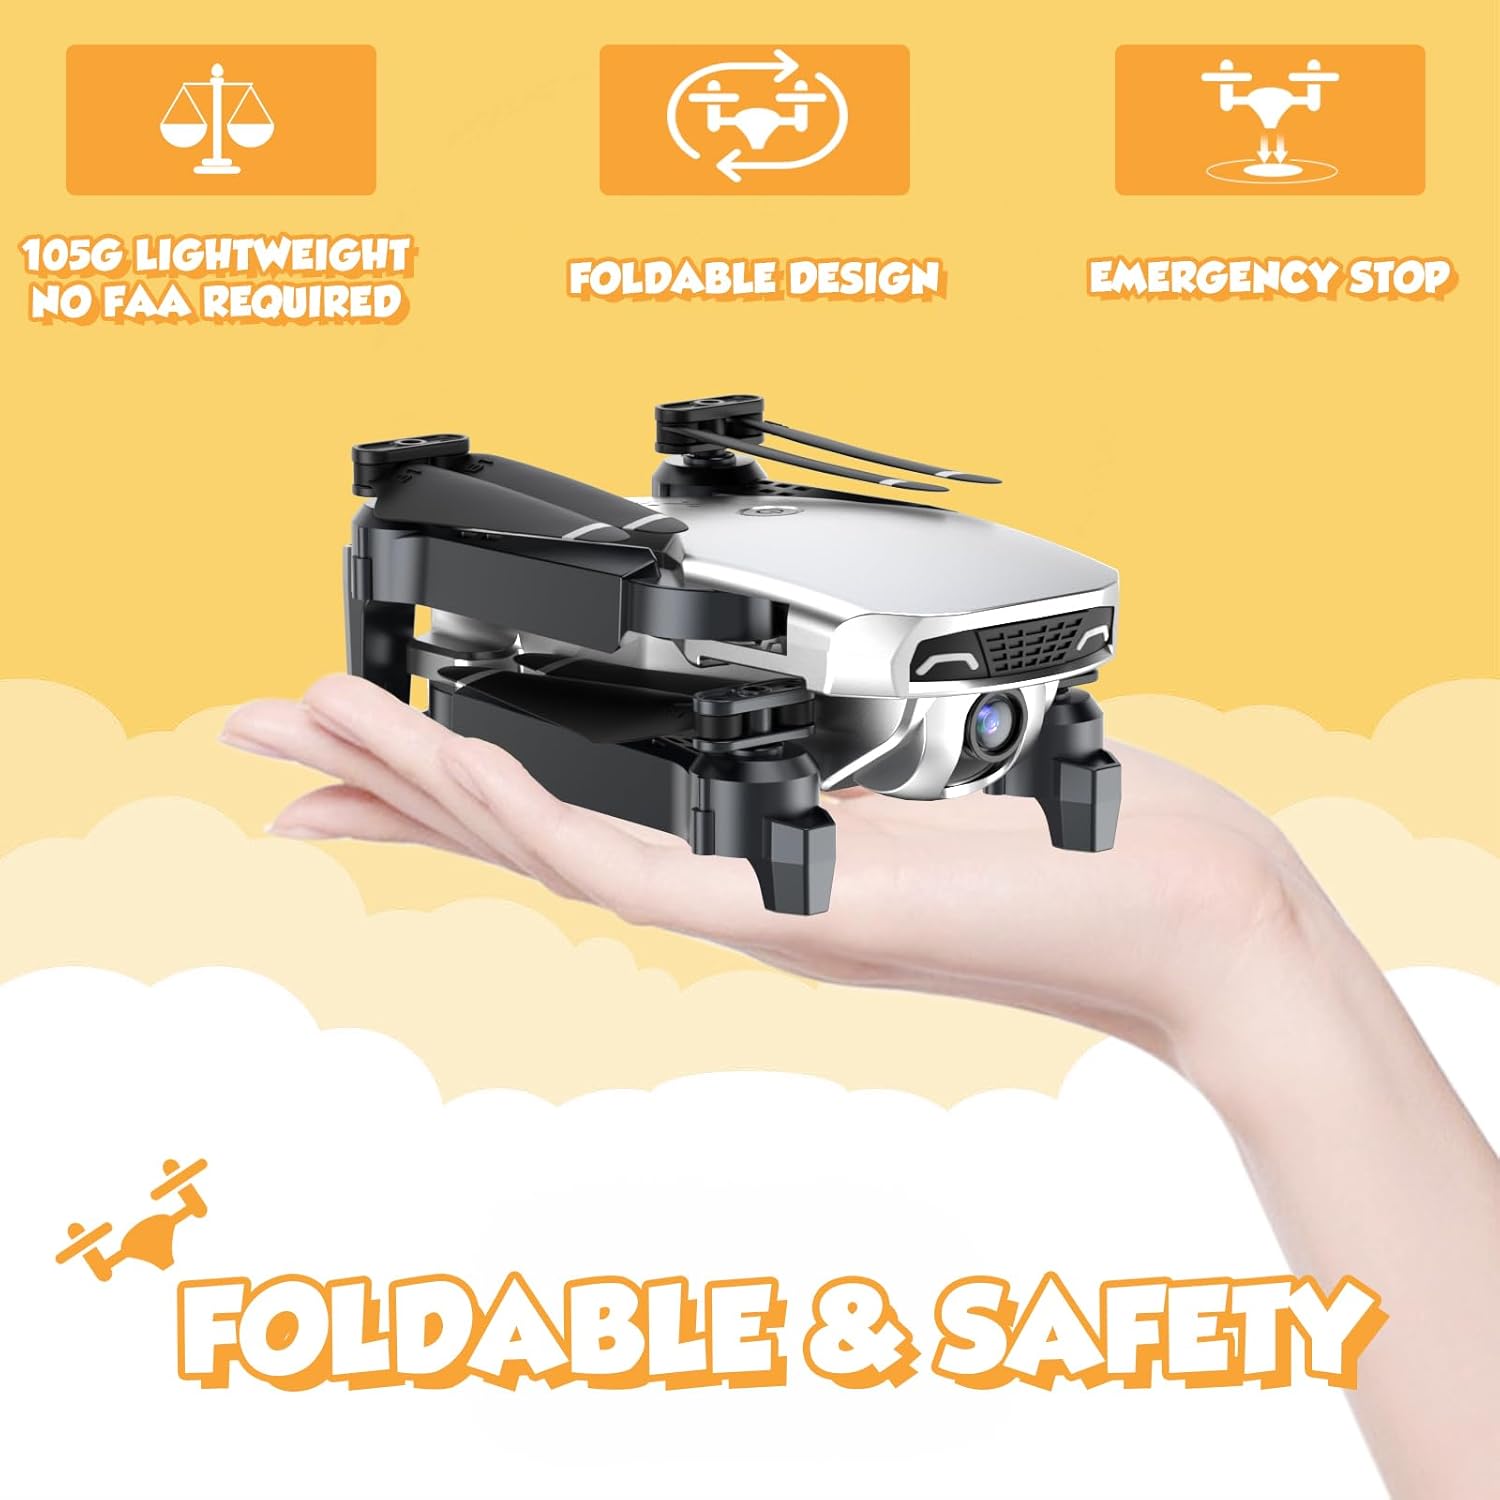
Image: The NEHEME NH525 Drone in its folded, compact state, demonstrating portability.
4. Иштөө нускамалары
4.1. Дронду жана пультту жупташтыруу
- Дронду тегиз, тегиз жерге орнотуңуз.
- Turn on the drone by pressing the power button. The drone lights will flash.
- Алыстан башкаруучуну күйгүзүңүз.
- Push the left joystick (throttle) all the way up, then all the way down. The drone lights will stop flashing and become solid, indicating successful pairing.
4.2. One Key Take-off and Landing
This feature simplifies flight for beginners.
- Бир негизги алып салуу: After pairing, press the One Key Take-off button (usually indicated by an arrow pointing up). The drone will automatically ascend to a stable altitude.
- Бир негизги конуу: During flight, press the One Key Landing button (usually indicated by an arrow pointing down). The drone will slowly descend and land automatically.

Image: Visual representation of One Key Take-off and Landing, Headless Mode, and Altitude Hold features.
4.3. Altitude Hold Mode
The drone will maintain its current altitude, allowing for easier control of horizontal movement.
- Once the drone takes off, it will automatically enter Altitude Hold Mode.
- Use the right joystick to control forward, backward, left, and right movement. The left joystick controls rotation and altitude adjustment.
4.4. Башсыз режим
In Headless Mode, the drone's orientation is relative to the pilot, regardless of the drone's actual front.
- Press the Headless Mode button on the remote. The drone lights will flash to confirm activation.
- Pushing the right joystick forward will always make the drone fly away from you, and pulling it back will make it fly towards you.
- Press the Headless Mode button again to exit.
4.5. Ылдамдыкты жөндөө
Adjust the drone's speed to suit your skill level or flight environment.
- The drone typically has multiple speed settings (e.g., low, medium, high).
- Press the Speed Adjustment button (refer to remote diagram) to cycle through the speeds. The remote may beep to indicate the current speed level.

Image: Illustration of the drone's 3-speed modes and the custom path flight feature.
4.6. 360° Flip Function
Бир баскычты басуу менен кызыктуу аба трюктарын аткарыңыз.
- Ensure the drone has sufficient altitude (at least 2-3 meters).
- Press the 360° Flip button (refer to remote diagram).
- Immediately push the right joystick in the desired flip direction (forward, backward, left, or right). The drone will perform a flip.
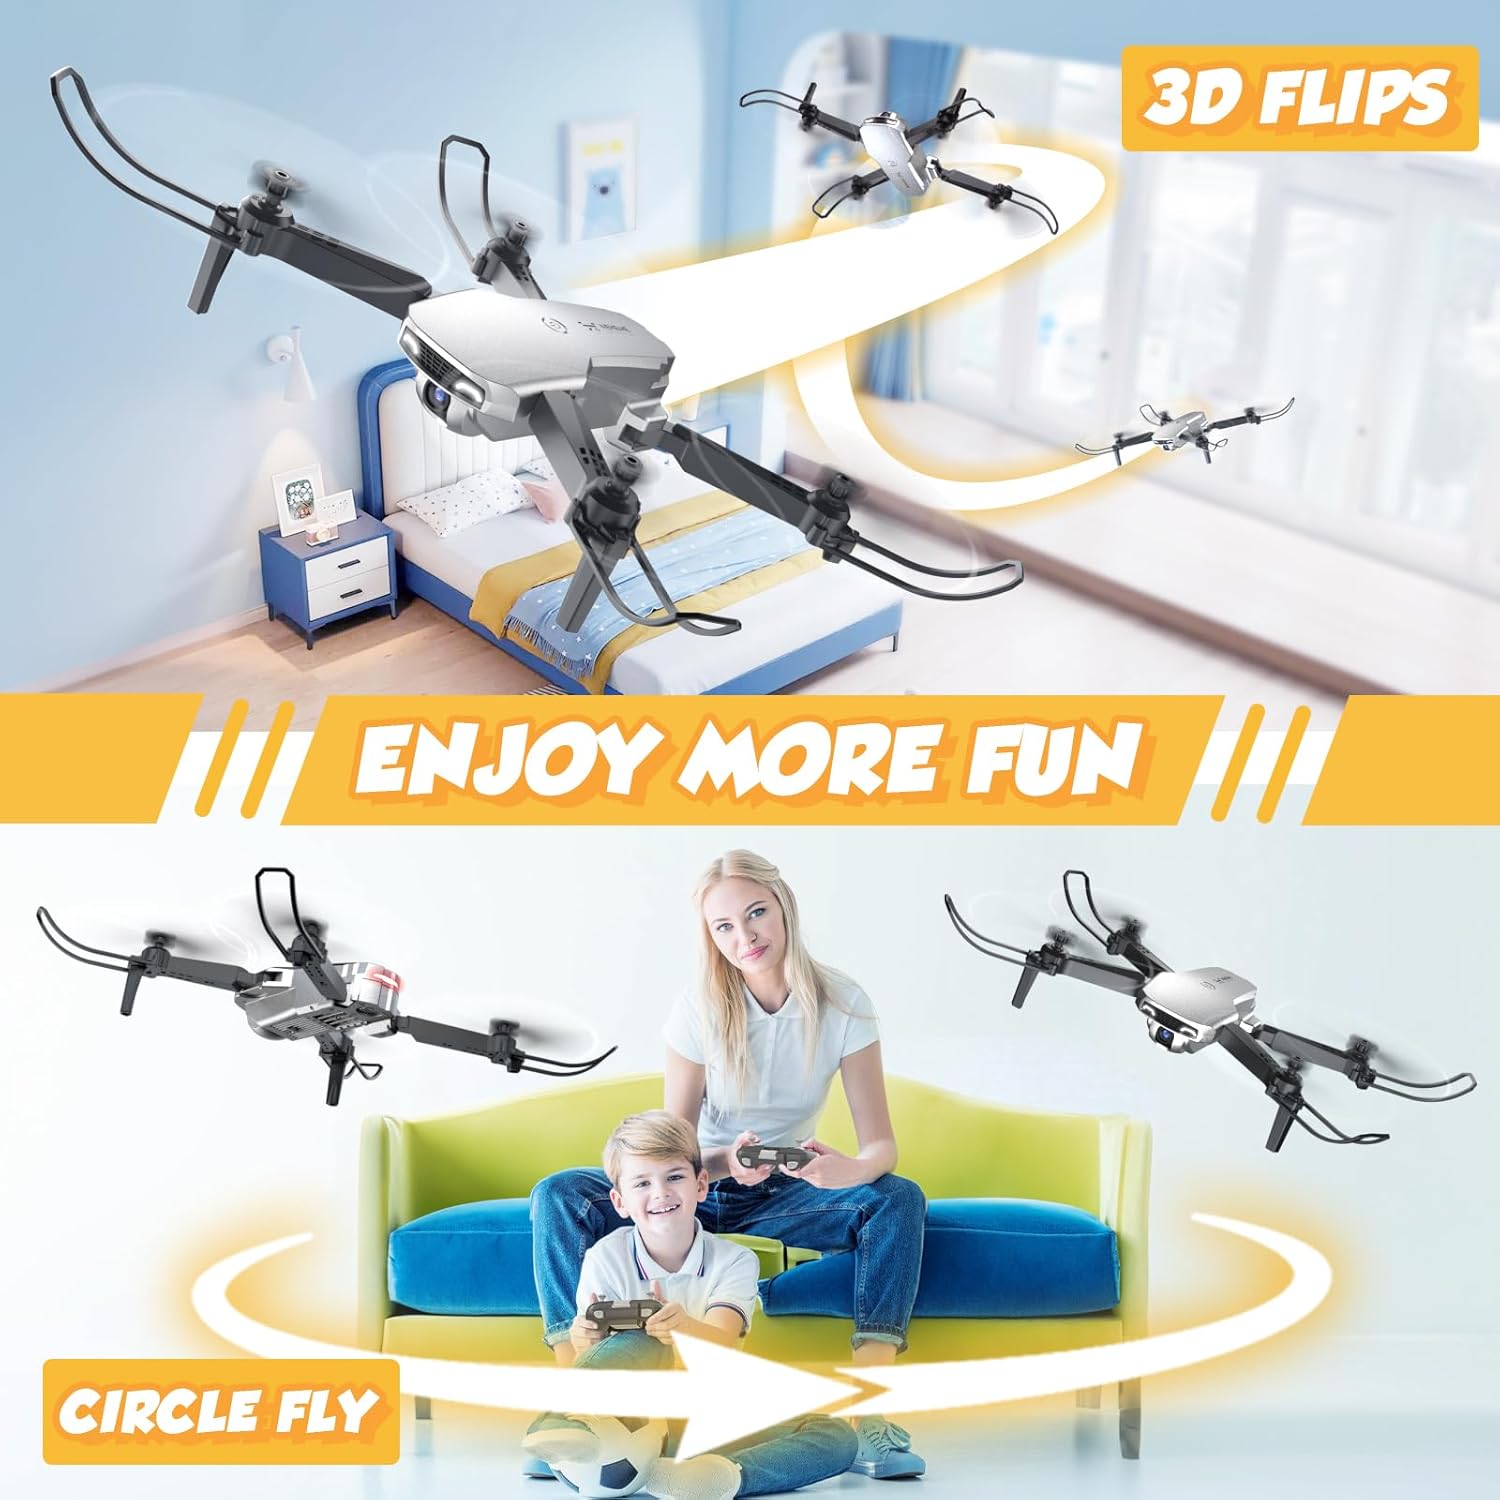
Image: The drone executing 3D flips and a circular flight pattern, highlighting fun flight modes.
4.7. FPV Function and 1080P HD Camera
Experience real-time flight view and capture high-definition photos and videos.
- Download the dedicated NEHEME drone app (check manual for QR code or app store name).
- Connect your smartphone to the drone's Wi-Fi network (usually named "NEHEME-XXXXXX").
- колдонмону ачуу view the real-time FPV feed from the drone's camera.
- Use the app interface to take photos or record videos. The camera resolution is 1080P HD.

Сүрөт: Колдонуучу viewing the 1080P HD camera feed on a smartphone connected to the drone.
4.8. Gesture Control and Voice Control
Enhance your flying experience with intuitive gesture and voice commands via the app.
- Жаңсоо башкаруу: Within the app, activate gesture control. Perform specific hand gestures (e.g., V-sign for photo, palm for video) in front of the drone's camera to trigger actions.
- Үн менен башкаруу: Activate voice control in the app. Use predefined voice commands (e.g., "Take off", "Land") to control the drone.

Image: A user demonstrating gesture control for taking selfies with the drone's 1080P HD camera.

Image: Depiction of Gravity Control (tilting phone) and Voice Control ("Take off", "Land") features.
4.9. Шашылыш токтоо
In case of emergency or loss of control, use the emergency stop function.
- Press the Emergency Stop button (refer to remote diagram). The drone's motors will immediately shut down.
- Use this function only in critical situations as the drone will drop.

Image: The drone with propeller guards, emphasizing safety features like Emergency Stop.
5. Техникалык тейлөө
5.1. Cleaning the Drone
Regular cleaning helps maintain performance and longevity.
- Тазалоодон мурун дрондун өчүк экенин жана батарейкалары алынып салынганын текшериңиз.
- Дрондун денесин аарчуу үчүн жумшак, кургак чүпүрөктү колдонуңуз.
- өжөр кир үчүн, бир аз гamp cloth can be used, but avoid getting moisture into electronic components.
- Gently clean the camera lens with a microfiber cloth.
5.2. Пропеллерди алмаштыруу
Damaged propellers can affect flight stability and safety. Replace them as needed.
- Identify the damaged propeller. Note the letter (A or B) marked on the propeller and the drone arm.
- Carefully remove the screw holding the propeller in place (if applicable) or gently pull the propeller off the motor shaft.
- Select a new propeller with the matching letter (A to A, B to B).
- Install the new propeller, ensuring it is securely attached and spins freely.
5.3. Батареяга кам көрүү жана сактоо
Proper battery care extends battery life and ensures safety.
- Always use the provided charger.
- Батареяларды ашыкча заряддабаңыз же ашыкча разрядтабаңыз.
- Батареяларды күн нурунан жана экстремалдык температурадан алыс салкын, кургак жерде сактаңыз.
- Эгер батарейкаларды узак убакытка сактасаңыз, анда алардын кубаттуулугун болжол менен 50%га чейин кубаттаңыз.
- Do not use damaged or swollen batteries.
6. Кыйынчылыктарды
| Көйгөй | Мүмкүн себеп | Чечим |
|---|---|---|
| Дрон пультка жооп бербейт. | Not paired; Remote batteries low; Drone battery low. | Re-pair drone and remote; Replace remote batteries; Charge drone battery. |
| Учуу учурунда учкучсуз учат. | Not calibrated; Uneven surface at take-off; Damaged propeller. | Perform gyroscope calibration (refer to remote instructions); Take off from a flat surface; Replace damaged propeller. |
| Camera feed is blurry or not showing. | Poor Wi-Fi connection; App not connected; Dirty lens. | Ensure strong Wi-Fi signal; Reconnect app to drone Wi-Fi; Clean camera lens. |
| Кыска учуу убактысы. | Battery not fully charged; Old battery; Aggressive flying. | Fully charge battery; Consider replacing old batteries; Fly more gently. |
| Дрондор көп учурда кырсыкка учурайт. | Lack of experience; Flying in windy conditions; Obstacles. | Practice in open areas; Avoid flying in strong winds; Ensure clear flight path. |
7. Техникалык шарттар
| Өзгөчөлүк | Деталь |
|---|---|
| Модель аты | NH525 Silver |
| Бренд | NEHEME |
| Видео тартуунун резолюциясы | 1080p (1920x1080 Pixels) |
| Байланыш технологиясы | Wi-Fi |
| Батарея сыйымдуулугу | 1200 миллионamp Hours (3.7V) |
| Максималдуу учуу убактысы | 26 мүнөткө чейин (2 батарейка менен) |
| Максималдуу диапазон | 100 метр |
| Элемент Салмагы | 0.25 фунт (болжол менен 113 г) |
| Продукциянын өлчөмдөрү | Узундугу 7.08" x Туурасы 6.69" x Бийиктиги 2.17" (Жайылган) |
| Skill Level | Beginner |
| Өзгөчөлүктөр | 360 Degree Flip, Altitude Hold, First Person View (FPV), One Key Start/Land, Speed Adjustment, Headless Mode, Gesture Control, Voice Control, Foldable Design, Emergency Stop |
8. Кепилдик жана колдоо
NEHEME offers a warranty for its products.
- 30 күндүк кепилдик: For quality-related issues concerning the entire unit.
- 90 күндүк кепилдик: For accessory-related issues.
For technical support, warranty claims, or further assistance, please contact NEHEME customer service through the retailer's platform or visit the official NEHEME brand store.
NEHEME Brand Store: Дүкөнгө кириңиз


