1. Киришүү
This manual provides essential instructions for setting up, operating, maintaining, and troubleshooting your Brother MFC-L2800DW Monochrome Multifunction Laser Printer. Please read this manual thoroughly before using the device to ensure proper and safe operation.

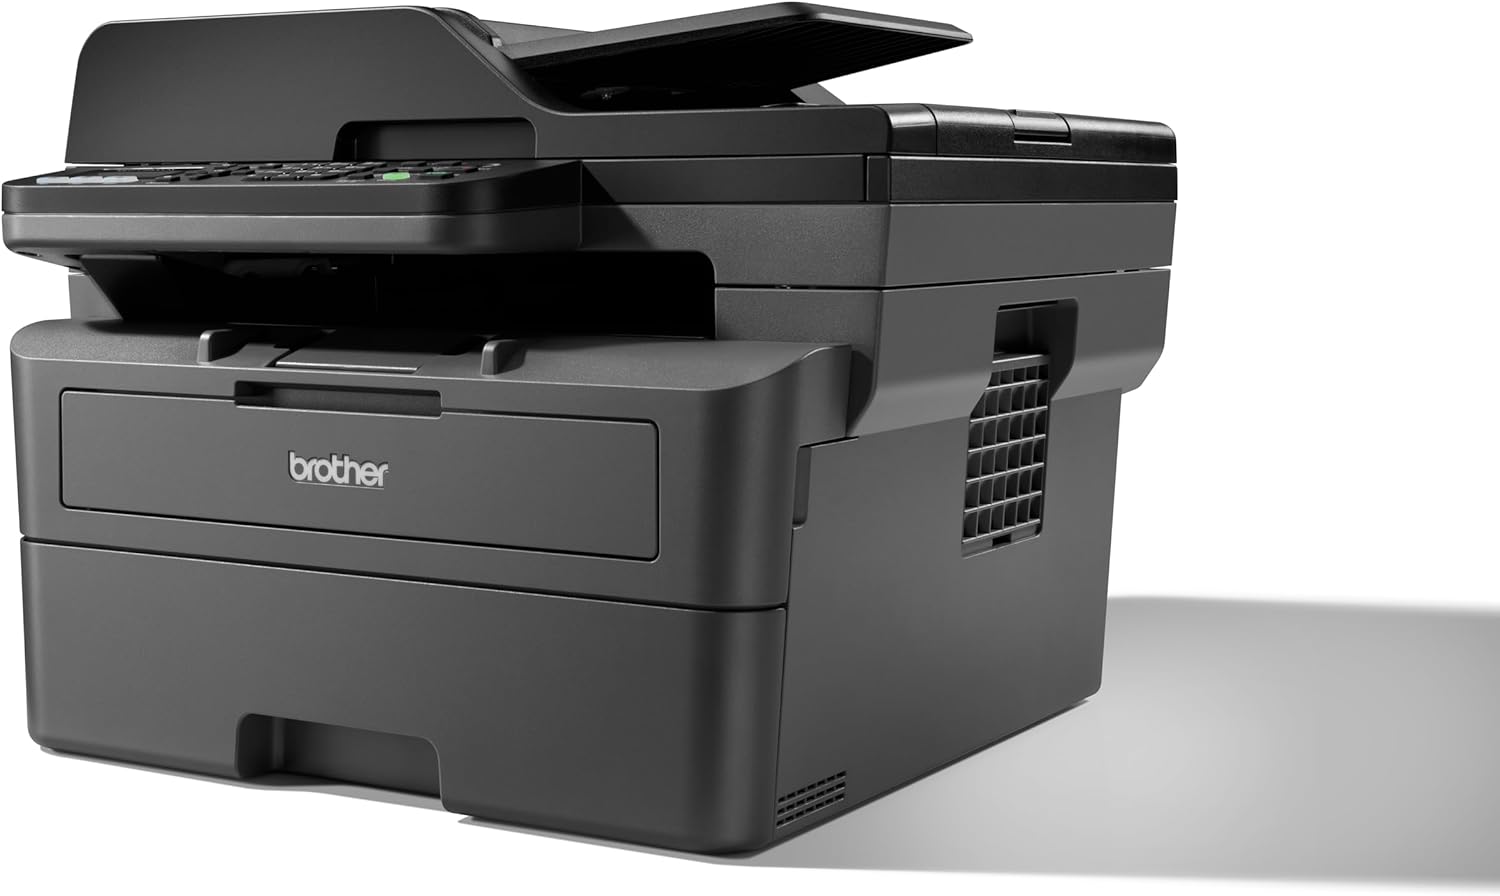
Сүрөт 1.1: Алдыңкы view of the Brother MFC-L2800DW printer.
2. Орнотуу
2.1 Пакеттен чыгаруу жана компоненттерди текшерүү
Принтерди таңгагынан кылдаттык менен чыгарыңыз. Бардык камтылган компоненттер бар экендигин текшериңиз:
- Brother MFC-L2800DW Printer
- Toner Cartridge (Starter)
- Барабан бирдиги
- Электр кабели
- Ыкчам орнотуу көрсөтмөлөрү
2.2 Toner and Drum Unit Installation
- Принтердин алдыңкы капкагын ачыңыз.
- Remove the drum unit and toner cartridge assembly from its protective bag.
- Insert the toner cartridge firmly into the drum unit until it locks into place.
- Slide the combined drum unit and toner cartridge assembly into the printer until it stops.
- алдыңкы капкакты жабыңыз.
2.3 Кагазды жүктөө
The printer features a 250-sheet paper input tray and a 50-sheet Automatic Document Feeder (ADF).
- Кагаз табакчасын толугу менен тартып чыгарыңыз.
- Adjust the paper guides to fit the paper size (e.g., A4).
- Кагазды лотокко жүктөө, анын жалпак жана максималдуу толтуруу сызыгынан төмөн болушун камсыз кылуу.
- Кагаз салгычты кайра принтерге акырын түртүңүз.

Сүрөт 2.1: жогорудан ылдыйга view of the printer with the paper tray open, ready for paper loading.
2.4 Электр кубатына туташуу жана баштапкы күйгүзүү
- Кубат шнурун принтерге, андан кийин электр розеткасына туташтырыңыз.
- Принтерди иштетүү үчүн кубат баскычын басыңыз.
- Follow the on-screen instructions on the LCD display to select your language and region.
2.5 Тармакка туташуу
The MFC-L2800DW supports Ethernet, Wi-Fi (5 GHz), and USB connections.
- USB туташуу: Принтерден USB кабелин компьютериңизге туташтырыңыз.
- Ethernet туташуусу: Принтерден Ethernet кабелин тармак роутериңизге же коммутаторуңузга туташтырыңыз.
- Wi-Fi туташуусу: Use the printer's control panel to navigate to the Network settings. Select WLAN, then follow the prompts to connect to your wireless network.
2.6 Драйверди жана программалык камсыздоону орнотуу
Insert the installation CD (if provided) into your computer or download the latest drivers and software from the official Brother support webсайт. Орнотууну аяктоо үчүн экрандагы нускамаларды аткарыңыз.
3. Принтерди иштетүү
3.1 Башкаруу панелинин үстүнөview
Сүрөт 3.1: Жакын пландан view of the printer's control panel with LCD display and buttons.
The control panel features a 2-tier LCD display for menu navigation and status updates, along with various buttons for functions like Copy, Scan, Fax, Wi-Fi, and Start.
3.2 Документтерди басып чыгаруу
- Принтер күйгүзүлүп, компьютериңизге же тармагыңызга туташып турганын текшериңиз.
- Компьютериңизде же мобилдик түзмөгүңүздө басып чыгаргыңыз келген документти ачыңыз.
- Колдонмоңуздан басып чыгаруу опциясын тандаңыз.
- Choose the Brother MFC-L2800DW from the list of available printers.
- Басып чыгаруу жөндөөлөрүн (мисалы, нускалардын саны, кагаз өлчөмү, дуплекстүү басып чыгаруу) керек болсо тууралаңыз.
- "Басып чыгаруу" баскычын чыкылдатыңыз.

Image 3.2: The Brother MFC-L2800DW printer actively printing a document.
3.3 Документтерди көчүрүү
- Place the document face down on the scanner glass or face up in the Automatic Document Feeder (ADF).
- басыңыз Көчүрүү башкаруу панелиндеги баскыч.
- Use the arrow keys to select copy options (e.g., number of copies, reduction/enlargement, 2-sided copy).
- Басыңыз Баштоо.
3.4 Документтерди сканерлөө
- Документти сканердин айнегине же ADFке салыңыз.
- басыңыз Скандоо башкаруу панелиндеги баскыч.
- Select your desired scan destination (e.g., PC, Email, FTP).
- Adjust scan settings as prompted by the display.
- Басыңыз Баштоо.
3.5 Документтерди факс менен жөнөтүү
- Place the document face down on the scanner glass or face up in the ADF.
- басыңыз Факс башкаруу панелиндеги баскыч.
- Сандык баскычтопту колдонуп алуучунун факс номерин киргизиңиз.
- Басыңыз Баштоо.
4. Техникалык тейлөө
4.1 Тонер-картриджди алмаштыруу
When the 'Toner Low' or 'Replace Toner' message appears on the LCD, it is time to replace the toner cartridge.
- Алдыңкы капкакты ачыңыз.
- Remove the drum unit and toner cartridge assembly from the printer.
- Press the green lock lever and remove the old toner cartridge from the drum unit.
- Unpack the new toner cartridge and gently shake it horizontally several times.
- Insert the new toner cartridge firmly into the drum unit until it locks.
- Slide the assembly back into the printer and close the front cover.
4.2 Replacing the Drum Unit
The drum unit is a consumable item that needs replacement after a certain number of pages. The LCD will indicate when replacement is necessary.
- Follow steps 1-3 for toner replacement to remove the old toner and drum assembly.
- Remove the old toner cartridge from the old drum unit.
- Жаңы барабан блогун таңгактан чыгарыңыз.
- Insert the existing toner cartridge into the new drum unit until it locks.
- Slide the new drum unit and toner cartridge assembly back into the printer and close the front cover.
- Reset the drum counter through the printer's menu.
4.3 Принтерди тазалоо
- Сырткы: Сыртын жумшак, түксүз чүпүрөк менен сүртүңүз.
- Сканер айнек: Сканердин айнегин жумшак, кургак чүпүрөк менен тазалаңыз. Өжөр тактар үчүн, кездемеге сүйкөлгөн аз өлчөмдөгү айнек тазалагычты колдонуңуз (түз айнекке эмес).
- Corona Wire: Periodically clean the corona wire inside the drum unit by gently sliding the green tab from left to right several times. Return the tab to its home position.
5. Кыйынчылыктарды
This section addresses common issues you might encounter. For more detailed troubleshooting, refer to the official Brother support webсайт.
5.1 Кагаз тыгындары
If a paper jam occurs, the LCD will display an error message. Follow these general steps:
- Принтерди өчүрүп, электр шнурын сууруп алыңыз.
- Open the front cover and carefully remove the drum unit and toner cartridge assembly.
- Gently pull out any jammed paper. Check all paper paths, including the back cover and duplex tray.
- Reinstall the drum unit and toner cartridge assembly, close the cover, and reconnect the power cord.
- Принтерди күйгүзүңүз.
5.2 Басма сапаты маселелери
- Faded Print: Toner may be low. Replace the toner cartridge.
- Тик же тактар: Clean the corona wire in the drum unit. If the issue persists, the drum unit may need replacement.
- Uneven Density: Ensure the paper type setting matches the paper loaded.
5.3 Байланыш көйгөйлөрү
- Байланыш жок: Verify all cables are securely connected (USB/Ethernet). For Wi-Fi, ensure the printer is connected to the correct network and the signal is strong.
- Принтер оффлайн режиминде: Check printer status on your computer. Restart both the printer and your computer.
6. Техникалык шарттар
| Өзгөчөлүк | Спецификация |
|---|---|
| Модель аты | MFC-L2800DW |
| Басма технологиясы | Лазер |
| Принтердин чыгышы | Монохромдуу |
| Макс басып чыгаруу ылдамдыгы (монохромдуу) | 32 промилле |
| Макс басып чыгаруу резолюциясы (B&W) | 1200 x 1200 dpi |
| Эки тараптуу басып чыгаруу | Ооба |
| Сканер түрү | ADF |
| Сканер резолюциясы | 1200 x 1200 |
| Макс. көчүрүү ылдамдыгы (кара-ак) | 32 промилле |
| Иштөө үчүн максималдуу көчүрмөлөр | 50 |
| Байланыш технологиясы | Ethernet, USB, Wi-Fi (5 GHz) |
| Максималдуу киргизүү барагынын сыйымдуулугу | 250 барак |
| Автоматтык документ берүүчү (ADF) | 50 барак |
| Максималдуу медиа өлчөмү | A4 |
| Дисплей түрү | LCD (2-tier) |
| Эстутум сактоо сыйымдуулугу | 128 MB |
| Энергияны керектөө | 480 Ватт |
| Продукциянын өлчөмдөрү (LxWxH) | 39.9 x 41 x 31.9 см |
| Элемент Салмагы | 11.6 килограмм |
| Камтылган компоненттер | Toner Cartridge, Drum Unit, 250 Sheets Paper Input Tray, 50 Sheets Automatic Document Feeder |
7. Кепилдик жана колдоо
7.1 Продукциянын кепилдиги
Your Brother MFC-L2800DW printer is covered by a manufacturer's warranty. Please refer to the warranty card included with your product or visit the official Brother webСиздин аймакка тиешелүү деталдуу кепилдик шарттары жана шарттары үчүн сайт.
7.2 Кардарларды колдоо
For further assistance, technical support, driver downloads, or to access frequently asked questions, please visit the official Brother support webсайт:


