Продукт бүттүview
The HyperX Clutch Gladiate RGB Gaming Controller is designed for Xbox players seeking precision and customizable controls. This officially licensed wired Xbox controller offers dual trigger locks and remappable rear buttons for optimized gameplay. It features powerful dual rumble motors and impulse triggers for enhanced immersion. The controller also boasts full-body RGB lighting with 3 effects and 7 colors, configurable without additional software. A 3.5mm stereo jack allows for easy headset connection, and a USB-C to USB-A cable ensures direct connectivity to Xbox Series X|S consoles.

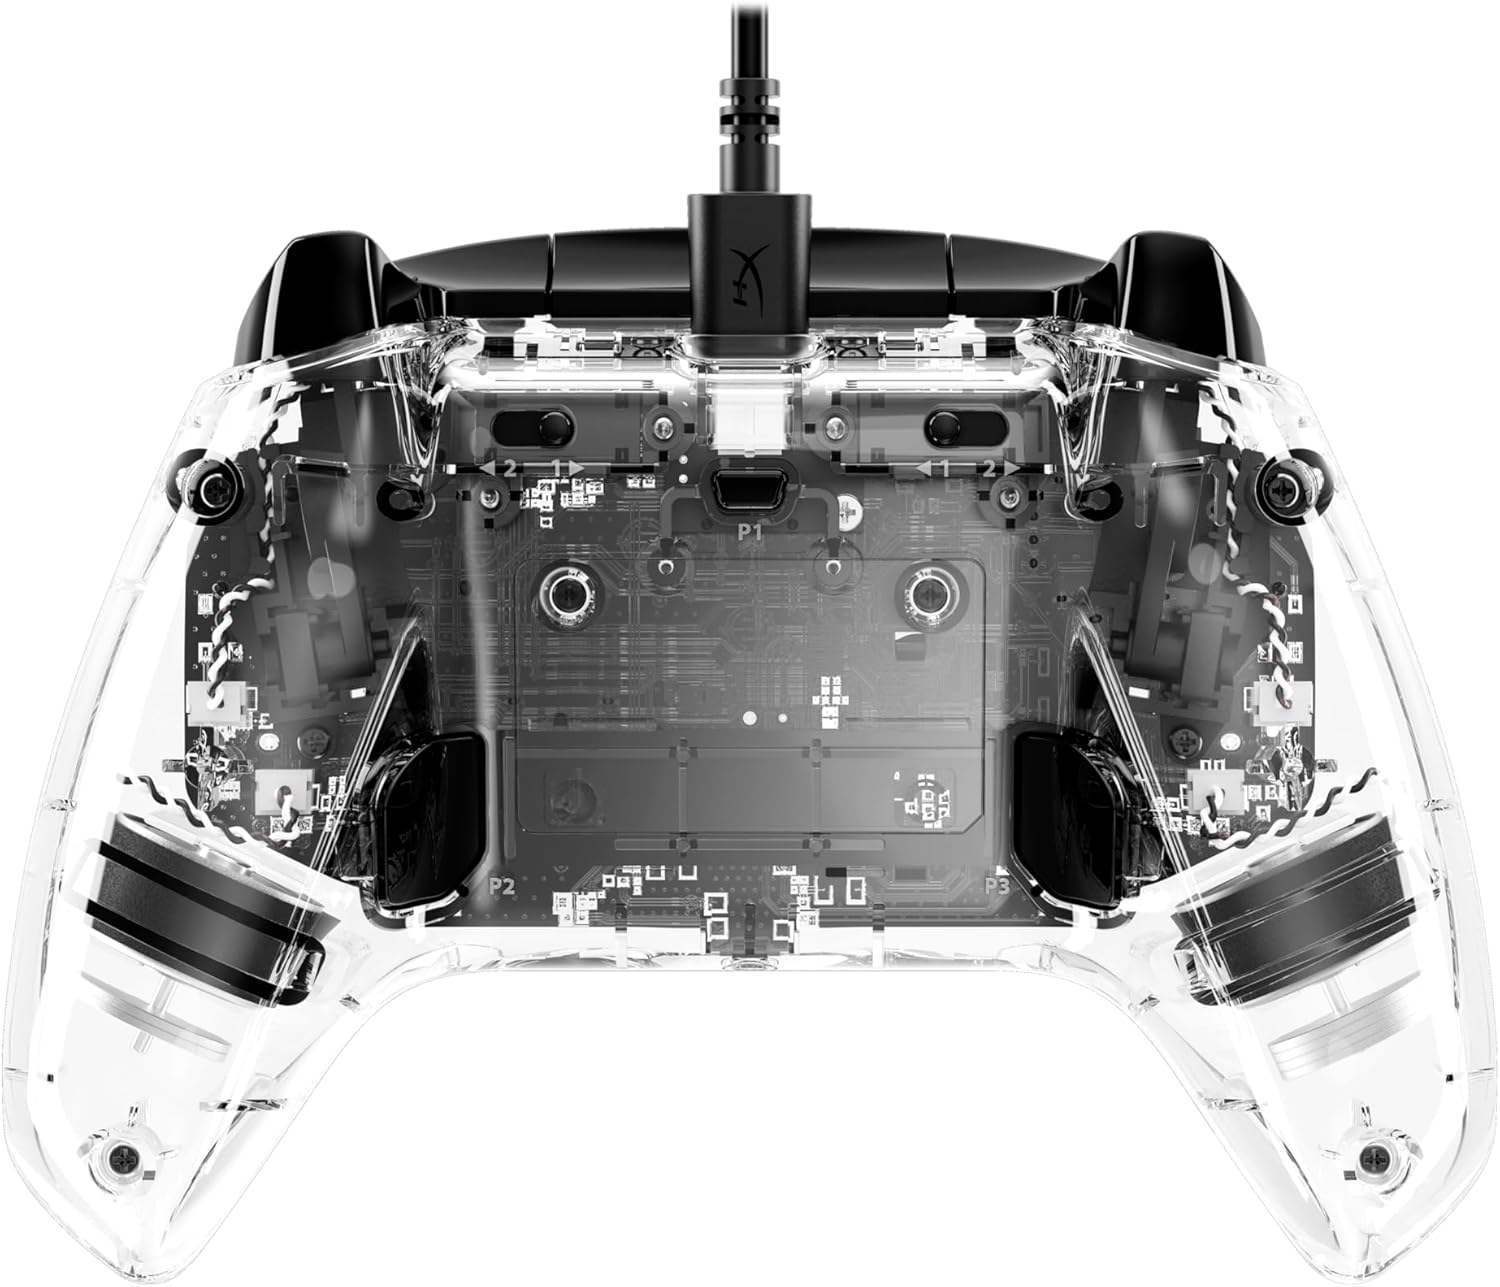
Сүрөт: алдыңкы view of the HyperX Clutch Gladiate RGB Wired Controller, showcasing бул ачык casing and vibrant internal RGB lighting.
Негизги өзгөчөлүктөрү:
- Officially Licensed by Xbox: Fully compatible with Xbox One, Xbox Series X|S, and PC.
- Настройкаланган RGB жарыктандыруу: Onboard controls for 3 lighting patterns and 7 colors, no software required.
- Powerful Dual Rumble Motors: Enhanced force feedback for immersive gameplay.
- Импульстук триггерлер: Variable force feedback for realistic in-game sensations.
- Dual Trigger Locks: Adjust trigger pull distance for faster actions or finer control.
- Programmable Rear Buttons: Reassign functions for a competitive edge.
- 3.5mm Stereo Headset Port: Convenient audio connectivity.
- Durable USB-C Cable: Reliable wired connection to consoles and PC.
- Бөлүшүү баскычы: Easily capture and share gameplay highlights.
Орнотуу колдонмосу
Connecting to Xbox Console:
- Locate an available USB port on your Xbox One or Xbox Series X|S console.
- Connect the USB-C end of the provided cable to the USB-C port on the top of the HyperX Clutch Gladiate RGB controller.
- Connect the USB-A end of the cable to the USB port on your Xbox console.
- The controller will automatically power on and connect to the console. The RGB lighting will illuminate.
Компьютерге туташуу:
- Ensure your PC is running Windows 10/11.
- Connect the USB-C end of the provided cable to the USB-C port on the top of the HyperX Clutch Gladiate RGB controller.
- Кабелдин USB-A учун компьютериңиздеги жеткиликтүү USB портуна туташтырыңыз.
- The PC should automatically detect and install the necessary drivers. The controller's RGB lighting will activate upon successful connection.
Сүрөт: Жакын план view of the detachable USB-C cable connection point and the 3.5mm headset port on the controller.
Иштөө нускамалары
RGB жарыктандырууну ыңгайлаштыруу:
The HyperX Clutch Gladiate RGB controller features onboard controls for customizing its lighting effects without the need for external software.
- To change lighting patterns: Press the dedicated RGB button (usually located near the Xbox button) to cycle through available patterns.
- To change lighting colors: Press and hold the RGB button, then use the D-pad or analog sticks to select from 7 different colors. Release the RGB button to confirm your selection.

Image: The controller displaying various RGB lighting effects, highlighting the onboard controls for customization.
Using Dual Trigger Locks:
The dual trigger locks allow you to adjust the travel distance of the LT (Left Trigger) and RT (Right Trigger) for faster response times in certain games.
- Locate the trigger lock switches on the underside of the controller, near the triggers.
- Slide the switch towards the "short pull" position (indicated by a lock icon) for a reduced trigger travel distance, ideal for shooting games.
- Slide the switch towards the "full pull" position (indicated by an unlock icon) for standard trigger travel, suitable for racing games or actions requiring analog input.

Image: Hands demonstrating the adjustment of the dual trigger locks on the underside of the controller.
Programming Rear Buttons:
The controller features remappable rear buttons (P1, P2, P3) that can be assigned to various controller functions for quick access.
- To enter programming mode: Press and hold the "Program" button (usually a small button on the back or bottom of the controller) until the indicator light blinks.
- Press the rear button (P1, P2, or P3) you wish to program. The indicator light will blink faster.
- Press the button or input on the front of the controller (e.g., A, B, X, Y, D-pad, thumbstick click) that you want to assign to the rear button.
- Release the "Program" button. The indicator light will stop blinking, confirming the assignment.
- To clear a programmed button: Enter programming mode, press the rear button you wish to clear, then press the "Program" button again without pressing any other input.

Image: Diagram illustrating the remapping process for the rear programmable buttons, showing common button assignments.
Using the Share Button:
The dedicated Share button allows for quick capture of screenshots and video clips during gameplay on Xbox consoles.
- Press the Share button once to take a screenshot.
- Press and hold the Share button to record the last 30 seconds of gameplay (default setting, can be changed in Xbox settings).
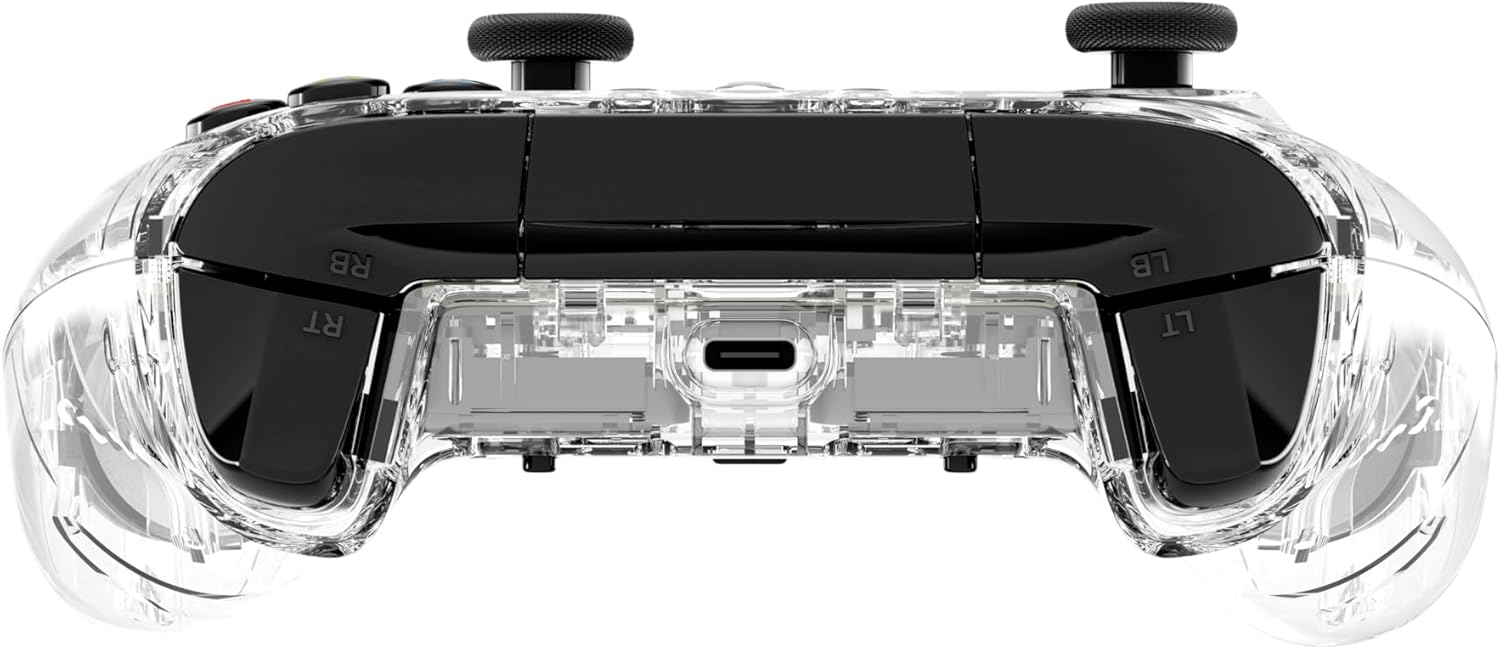
Image: Close-up of the Share button on the controller, indicating its function for capturing gameplay.
Техникалык тейлөө
- Тазалоо: Башкаргычты жумшак, кургак чүпүрөк менен сүртүңүз. Өтө кир болсо, бир аз сүртүңүзampчүпүрөктү суу же жумшак, абразивдүү тазалагыч менен жууп салыңыз. Ашыкча нымдуулуктан сактаныңыз.
- Сактагыч: Контроллерди түз күн нурунан жана экстремалдык температурадан алыс салкын, кургак жерде сактаңыз.
- Кабельге кам көрүү: Avoid sharply bending or twisting the USB-C cable. Always grasp the connector, not the cable, when plugging or unplugging.
- Тамчылардан качуу: Контроллерди тамчылардан жана таасирлерден коргоңуз, бул ички компоненттерге зыян келтириши мүмкүн.
Проблемаларды чечүү
| Маселе | Мүмкүн себеп | Чечим |
|---|---|---|
| Controller not responding/no power. | Loose cable connection, faulty USB port, damaged cable. | Ensure USB-C cable is securely connected to both the controller and the console/PC. Try a different USB port. Test with a different USB-C cable if available. |
| Buttons or sticks not responding correctly. | Dust/debris under buttons, software glitch, physical damage. | Clean around buttons with compressed air. Restart console/PC. If issue persists, contact HyperX support. |
| RGB жарыгы иштебейт же тыгылып калды. | Программалык камсыздоонун иштебей калышы, кубат көйгөйү. | Unplug and replug the controller. Restart console/PC. Ensure the controller is receiving sufficient power. |
| Headset audio not working via 3.5mm jack. | Headset not fully plugged in, headset issue, console audio settings. | Ensure headset is fully inserted into the 3.5mm jack. Test headset with another device. Check audio settings on your Xbox console or PC. |
Продукт спецификациялары
- Бренд: HyperX
- Модель аты: HyperX Clutch Gladiate RGB
- Модель номери: 7D6H2AA
- Байланыш технологиясы: USB (Зымдуу)
- Шайкеш түзмөктөр: Xbox One, Xbox Series X|S, Windows PC
- Контроллердин түрү: Gamepad
- Түсү: RGB (Clear Casing)
- Элемент Салмагы: 7.4 унция (болжол менен 210 грамм)
- Продукциянын өлчөмдөрү (LxWxH): 6.1 x 4.35 x 2.54 дюйм (болжол менен 15.5 x 11.0 x 6.45 см)
- Аудио порт: 3.5 мм стерео гарнитура уясы
- Өзгөчөлүктөр: Programmable RGB Lighting, Dual Trigger Locks, Programmable Rear Buttons, Dual Rumble Motors, Impulse Triggers, Share Button.
Кепилдик маалымат
HyperX products are designed and built to the highest quality standards. This product is covered by a limited warranty from the date of purchase. Please refer to the official HyperX website or your product packaging for specific warranty terms and conditions applicable to your region. Keep your proof of purchase for warranty claims.
Колдоо & Байланыш
For technical support, troubleshooting assistance, or to inquire about warranty services, please visit the official HyperX support webсайт:
You may also find helpful FAQs and driver downloads on the support page.


