1. Киришүү
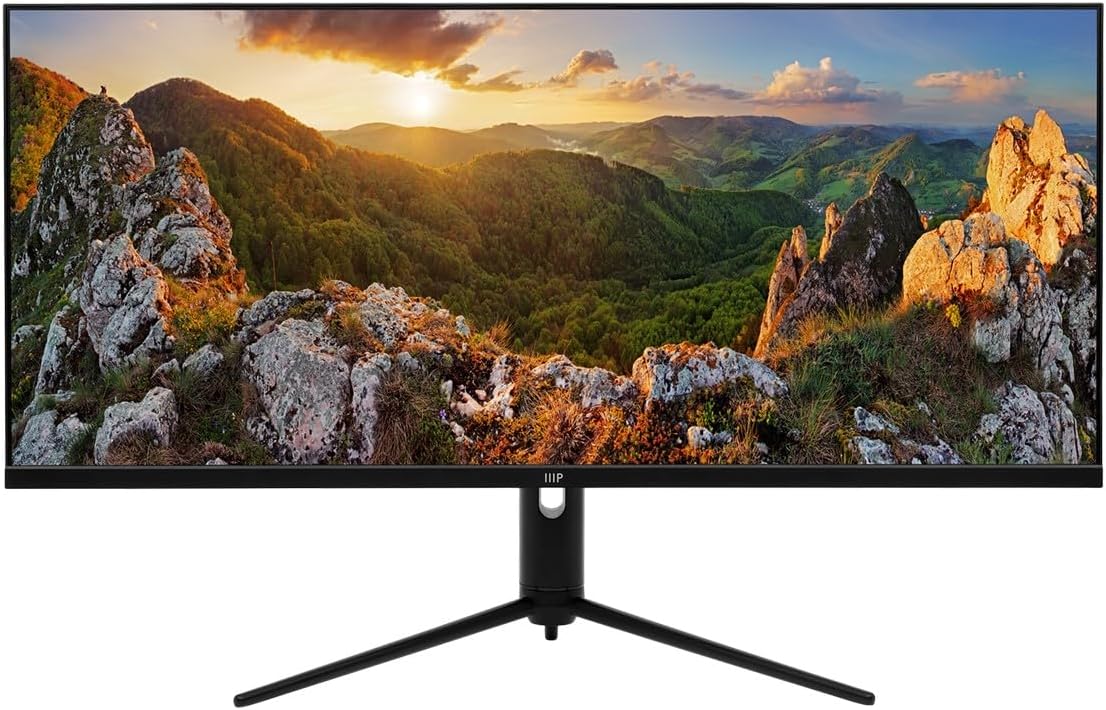
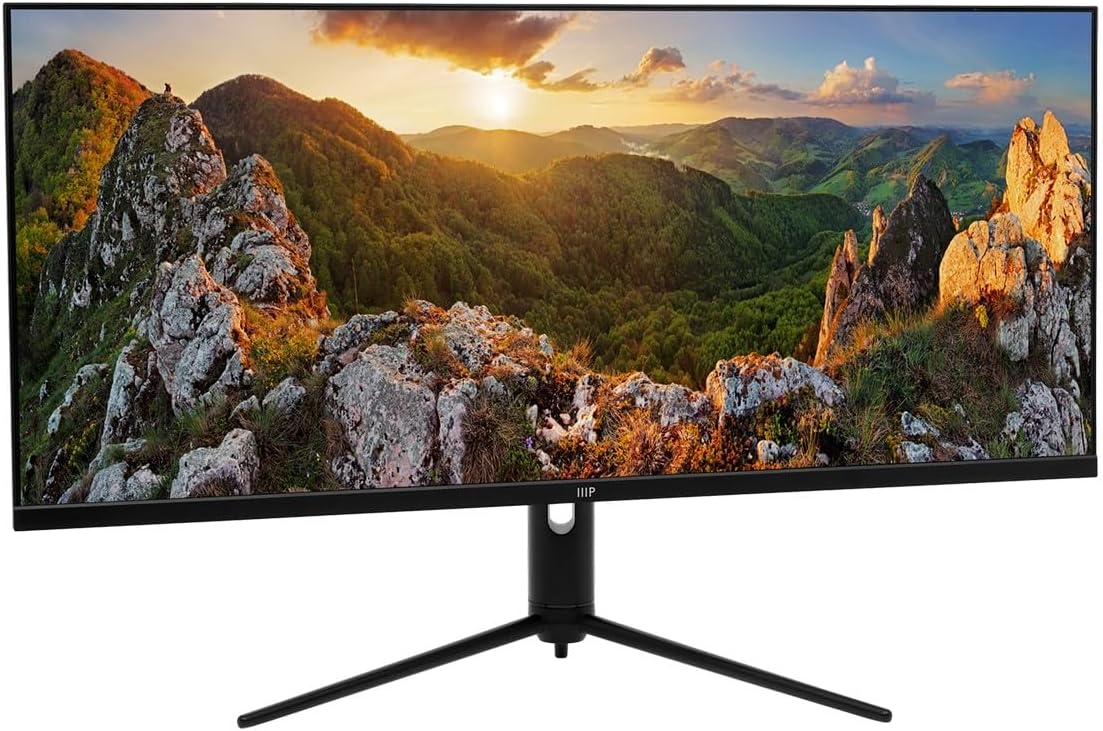
This manual provides comprehensive instructions for the setup, operation, maintenance, and troubleshooting of your Monoprice 40-inch Ultrawide 1440P Productivity Monitor (Model 144394). Please read this manual thoroughly before using the monitor to ensure proper functionality and to prevent damage.
The Monoprice CrystalPro 40-inch Ultrawide Monitor is designed to enhance productivity with its expansive 3440x1440P (UWQHD) resolution and 144Hz refresh rate. Featuring an IPS panel, it delivers accurate colors and wide viewing angles, making it suitable for various professional and personal applications.
2. Коопсуздук маалыматы
Observe the following safety precautions to ensure safe operation and to extend the lifespan of your monitor:
- Мониторду жамгырдын, нымдуулуктун же экстремалдык температуранын таасирине тийгизбеңиз.
- Мониторду күн тийген жерге же жылуулук булактарынын жанына коюудан алыс болуңуз.
- Монитордун айланасында туура желдетүүнү камсыз кылыңыз. Вентиляция тешиктерин жаап албаңыз.
- Монитор менен кошо берилген кубат адаптерин гана колдонуңуз.
- Чагылган бороондо же көпкө колдонулбаганда электр кабелин розеткадан ажыратыңыз.
- Мониторду өзүңүз тейлөөгө аракет кылбаңыз. Бардык тейлөө иштерин квалификациялуу адистерге тапшырыңыз.
- Мониторду күчтүү магнит талаасынан алыс кармаңыз.
- Handle the screen with care. Do not press or scratch the display surface.
3. Пакеттин мазмуну
Please verify that all items listed below are present in your package. If any items are missing or damaged, contact Monoprice customer support.
- Monoprice 40-inch Ultrawide Monitor
- Монитор стенд (негизги жана моюн)
- Кубаттуу адаптер жана кабель
- HDMI кабели
- DisplayPort (DP) кабели
- USB-A to USB-B Cable (for USB hub functionality)
- Колдонуучунун Колдонмосу (бул документ)
- (Note: The product listing mentions "CD". Please check your package for any included software or drivers on a CD, though most modern systems download drivers online.)
4. Орнотуу
4.1. Стендди чогултуу
Стендди мониторуңузга бекитүү үчүн бул кадамдарды аткарыңыз:
- Чийилбеш үчүн мониторду кылдаттык менен жумшак, таза бетке ылдый каратып коюңуз.
- Монтаждык чекиттерди тегиздеп, монитордун артына стенд мойнуна бекитиңиз. Берилген болсо, бурамалар менен бекитиңиз.
- Стенд негизин стенд мойнунун түбүнө бекитиңиз. Баш бармактын бурама же бурагычтарды негиздин астынан бекемдеңиз.
- Once assembled, carefully lift the monitor and place it upright on a stable, flat surface.
4.2. Туташтыруучу кабельдер
Кабелдерди туташтырардан мурун, монитор да, компьютериңиз да өчүк экенин текшериңиз.
- Кубат туташуу: Кубат адаптерин монитордун кубат киргизүү булагына туташтырыңыз, андан кийин кубат кабелин розеткага сайыңыз.
- Видео туташуу:
- For optimal performance (3440x1440P at 144Hz), use the provided Дисплей порту (DP) cable to connect the monitor to your computer's graphics card.
- Alternatively, use an HDMI cable. Note that HDMI may support up to 100Hz refresh rate at 3440x1440P, depending on the HDMI version and your graphics card.
- The monitor also supports USB-C video input. Connect a compatible USB-C cable from your device to the monitor's USB-C port.
- USB хабына туташуу: To enable the monitor's USB-A ports, connect the provided USB-A to USB-B cable from your computer's USB port to the monitor's USB-B upstream port.
- Аудио чыгаруу: If desired, connect external speakers or headphones to the monitor's 3.5mm audio output jack.


4.3. Баштапкы күйгүзүү
Бардык керектүү кабелдерди туташтыргандан кийин:
- Компьютериңизди күйгүзүңүз.
- Монитордогу кубат баскычын басыңыз. Кубат индикаторунун жарыгы күйүп турушу керек.
- Монитор киргизүү сигналын автоматтык түрдө аныкташы керек. Эгер андай болбосо, экрандагы дисплей (OSD) менюсун колдонуп, киргизүү булагын кол менен тандоо керек болушу мүмкүн.
5. Мониторду иштетүү
5.1. Күйгүзүү/өчүрүү
Press the power button, typically located on the bottom or back of the monitor, to turn the monitor on or off. The power indicator light will show the monitor's status.
5.2. Экрандагы дисплей (OSD) менюсу
The OSD menu allows you to adjust various monitor settings. Navigation is typically done using a joystick or a series of buttons located on the back or bottom of the monitor. While the OSD interface may require some familiarity, it provides access to all display controls.
- Press the OSD button (or joystick center) to open the main menu.
- Use the navigation buttons (or joystick) to move through menu options.
- Press the select button (or joystick center) to enter a sub-menu or confirm a selection.
- Press the exit button (or move joystick left) to go back or exit the OSD.
5.3. Киргизүүнү тандоо
To switch between connected devices (e.g., PC via DisplayPort, console via HDMI), access the OSD menu and navigate to the "Input" or "Source" section. Select the desired input.
5.4. Сүрөт орнотуулары
Adjust display characteristics through the OSD menu:
- Жарыктык/Контраст: Жарык жана караңгы аймактардын жалпы жарыктыгын жана айырмасын тууралаңыз.
- Түс температурасы: Select predefined color modes (e.g., Warm, Cool, User) or adjust RGB values manually.
- Сүрөт режими: Choose from various presets optimized for different content (e.g., Standard, Game, Movie, Text).
- HDR: Enable or disable HDR (High Dynamic Range) functionality. Ensure your content and graphics card support HDR for optimal results.
5.5. Жаңыртуу ылдамдыгы
The monitor supports a 144Hz refresh rate. To ensure your system is utilizing this, verify the refresh rate setting in your operating system's display settings:
- Windows: Right-click on the desktop > Display settings > Advanced display settings > Display adapter properties for Display [X] > Monitor tab > Screen refresh rate.
- MacOS: System Settings > Displays > Refresh Rate.
Эскертүү: Achieving 144Hz at 3440x1440P typically requires a DisplayPort connection. HDMI may be limited to 100Hz or lower depending on the specific HDMI version and connected device.
5.6. Эргономикалык тууралоо
The monitor stand allows for ergonomic adjustments to optimize your viewтажрыйбасы:
- Россия: Экрандын вертикалдык бурчун тууралаңыз (алдыга/артка).
- Бийиктигин тууралоо: Мониторду көз деңгээлине чейин көтөрүңүз же түшүрүңүз.
- Айлануучу: Мониторду анын негизинде туурасынан айлантыңыз.


6. Техникалык тейлөө
Туура тейлөө мониторуңуздун узак мөөнөттүү жана оптималдуу иштешин камсыз кылат:
- Экранды тазалоо: Экранды жумшак, түксүз чүпүрөк менен акырын сүртүңүз. өжөр белгилери үчүн, жеңил гampчүпүрөккө суу же атайын экран тазалоочу каражат. Эч качан тазалагычты түздөн-түз экранга чачпаңыз.
- Тазалоо Casing: Мониторду сүртүү үчүн жумшак, кургак чүпүрөктү колдонуңуз casinг. Абразивдүү тазалагычтардан же эриткичтерден качыңыз.
- Вентиляция: Ensure the ventilation openings on the back of the monitor are clear of dust and obstructions.
- Өчүрүү: Always power off and unplug the monitor before cleaning or when not in use for extended periods.
7. Кыйынчылыктарды
Мониторуңузда көйгөйлөргө туш болсоңуз, төмөнкү жалпы көйгөйлөрдү жана чечимдерди караңыз:
| Көйгөй | Мүмкүн болгон себеп / Чечим |
|---|---|
| Экранда сүрөт жок |
|
| Сүрөт бүдөмүк же бурмаланган |
|
| No sound from monitor speakers (if applicable) or audio jack |
|
| USB ports on monitor not working |
|
| Monitor flickers or shows artifacts |
|
8. Техникалык шарттар
The following table outlines the technical specifications of the Monoprice 40-inch Ultrawide 1440P Productivity Monitor:
| Өзгөчөлүк | Деталь |
|---|---|
| Модель номери | 144394 |
| Screen Size | 40 дюйм |
| Панел түрү | IPS |
| Max чечим | 3440 x 1440 (UWQHD) |
| Жаңыртуу ылдамдыгы | 144Hz |
| Аспект катышы | 21:9 |
| HDR колдоо | HDR600 |
| Түс гаммасы | NTSC 105%, DCI-P3 95%, sRGB 99%, Adobe RGB 89% |
| Байланыш | 2x HDMI, 1x DisplayPort, 1x USB-C, 1x Audio Out, 1x USB-B (Upstream) |
| USB порттору | 1x USB 2.0 (Downstream, requires USB-B upstream connection to PC) |
| Screen Surface | Жылтырак |
| Салмагы | 31.9 фунт (стенд менен) |
| Түс | Кара |
9. Кепилдик жана колдоо
For warranty information, technical support, or service inquiries, please refer to the warranty card included with your product or visit the official Monoprice webсайт. Сатып алуу квитанциясын кепилдик дооматтары үчүн сатып алуунун далили катары сактаңыз.
Monoprice Customer Support: www.monoprice.com/support


