1. Бүттүview
The JOBY Fly X Mini Drone is a compact quadcopter designed for ease of use and aerial photography. It features a 6-axis gyroscope for stable flight, one-button takeoff and landing, and the ability to perform 360-degree flips. Equipped with an HD camera, it captures 720p video and JPEG images, transmitting footage via Wi-Fi to a compatible smartphone.

Image 1.1: The JOBY Fly X Mini Drone, showcasing its compact design and integrated camera.
2. Кутуда эмне бар
Орнотууну улантуудан мурун бардык компоненттер бар экенин текшериңиз:
- HD камерасы бар JOBY Fly X Mini Drone
- Алыстан башкаруу
- 2 x Lithium Ion Batteries (for drone)
- USB заряддоо кабели
- Запастык пропеллер
- Көрсөтмө (бул документ)
3. Орнотуу
3.1 Батареяны орнотуу жана заряддоо
- Дрон Батарея: Locate the battery compartment on the drone. Carefully insert one of the provided Lithium Ion batteries. Ensure it is securely connected.
- Заряддоо: Connect the drone battery to the USB charging cable. Plug the USB cable into a compatible USB power source (e.g., computer, wall adapter). The indicator light on the cable will show charging status. Charge until fully indicated.
- Контроллердин батареялары: Open the battery compartment on the remote control. Insert the required batteries (not specified in product data, typically AA or AAA, refer to physical product for exact type).
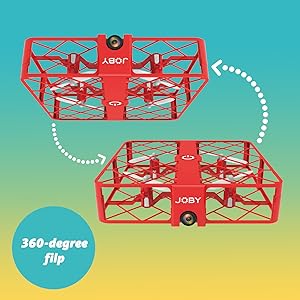
Image 3.1: Drone with its battery compartment open for installation.
3.2 Колдонмону орнотуу жана Wi-Fi туташуусу
To utilize the HD camera and view жаша фооtage, download the dedicated drone control application on your smartphone (compatible with iPhone/Android). Refer to the packaging or a QR code on the drone for the specific app name.
- Дронду күйгүзүү: Press the power button on the drone. The indicator lights will flash.
- Wi-Fi'га туташуу: On your smartphone, go to Wi-Fi settings and connect to the drone's Wi-Fi network (usually named something like "JOBY_DRONE_XXXX").
- Колдонмону ишке киргизүү: Open the drone control app. You should see the live camera feed from the drone.

Image 3.2: Remote control with a smartphone attached, showing the live camera view.
4. Иштөө нускамалары
4.1 Күйгүзүү жана жупташтыруу
- Дронду күйгүзүү: Press the power button on the drone. The lights will flash, indicating it's ready for pairing.
- Күйгүзүү контроллери: Пульттагы кубат баскычын басыңыз.
- Жупташтыруу: Сол жактагы джойстикти (дроссель) аягына чейин өйдө, анан аягына чейин ылдый басыңыз. Дрондун жарыктары күйүп-өчпөй, бир калыпта күйүп калат, бул ийгиликтүү жупташууну билдирет.
4.2 Учуу жана конуу
- Бир баскыч менен учуп чыгуу: After pairing, press the dedicated one-button takeoff/landing button on the controller. The drone will automatically ascend to a stable hovering height.
- Бир баскычтуу конуу: Press the same one-button takeoff/landing button during flight, and the drone will automatically descend and land.
- Throw to Launch: For experienced users, the drone can be gently tossed into the air after pairing, and it will automatically stabilize.
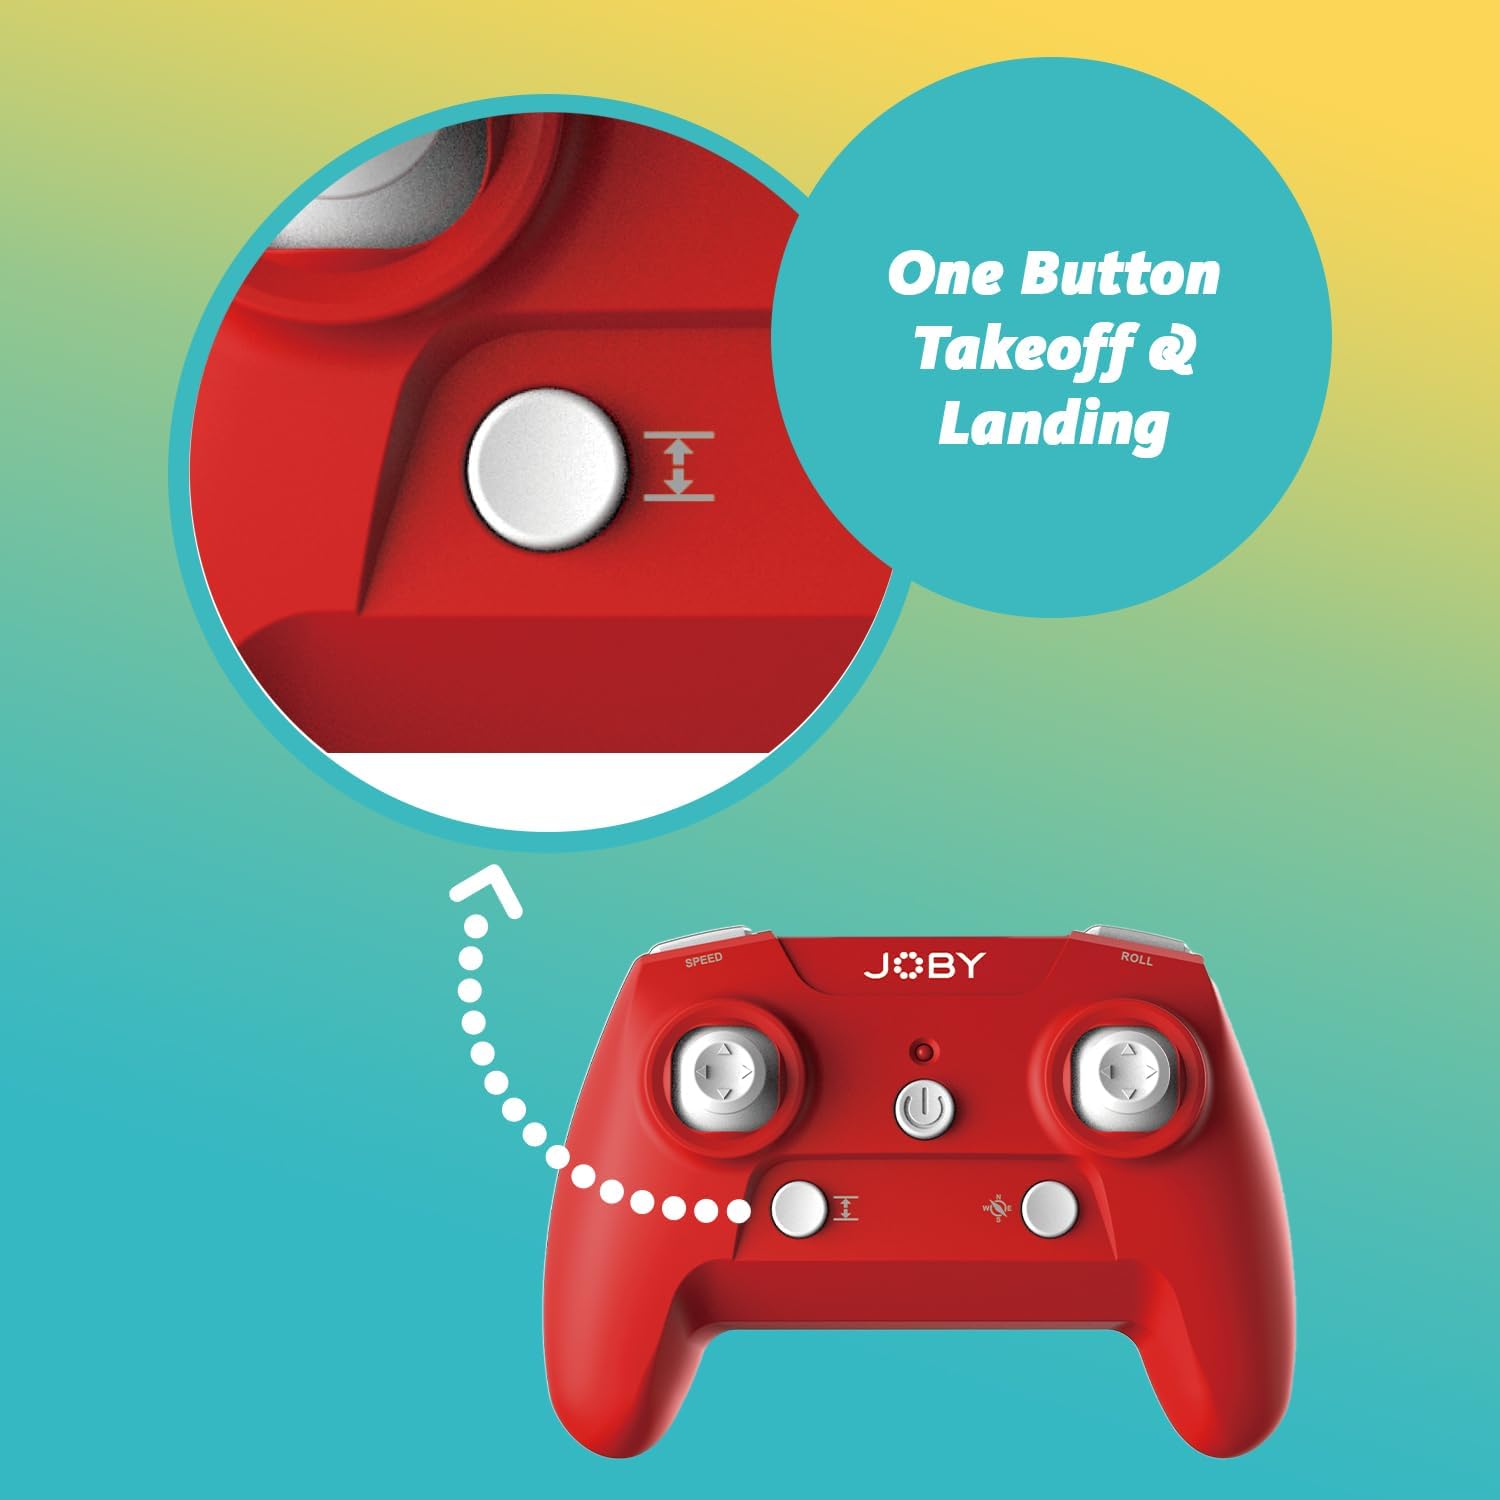
Image 4.1: Remote control highlighting the one-button takeoff/landing button.
4.3 Учууну башкаруу
Use the joysticks on the remote control to maneuver the drone:
- Сол жактагы джойстик (дроссель): Up/Down for ascend/descend; Left/Right for yaw (rotate).
- Оң джойстик (багыт): Up/Down for forward/backward; Left/Right for left/right strafe.
4.4 Өзгөчөлүктөр
- 360-Degree Flip: Press the dedicated "Flip" button on the controller, then push the right joystick in the desired direction to perform an aerial flip.
- Emergency Landing: In case of an emergency, activate the emergency landing function (refer to controller button layout for specific button) to quickly bring the drone down safely.

Image 4.2: Visual representation of the 360-degree flip feature.
4.5 Камеранын иштеши
The integrated HD camera captures 720p video and JPEG images. Control camera functions via the smartphone app:
- Сүрөт тартуу: Tap the camera icon in the app to take a still photograph.
- Видео жаздыруу: Tap the video icon to start recording. Tap again to stop.
- Viewмаалымат каражаттары: Access recorded photos and videos directly through the app's gallery.
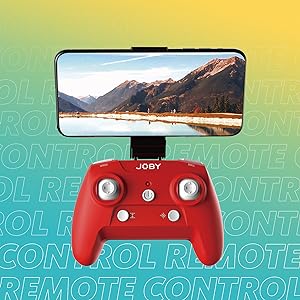
Image 4.3: Detail of the drone's HD camera.
4.6 Окуу видеосу
Video 4.4: This video demonstrates the unboxing, battery installation, pairing process, and various flight maneuvers of the JOBY Fly X Mini Drone, including indoor and outdoor flight examples.
5. Техникалык тейлөө
Regular maintenance ensures optimal performance and longevity of your drone:
- Пропеллер текшерүү: Regularly check propellers for damage (cracks, bends). Replace any damaged propellers using the spare parts provided.
- Тазалоо: Дрондун корпусун жана камеранын линзасын тазалоо үчүн жумшак, кургак чүпүрөктү колдонуңуз. Күчтүү химиялык заттарды же суюктуктарды колдонуудан алыс болуңуз.
- Батареяга кам көрүү: Store batteries in a cool, dry place. Do not overcharge or completely drain batteries. Remove batteries from the drone and controller during extended periods of non-use.
- Сактагыч: Store the drone in a safe place, away from direct sunlight and extreme temperatures.
6. Кыйынчылыктарды
- Дрон күйбөйт: Батарея толук заряддалганын жана туура салынганын текшериңиз.
- Контроллер жооп бербей жатат: Check controller batteries. Ensure the drone and controller are properly paired (refer to Section 4.1).
- Туруксуз учуу: Perform a calibration (refer to the app or controller instructions for calibration steps). Check propellers for damage or obstructions.
- No Camera Feed/Poor Quality: Ensure your smartphone is connected to the drone's Wi-Fi network. Check for app updates. Ensure the camera lens is clean.
- Кыска учуу убактысы: Batteries may not be fully charged or may be nearing the end of their lifespan.
7. Техникалык шарттар
| Өзгөчөлүк | Деталь |
|---|---|
| Бренд | Joby |
| Модель аты | Fly X Mini |
| Элемент моделинин номери | JB01966-BWW |
| Өлчөмдөр | 5.12"L x 5.12"W x 1.18"H |
| Элемент Салмагы | 2.24 унция |
| Видео тартуунун резолюциясы | 720p |
| Video Output токтому | 1280x720 пиксел |
| Видео тартуу форматы | MP4 |
| Колдоого алынган сүрөт форматы | JPEG |
| Байланыш технологиясы | Wi-Fi |
| Алыстан башкаруу технологиясы | Wi-Fi |
| Максималдуу диапазон | 100 фут (болжол менен 30 метр) |
| Батареялар | 2 литий-иондук батарейкалар (кошумча) |
| Материал | Пластик |
| Skill Level | Beginner |
8. Кепилдик жана колдоо
For warranty information and customer support, please refer to the official Joby webсайтка же түздөн-түз кардарларды тейлөөгө кайрылыңыз. Ар кандай кепилдик дооматтары үчүн сатып алганыңыздын далилин сактаңыз.
кире аласыз Joby Store on Amazon кошумча продукт маалымат жана колдоо ресурстар үчүн.