AVer Avervision U50+ Document Camera User Manual
Model: U50+
Introduction
This manual provides comprehensive instructions for the setup, operation, and maintenance of your AVer Avervision U50+ Document Camera. Please read this manual thoroughly before using the device to ensure proper functionality and to maximize its capabilities. The AVer Avervision U50+ is a versatile document camera designed for educational and professional environments, offering high-quality image capture and ease of use.
Продукт бүттүview
The AVer Avervision U50+ is a compact and portable document camera featuring a flexible gooseneck design and intuitive controls.
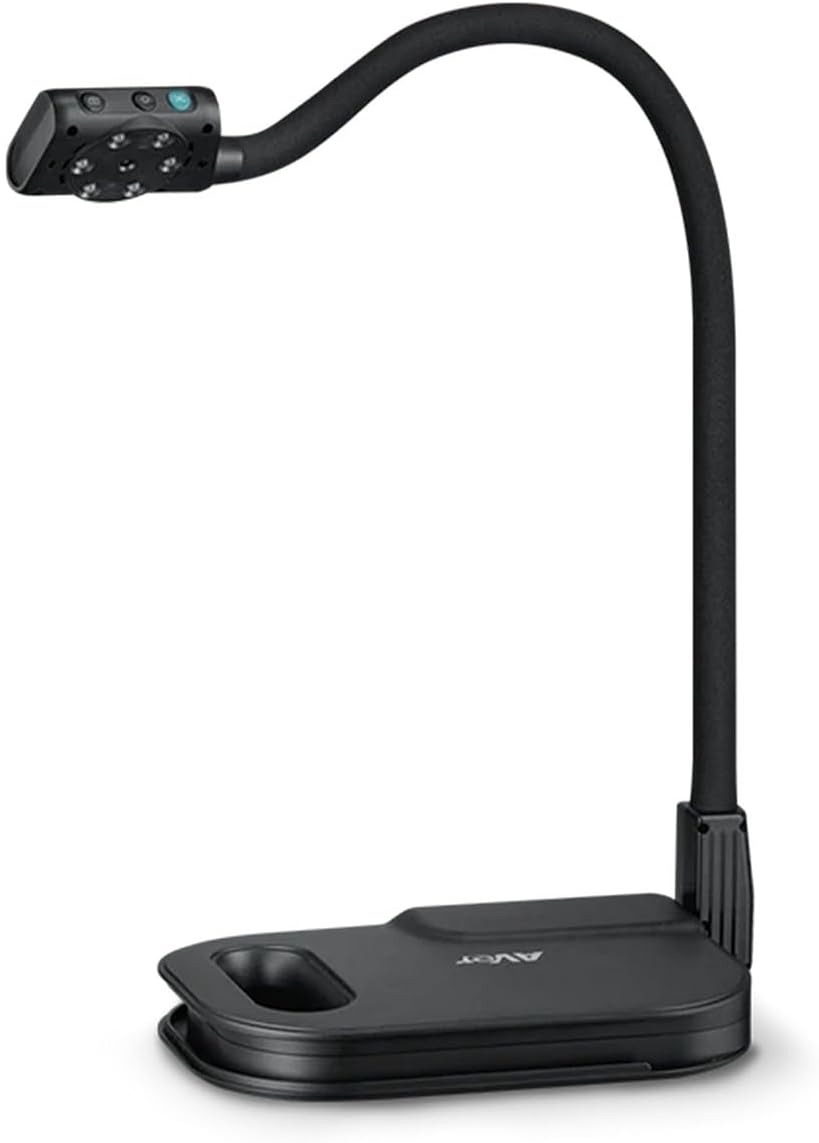
Сүрөт 1: Алдыңкы view of the AVer Avervision U50+ Document Camera, showing the camera head, flexible arm, and base.
Негизги компоненттер:
- Камера башчысы: Contains the lens, image sensor, and control buttons.
- Flexible Gooseneck Arm: Allows for precise positioning of the camera head.
- Негизги: Provides stability and houses the USB connection port.
- Камтылган LED жарык: Provides illumination for objects placed under the camera.
- Башкаруу баскычтары: Located on the camera head for functions like zoom and focus.

Сүрөт 2: Жакын пландан view of the base, highlighting the Mini USB Port for PC connection.
Пакеттин мазмуну
While specific details were not provided, a typical package for the AVer Avervision U50+ Document Camera usually includes:
- AVer Avervision U50+ Document Camera unit
- Компьютерге туташуу үчүн USB кабели
- Quick Start Guide (digital or printed)
- Software CD/Download link (if applicable)
Жайгашуу
- Камераны таңгактан чыгаруу: Carefully remove the document camera and all accessories from its packaging.
- Камераны жайгаштырыңыз: Place the camera base on a stable, flat surface.
- Компьютерге туташуу: The AVer Avervision U50+ is USB менен иштейт жана өзгөчөлүктөрү Штепсель менен ойнотуу функциясы. Connect the supplied USB cable from the Mini USB Port on the camera base to an available USB port on your computer.
- Программалык камсыздоону орнотуу (зарыл болсо): For full functionality, you may need to install AVer's Sphere2 software or other compatible document camera software. Refer to the Quick Start Guide or AVer's official webжүктөп алуу боюнча көрсөтмөлөрдү алуу үчүн сайт.
- Каз моюнду тууралоо: Gently bend the flexible gooseneck arm to position the camera head directly above the object or document you wish to display.
Иштөө нускамалары
1. Күйгүзүү/өчүрүү
The camera powers on automatically when connected to a powered USB port. Disconnect the USB cable to power off.
2. Сүрөттү тууралоо
- Фокус: The camera features automatic and manual exposure control. Use the focus button on the camera head or software controls to achieve a clear image.
- Чоңойтуу: The U50+ features 16x Digital Zoom. Use the zoom buttons on the camera head (often marked with '+' and '-') or the software interface to zoom in or out on your subject.
- LED жарык: The Built-in Adjustable LED Light can be turned on or off, and its brightness adjusted, using the dedicated button on the camera head or through the software. This helps illuminate objects for better clarity.
- Каз моюн тууралоо: The flexible arm allows for dynamic positioning to capture various angles and sizes of objects.

Figure 3: Camera head showing controls and indicating 16x digital zoom capability.

Figure 4: Close-up of the camera head with the built-in LED light turned on, illuminating the area below.

Figure 5: Illustration of the flexible gooseneck arm's range of motion, showing how it can be adjusted.
3. Программаны колдонуу
Utilize the accompanying software (e.g., AVer Sphere2) to:
- Capture still images and record videos.
- Annotate live images.
- Access advanced camera settings.
- Integrate with interactive whiteboards or projectors.
Техникалык тейлөө
- Тазалоо: Use a soft, dry cloth to clean the camera body. For the lens, use a specialized lens cleaning cloth and solution. Avoid abrasive cleaners or solvents.
- Сактагыч: Колдонулбай турган учурда, камераны салкын, кургак жерде, күн нуру түз тийген жерден жана өтө жогорку температурадан алыс сактаңыз.
- Колдонуу: Handle the flexible arm gently. Avoid excessive force or twisting that could damage internal wiring.
Проблемаларды чечүү
| Көйгөй | Мүмкүн себеп | Чечим |
|---|---|---|
| Сүрөт көрсөтүлгөн жок. | USB cable not properly connected; software not running or installed. | Ensure USB cable is securely connected to both the camera and the computer. Verify software is installed and running. Try a different USB port. |
| Сүрөт бүдөмүк. | Incorrect focus; object too close/far; dirty lens. | Adjust focus using the camera buttons or software. Reposition the object. Clean the camera lens. |
| LED жарыгы иштебейт. | Light turned off; insufficient power from USB port. | Press the LED light button on the camera head. Try connecting to a different USB port or a powered USB hub. |
| Software not detecting camera. | Driver issue; conflicting software. | Reinstall camera drivers. Close other applications that might be using the camera. Restart your computer. |
Техникалык шарттар
| Өзгөчөлүк | Деталь |
|---|---|
| Модель номери | U50+ |
| Продукциянын өлчөмдөрү | 4.2 x 9.3 x 13.6 дюйм |
| Элемент Салмагы | 4.6 фунт |
| Видео тартуунун резолюциясы | 4K |
| Чоңойтуу түрү | Санариптик масштаб (16x) |
| Экспозицияны башкаруу түрү | Кол менен, Автоматтык |
| Power Source | USB менен иштейт |
| Өндүрүүчү | AVer Information Inc |
Кепилдик жана колдоо
Specific warranty details are not provided within this manual. For information regarding warranty coverage, technical support, driver downloads, and software updates, please visit the official AVer website or contact AVer customer support directly. Keep your purchase receipt as proof of purchase for warranty claims.
AVer колдоо Webсайт: https://www.averusa.com/education/support/