Introduction
The MAXHUB WIB10A Display Top Rack is designed to provide a stable and convenient mounting solution for various devices, including soundbars, webcams, and microphones, on top of your display. Its simple design ensures compatibility with a wide range of display types, offering a secure fit for your peripherals.
Коопсуздук маалыматы
- Ensure the rack is securely placed on a stable display surface before attaching any devices.
- Do not overload the rack beyond its intended weight capacity.
- Балдар жетпеген жерде сактаңыз.
- Өнүмдү экстремалдык температурага же тике күн нуруна тийгизүүдөн сактаңыз.
- Do not attempt to modify or disassemble the rack.
Пакеттин мазмуну
Пакетте бардык буюмдар бар экенин текшериңиз:
- MAXHUB WIB10A Display Top Rack (1 unit)
- Instruction Manual (English, Chinese) (1 copy)
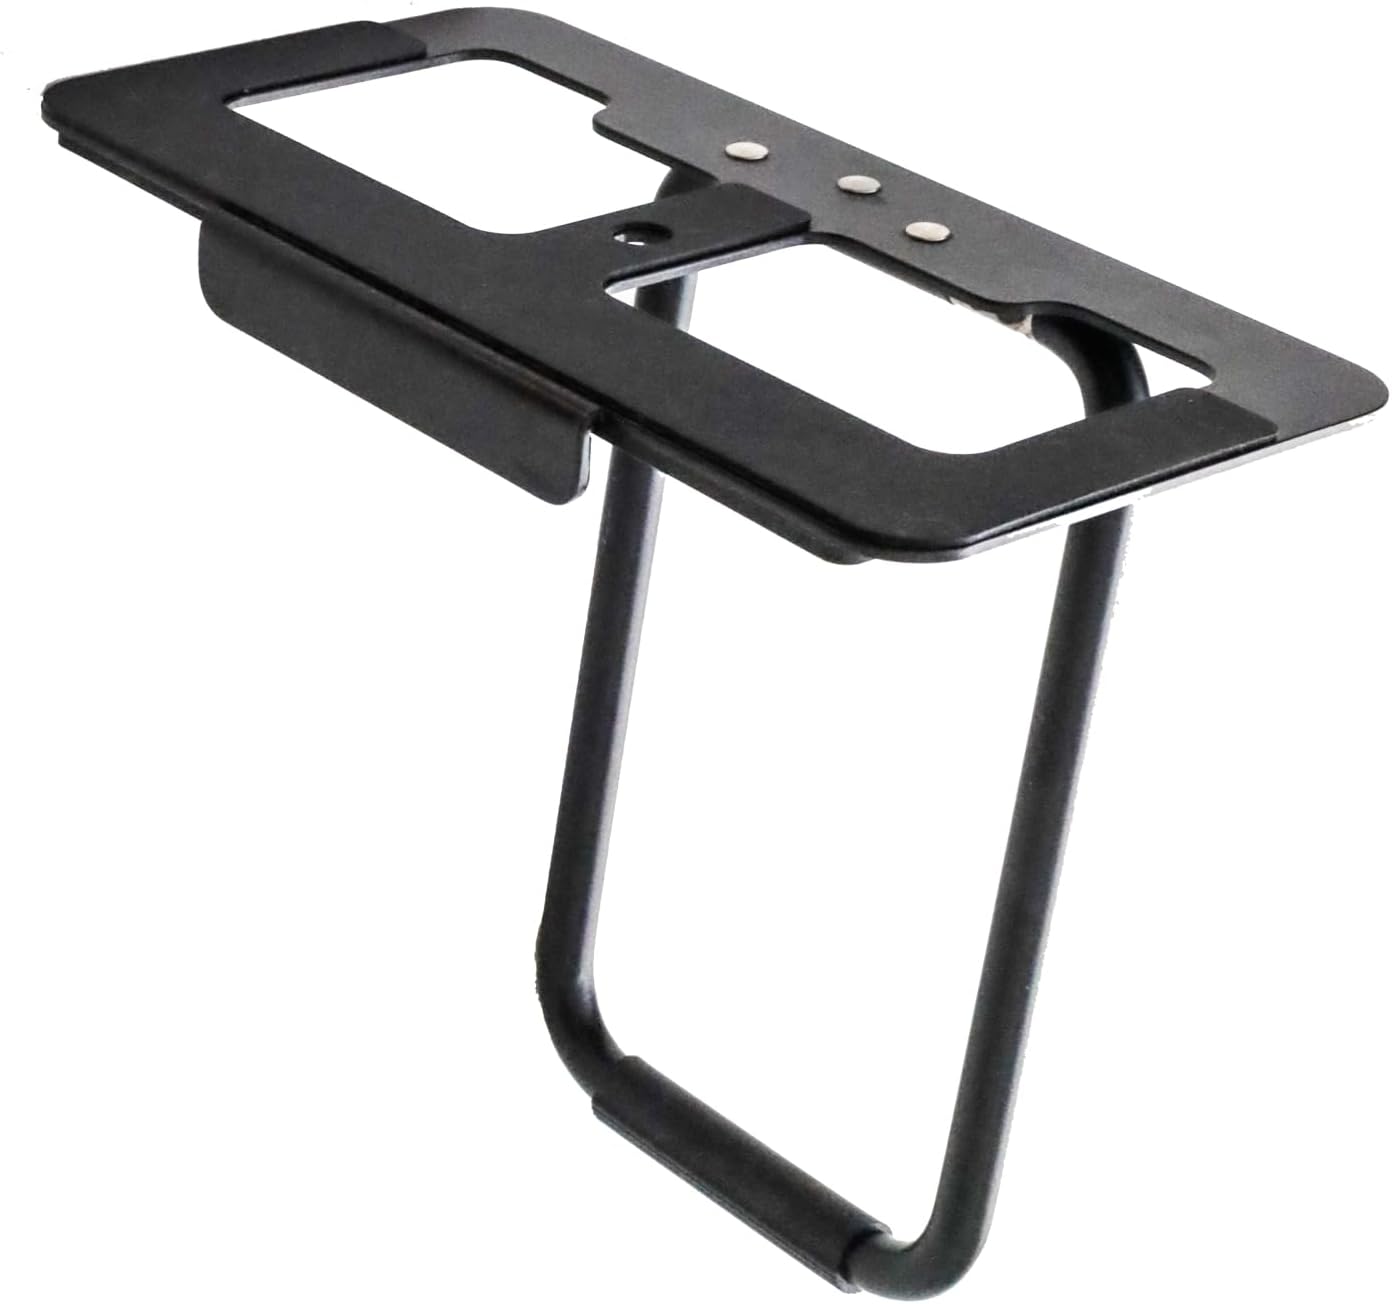
Image: The MAXHUB WIB10A Display Top Rack, a black metal frame designed to sit on top of a monitor, providing a stable platform for accessories. It features a flat top surface with cutouts and a U-shaped support leg.
Орнотуу жана орнотуу
Follow these steps to properly set up your MAXHUB WIB10A Display Top Rack:
- Станканы жайгаштыруу: Carefully place the MAXHUB WIB10A Display Top Rack on the top edge of your display. Ensure the front lip of the rack rests securely against the front bezel of the display, and the adjustable rear support leg is extended to provide stability against the back of the display.
- Туруктуулукту жөнгө салуу: The rack features anti-slip processing on all contact surfaces to ensure a firm grip. Adjust the rear support leg as needed to achieve a level and stable position on your specific display model.
- Түзмөктөрдү тиркөө: The rack is equipped with a standard 1/4-inch screw. Align the 1/4-inch screw hole on your device (e.g., soundbar, webcam, microphone) with the screw on the rack. Tighten the screw clockwise until the device is securely fastened.

Image: A MAXHUB soundbar mounted on the display top rack. The image shows both a front view, where the soundbar sits neatly on top of the monitor, and a rear view, illustrating how the rack's support leg rests against the back of the display for stability.

Сүрөт: жакын план view demonstrating the 1/4-inch screw mechanism on the MAXHUB display top rack. A hand is shown tightening a device onto the rack using the screw, highlighting the secure attachment method.
Иштөө нускамалары
Once installed, the MAXHUB WIB10A Display Top Rack operates passively as a stable platform. Ensure any attached devices are powered on and connected according to their respective manuals.
- Түзмөктүн жайгашуусу: Place your soundbar, webcam, or microphone on the rack's platform.
- Коопсуз тиркеме: Use the integrated 1/4-inch screw to firmly secure compatible devices. This prevents accidental dislodgement.
- Кабелдик башкаруу: Route any cables from your attached devices neatly to avoid clutter and ensure they do not interfere with the display or other equipment.
Техникалык тейлөө
To ensure the longevity and proper function of your display top rack, follow these simple maintenance guidelines:
- Тазалоо: Wipe the rack with a soft, dry cloth to remove dust. For stubborn marks, a slightly damp кездемени колдонсо болот, андан кийин дароо кургатыңыз. Абразивдүү тазалоочу каражаттарды же эриткичтерди колдонбоңуз.
- Текшерүү: Periodically check the rack for any signs of wear or damage. Ensure the anti-slip surfaces are clean and intact.
- Сактагыч: If not in use, store the rack in a cool, dry place away from direct sunlight and extreme temperatures.
Проблемаларды чечүү
If you encounter any issues with your MAXHUB WIB10A Display Top Rack, refer to the following common problems and solutions:
| Көйгөй | Мүмкүн себеп | Чечим |
|---|---|---|
| Rack is unstable on the display. | Rear support leg not properly adjusted or display surface is uneven. | Adjust the rear support leg to ensure it firmly presses against the back of the display. Ensure the display is on a flat surface. |
| Device attached to the rack is loose. | 1/4-inch screw not tightened sufficiently or device is not fully compatible. | Ensure the 1/4-inch screw is fully tightened. Verify your device has a compatible 1/4-inch screw hole. |
| Anti-slip pads are not effective. | Pads are dirty or worn. | Тайгаланбай турган төшөмөлөрдү жарнама менен тазалаңызamp cloth. If pads are worn, contact customer support for assistance. |
Техникалык шарттар
| Өзгөчөлүк | Деталь |
|---|---|
| Модель номери | WIB10A |
| Өлчөмдөрү (туурасы x тереңдик) | 160мм x 80мм (6.3 дюйм x 3.15 дюйм) |
| Продукт Салмагы | 320 г (0.71 фунт) |
| Түс | Кара |
| Монтаждоо бурагы | 1/4-inch standard screw |
| Материал | Metal with anti-slip processing |
Кепилдик жана колдоо
This product comes with a standard manufacturer's warranty. For specific warranty terms and conditions, please refer to the documentation provided with your purchase or visit the official MAXHUB webсайт.
For technical support, troubleshooting assistance, or inquiries regarding replacement parts, please contact MAXHUB customer service through their official channels. Contact information can typically be found on the manufacturer's website or in the included instruction manual.
Note: The included instruction manual is available in English and Chinese.


