1. Киришүү
This manual provides detailed instructions for the setup, operation, and maintenance of your Pisichen 16-inch 1920x1200P Touch Panel Portable Monitor. Please read this manual thoroughly before using the product to ensure proper functionality and to prevent damage.

Image 1.1: The Pisichen 16-inch Portable Monitor, showcasinанын жандуу дисплейи жана ичке дизайны.
2. Коопсуздук маалыматы
- Do not expose the monitor to rain or moisture to avoid electric shock or fire hazards.
- Мониторду ачпаңыз casinг. Бардык тейлөөлөрдү квалификациялуу кызматкерлерге тапшырыңыз.
- Мониторду күн тийген жерге же жылуулук булактарынын жанына коюудан алыс болуңуз.
- Use only the power adapter and cables provided or approved by the manufacturer.
- Экранды жумшак, мамыксыз чүпүрөк менен тазалаңыз. Суюк тазалоочу каражаттарды же аэрозоль чачыраткычтарын түз экранга колдонбоңуз.
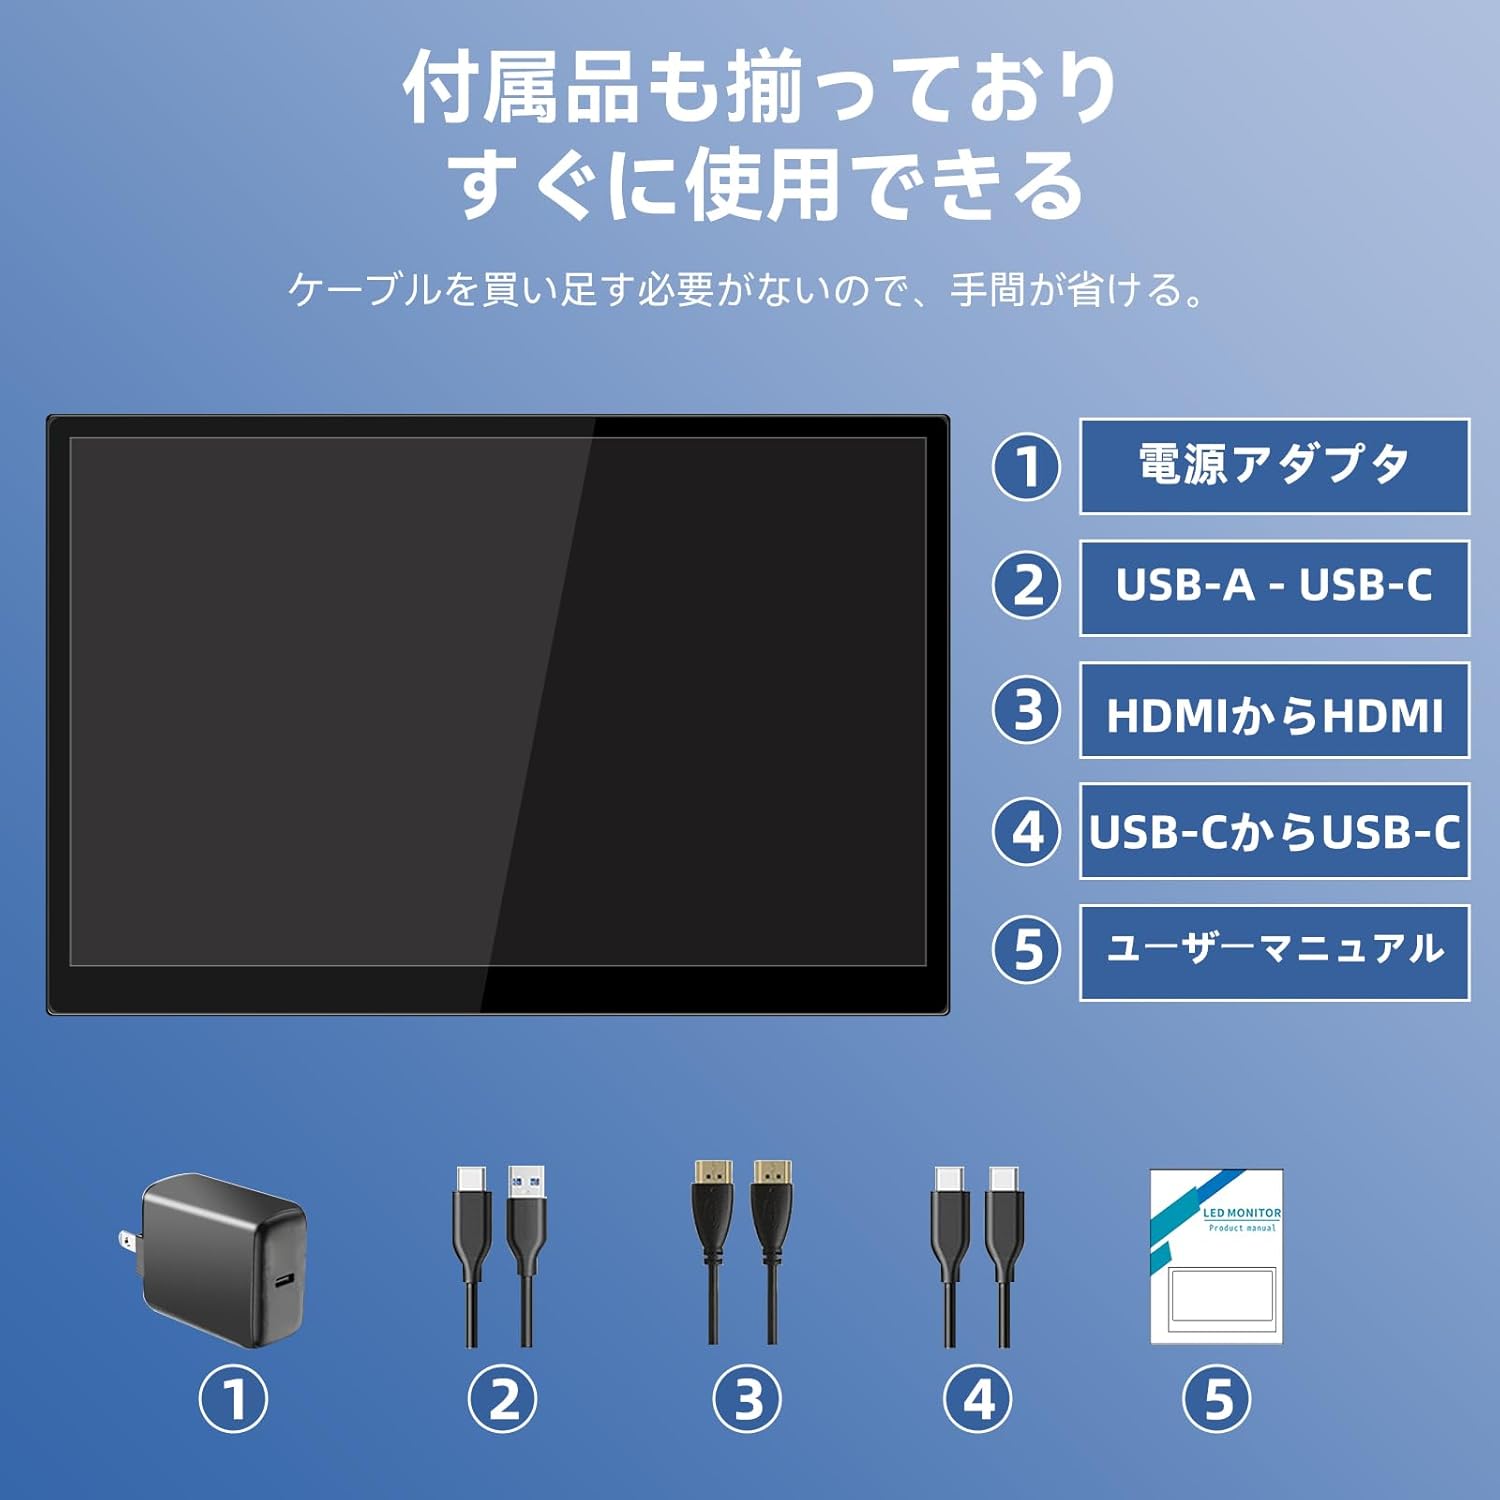
3. Пакеттин мазмуну
Сураныч, пакетте төмөнкү нерселерди текшериңиз:
- Pisichen 16-inch Portable Monitor
- Кубаттуу адаптер
- USB-A - USB-C кабели
- HDMI - HDMI кабели
- USB-C - USB-C кабели
- Колдонуучунун Колдонмосу (бул документ)

Image 3.1: All items included in the product package, ready for immediate use.
4. Продукт бүтүп калдыview
The monitor features multiple ports for versatile connectivity and control buttons for easy navigation of settings.
4.1. Порттор жана баскычтар
Сүрөт 4.1: Детальдуу view of the monitor's interfaces, including audio port, USB-C ports, HDMI port, brightness controls, menu/OK button, volume/down button, and USB-A port.
- 3.5 мм аудио порт: Наушниктерди же тышкы динамиктерди туташтыруу үчүн.
- USB-C Port 1 (Full-function): Supports power, video, and touch signal transmission.
- USB-C Port 2 (Full-function): Supports power, video, and touch signal transmission.
- HDMI порту: For video signal input from devices.
- Brightness Up / Power Button: Short press to increase brightness, long press to power on/off.
- Меню / ОК баскычы: Press to open OSD menu, press again to confirm selection.
- Volume Down / Back Button: Short press to decrease volume, long press to go back in OSD menu.
- USB-A Port (OTG): Чычканды же клавиатураны туташтыруу үчүн.
5. Орнотуу
Follow these steps to connect your portable monitor to various devices.
5.1. Single Cable Connection (USB-C)
For devices with a full-function USB-C port (supporting DisplayPort Alternate Mode and power delivery), a single USB-C to USB-C cable can transmit video, audio, touch signals, and power.
- Connect one end of the USB-C to USB-C cable to a full-function USB-C port on your device (e.g., laptop, smartphone).
- Connect the other end to either USB-C Port 1 or USB-C Port 2 on the monitor.
- The monitor should automatically power on and display the content. Touch functionality will also be active.
5.2. Dual Cable Connection (HDMI + USB-C for Power/Touch)
For devices with an HDMI output, or if your USB-C port does not support power delivery, you will need two cables.
- Connect one end of the HDMI to HDMI cable to your device's HDMI output.
- Connect the other end to the HDMI Port on the monitor.
- Connect the power adapter to one of the monitor's USB-C ports (Port 1 or Port 2) for power.
- For touch functionality, connect the USB-A end of the USB-A to USB-C cable to your device's USB-A port, and the USB-C end to the other available USB-C port on the monitor.

Image 5.1: Illustration of different connection methods: single USB-C cable for power, video, and touch, and dual cable setup using HDMI for video and USB-C for power and touch.
6. Иштөө нускамалары
6.1. Күйгүзүү/өчүрүү
Long press the Brightness Up / Power Button (5) for approximately 3 seconds to power the monitor on or off.
6.2. Экрандагы дисплей (OSD) менюсу
Press the Menu / OK Button (6) to access the OSD menu. Use the Brightness Up / Power Button (5) and Volume Down / Back Button (7) to navigate through options. Press the Menu / OK Button (6) to confirm selections. Long press the Volume Down / Back Button (7) to exit the menu.
6.3. Сенсордук функция
The monitor supports 10-point capacitive multi-touch. Ensure a USB connection (via full-function USB-C or USB-A to USB-C cable) is established for touch input to work. The touch screen allows for intuitive interaction, including swiping, writing, and annotating.
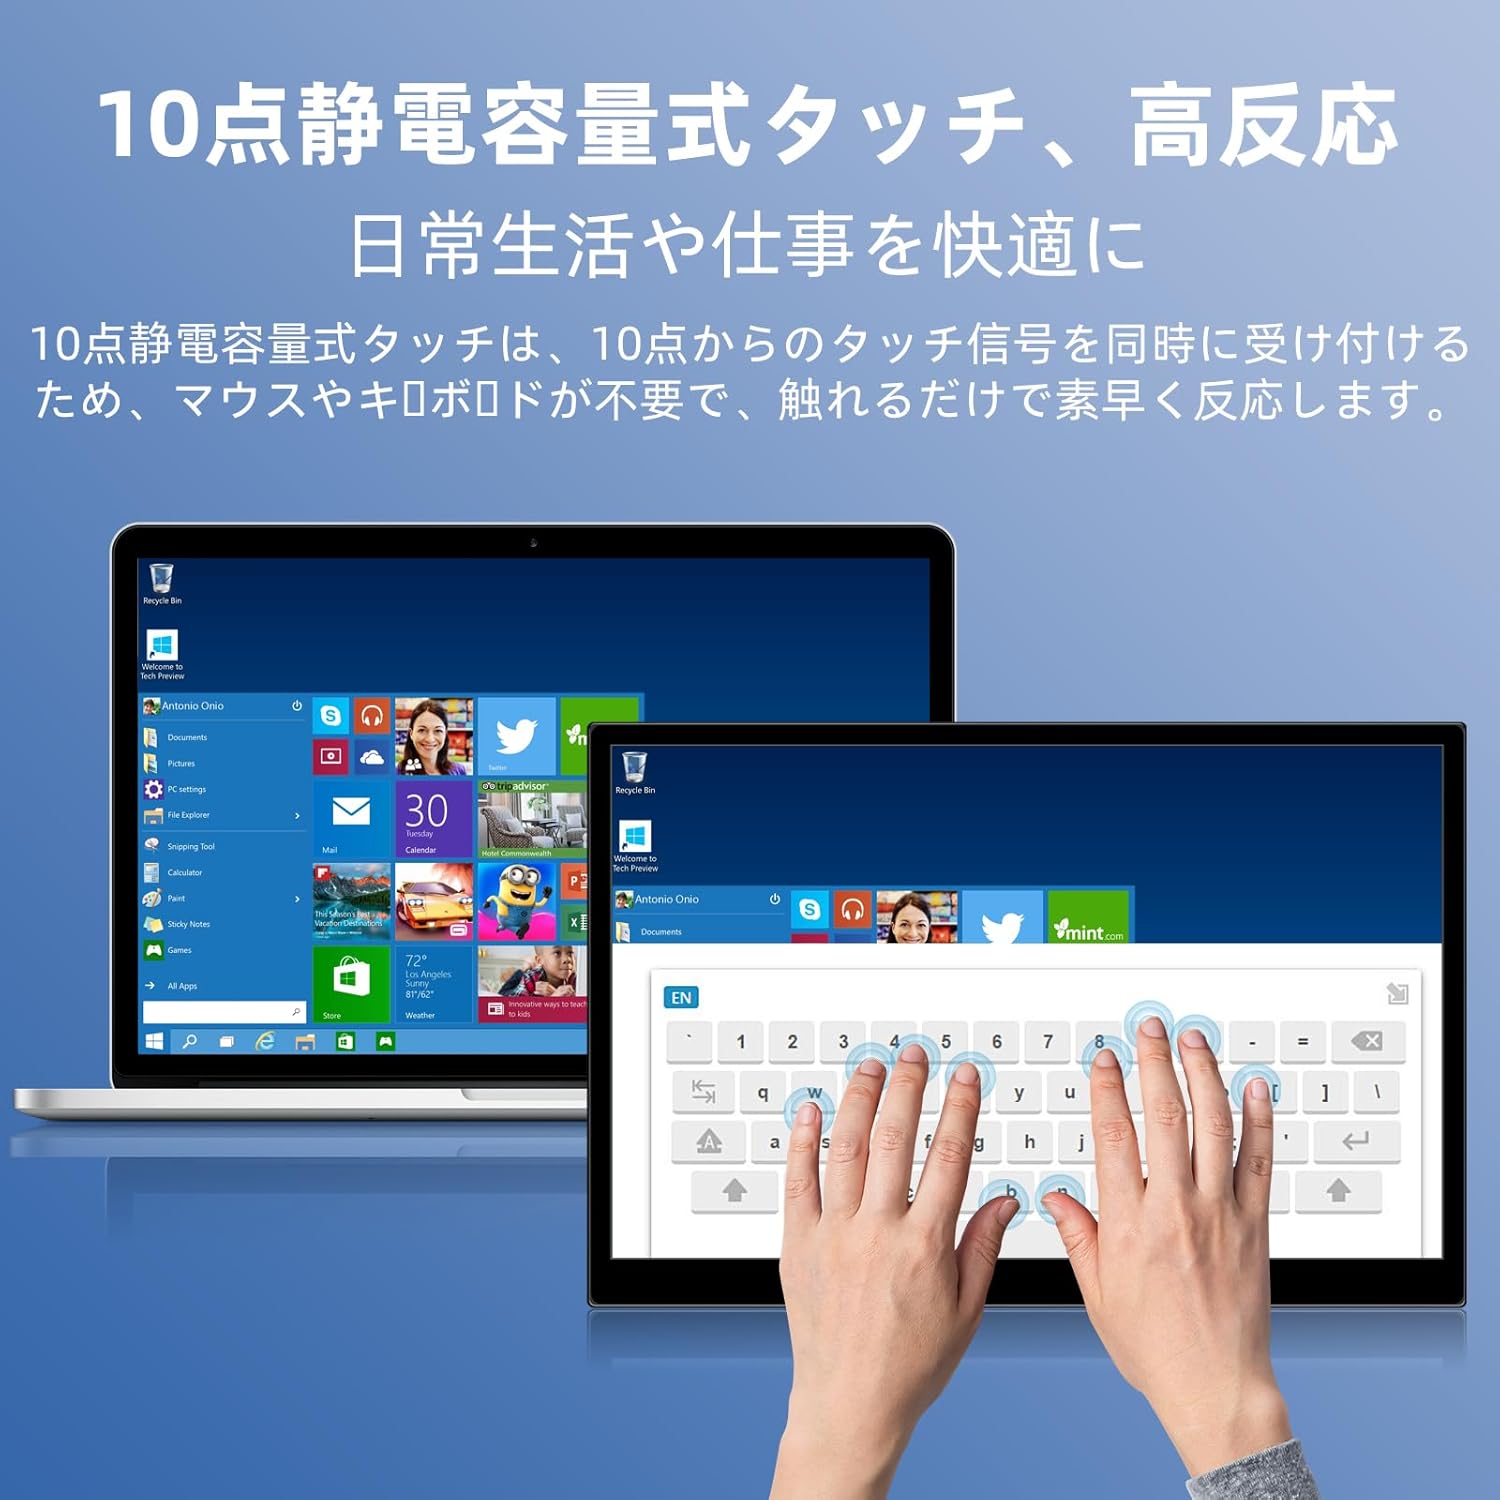
Image 6.1: A user demonstrating the responsive 10-point capacitive touch functionality on the portable monitor, enabling smooth interaction with on-screen content.
6.4. Дисплей режимдери
Монитор компьютерге туташтырылганда ар кандай дисплей режимдерин колдойт:
- Кайталануу режими: Негизги экраныңыздын мазмунун чагылдырат.
- Узартуу режими: Иш тактаңызды кеңейтип, бир нече тапшырманы аткаруу үчүн көбүрөөк экран аянтын камсыз кылат.
- Экинчи экран режими: Дисплей катары көчмө мониторду гана колдонот.
6.5. Screen Orientation
The monitor supports both landscape and portrait orientations. You can adjust the display settings on your connected device (e.g., Windows Display Settings, macOS Display Preferences) to change the orientation as needed for different tasks like document viewing or design work.
6.6. HDR Technology
The monitor features HDR (High Dynamic Range) mode, which provides deeper and more realistic colors for an enhanced visual experience. This setting can typically be toggled within the OSD menu or your device's display settings.

Сүрөт 6.2: Мисamples of the monitor's versatility, showing its use for entertainment, mobile productivity, and as an extended display for a home office.
7. Техникалык тейлөө
- Экранды тазалоо: Экранды жумшак, кургак, түксүз чүпүрөк менен акырын сүртүңүз. өжөр белгилери үчүн, бир аз гampкездемени суу же экранга арналган тазалоочу каражат менен сүртүңүз (кездемеңизге сүйкөңүз, түз экранга эмес).
- Тазалоо Casing: Мониторду сүртүү үчүн жумшак, кургак чүпүрөктү колдонуңуз casinг. Абразивдүү тазалагычтардан алыс болуңуз.
- Сактагыч: Мониторду көпкө чейин колдонбогон учурда, аны салкын, кургак жерде, мүмкүн болсо, баштапкы таңгагында же коргоочу капта сактаңыз.
- Кабелдик башкаруу: Зыян келтирбөө үчүн кабелдерди өтө ийип же бурап албаңыз.
8. Кыйынчылыктарды
| Көйгөй | Мүмкүн себеп | Чечим |
|---|---|---|
| Дисплей жок / "Сигнал жок" билдирүүсү | Туура эмес кабель туташуусу, жетишсиз кубаттуулук, туура эмес киргизүү булагы. | Ensure cables are securely connected. Verify the device's USB-C port supports video output. Connect the power adapter if using HDMI or if USB-C power is insufficient. Check OSD menu for correct input source. |
| Тийүү функциясы иштебейт | No USB connection for touch, driver issue (rare). | Ensure the USB-C cable is full-function or that the USB-A to USB-C cable is connected for touch data. Restart the monitor and connected device. |
| Экрандын бүлбүлдөөсү | Unstable power, faulty cable, refresh rate mismatch. | Use the provided power adapter. Try a different cable. Adjust the refresh rate in your device's display settings. |
| Image is distorted or stretched | Incorrect aspect ratio settings. | Adjust the aspect ratio in the OSD menu or your device's display settings to match the monitor's native resolution (1920x1200). |

Image 8.1: Demonstrating the importance of correct aspect ratio settings to avoid image distortion.
9. Техникалык шарттар
| Өзгөчөлүк | Спецификация |
|---|---|
| Бренд | Pisichen |
| Модель номери | 16QTHCM-1200P |
| Screen Size | 16 дюйм |
| Резолюция | 1920 x 1200 пиксел (FHD) |
| Панел түрү | IPS |
| Viewбурч | 178° |
| Жаңыртуу ылдамдыгы | 60 Гц |
| Контраст катышы | 1000:1 |
| Жарыктык | 300 кд/м² |
| Түс гаммасы | 100% sRGB |
| Түс тереңдиги | 16.7 млн Түстөр |
| Сенсордук экран | 10 пункттуу сыйымдуулуктагы тийүү |
| Байланыш | 2x Full-function USB-C 3.1, 1x HDMI, 1x USB-A (OTG), 1x 3.5mm Audio Jack |
| HDR колдоо | Ооба |
| VESA тоосуна шайкеш келет | Ооба |
| Өнүмдүн Өлчөмдөрү (Ж x Y x D) | 350 x 230 x 10 мм |
| Салмагы | 1.62 кг |
10. Кепилдик жана колдоо
For warranty information and technical support, please refer to the warranty card included in your product package or contact Pisichen customer service through their official website or the retailer where the product was purchased. Please have your model number (16QTHCM-1200P) and purchase details ready when contacting support.


