Introduction
This manual provides instructions for the setup, operation, maintenance, and troubleshooting of your Pisichen 17.3 inch Portable Monitor. This monitor features a 1600x900 HD resolution, 800:1 contrast ratio, 250 cd/m² brightness, 16:9 aspect ratio, and a 60Hz refresh rate, designed to provide an extended display for various devices.
The monitor includes multiple interfaces for broad compatibility and a built-in kickstand for convenience. It supports various display modes for enhanced productivity and entertainment.
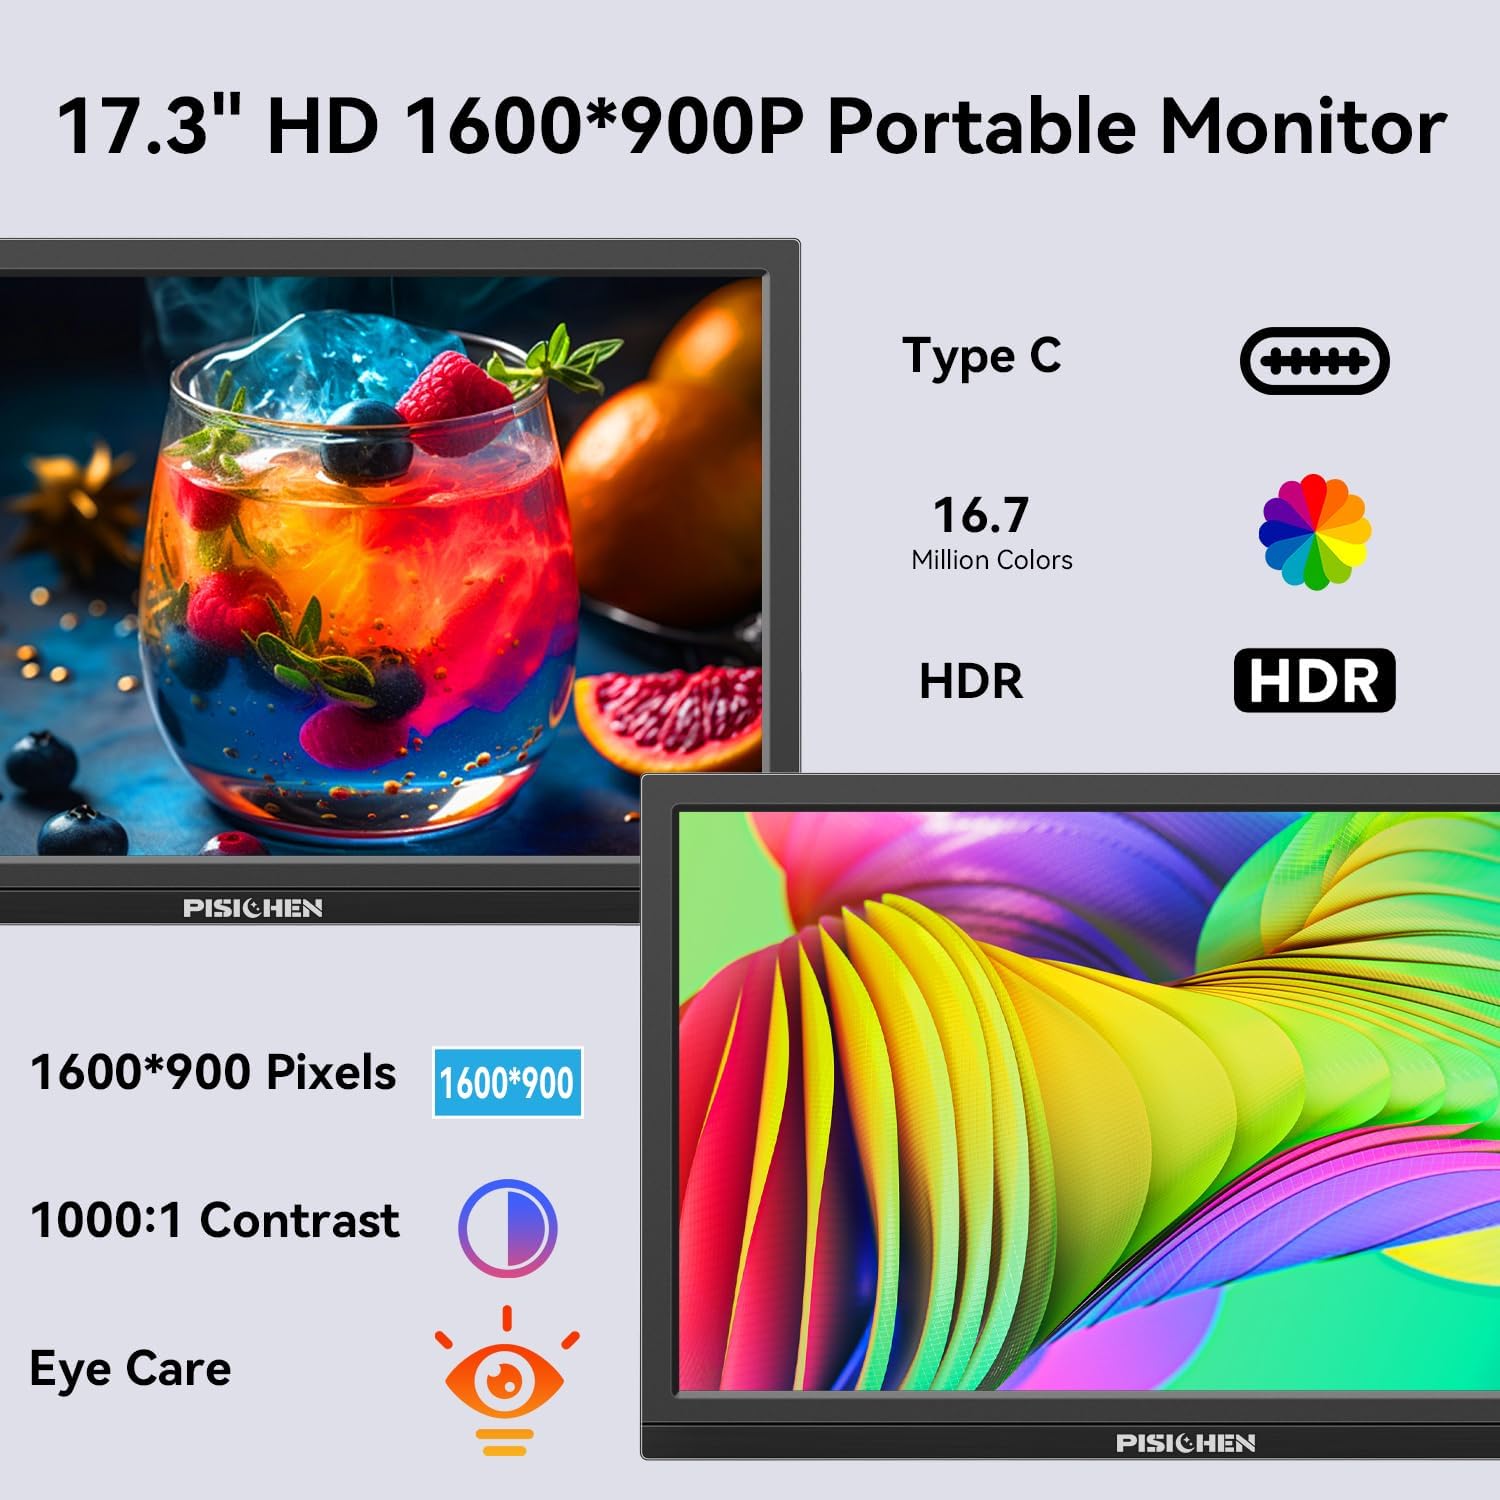
Image: The Pisichen 17.3 inch Portable Monitor highlighting its HD 1600x900 resolution, 1000:1 contrast, and eye care features.
Пакеттин мазмуну
Пакетте бардык буюмдар бар экенин текшериңиз:
- 17.3 дюймдук портативдик монитор
- DC Power адаптери
- HDMI - HDMI кабели
- USB-C - USB-C кабели
- Колдонуучунун Колдонмосу (бул документ)

Image: The portable monitor and its accompanying accessories, including cables and power adapter.
Орнотуу нускамалары
1. Кубатты туташтыруу
Connect the provided DC Power Adapter to the DC Power Port on the monitor and then to a power outlet. Ensure the monitor receives sufficient power for stable operation.
2. Түзмөккө туташуу
The monitor supports two primary connection methods:
- USB-C туташуу: Use the provided USB-C to USB-C cable. Connect one end to the monitor's USB-C 3.1 port (for signal input) and the other end to a compatible USB-C 3.1 (or higher) port on your laptop, PC, or smartphone. This connection can transmit both video and power.
- HDMI туташуу: Use the provided HDMI to HDMI cable. Connect one end to the monitor's HDMI port and the other end to the HDMI output of your device (laptop, PC, game console). When using HDMI, ensure the monitor is also connected to power via the DC power adapter.

Image: Visual guide for USB-C and HDMI connection methods, showing cable connections and power requirements.
3. Физикалык орнотуу
- Камтылган Kickstand: The monitor features an integrated, foldable kickstand. Gently unfold it from the back of the monitor to position the screen at a desired viewing angle on a flat surface.
- VESA орнотуу: For alternative mounting options, the monitor is equipped with standard 75x75mm VESA holes on the back. This allows for mounting to compatible desktop stands or wall mounts (mounting hardware not included).
Иштөө нускамалары
1. Monitor Interfaces and Controls
Familiarize yourself with the ports and control buttons located on the side of the monitor:
- DC Power Port: Кубат адаптерин туташтыруу үчүн.
- 3.5 мм аудио порт: Тышкы кулакчындарды же динамиктерди туташтыруу үчүн.
- USB C 3.1 порту: For video signal input and power delivery from compatible devices.
- USB C 2.0 порту: Primarily for charging phones or connecting OTG devices.
- HDMI порту: For video signal input from HDMI-enabled devices.
- Brightness/Up Button: Adjusts screen brightness or navigates up in the OSD menu.
- Меню/ОК баскычы: Экрандагы дисплей (OSD) менюсун ачат же тандоолорду ырастайт.
- Volume/Down Button: Adjusts audio volume or navigates down in the OSD menu.
- OTG порту: Чычканды же клавиатураны туташтыруу үчүн.

Сүрөт: деталдуу view монитордун портторунун жана башкаруу баскычтарынын.
2. Дисплей режимдери
The monitor supports various display modes when connected to a compatible device:
- Кайталануу режими: Негизги экраныңыздын мазмунун чагылдырат.
- Узартуу режими: Extends your desktop, providing additional screen space.
- Экинчи экран режими: Дисплей катары көчмө мониторду гана колдонот.
These modes can typically be configured through your device's display settings (e.g., Windows Display Settings, macOS System Preferences).

Сүрөт: Мисample of extending a smartphone's display to the portable monitor via USB-C.
3. Экрандагы дисплей (OSD) менюсу
басыңыз Меню / ОК OSD менюсуна кирүү үчүн баскычын басыңыз. Жарыктык/Өйдө жана Көлөм/Төмөн buttons to navigate through options and adjust settings such as brightness, contrast, color temperature, and input source. Press Меню / ОК again to confirm selections or exit sub-menus.
4. HDR Mode
The monitor supports HDR (High Dynamic Range) technology for improved color and contrast. This mode can be enabled or disabled through the OSD menu, if supported by your connected device and content.

Image: Visual comparison of SDR and HDR display quality.
5. Low Blue Light Feature
The monitor includes a Low Blue Light feature designed to filter harmful blue light, reducing eye strain during prolonged use. This setting can be adjusted via the OSD menu.

Image: Illustration of the Low Blue Light feature for eye protection.
Техникалык тейлөө
1. Мониторду тазалоо
- Тазалоодон мурун ар дайым мониторду өчүрүп, розеткадан ажыратыңыз.
- Жумшак, түксүз кездемени жеңил колдонуңуз dampсуу же абразивдүү эмес экран тазалагыч менен иштетиңиз.
- Тазалоочу каражатты түз экранга чачпаңыз. Алгач аны кездемеге сүйкөңүз.
- Avoid using harsh chemicals, alcohol, or ammonia-based cleaners, as these can damage the screen surface.
2. Сактоо
Колдонулбай турган учурда, мониторду салкын, кургак жерде, түз күн нурунан жана өтө жогорку температурадан алыс сактаңыз. Ташуу учурунда, чийилип калбашы жана бузулуп калбашы үчүн коргоочу жеңди же кутучаны колдонуңуз.
Проблемаларды чечүү
Мониторуңузда көйгөйлөргө туш болсоңуз, төмөнкү жалпы көйгөйлөрдү жана чечимдерди караңыз:
- Сигнал жок / Кара экран:
- Ensure all cables (power and video) are securely connected to both the monitor and the source device.
- Баштапкы түзмөк күйүп турганын жана сигнал чыгарып жатканын текшериңиз.
- Check the input source setting on the monitor via the OSD menu to ensure it matches your connection (e.g., HDMI, USB-C).
- Эгер USB-C колдонуп жатсаңыз, түзмөгүңүздүн USB-C порту видео чыгарууну колдой турганын текшериңиз (DisplayPort Alternative Mode).
- Screen is Too Dim / Cannot Adjust Brightness:
- Access the OSD menu and navigate to the brightness settings. Ensure the brightness level is increased.
- Some devices may have their own display settings that override or limit monitor brightness. Check your connected device's display settings.
- Ensure the monitor is receiving adequate power. A weak power source can sometimes affect brightness.
- No Audio / Headphone Jack Not Working:
- Check the volume settings on both the monitor (via OSD menu) and your connected device.
- Ensure headphones or speakers are fully plugged into the 3.5mm audio port.
- Verify that the audio output on your source device is set to the portable monitor.
- Test with different headphones or speakers to rule out a faulty audio device.
- Image Distortion / Poor Picture Quality:
- Ensure the display resolution on your source device is set to the monitor's native resolution (1600x900).
- Check for damaged or loose video cables. Try a different cable if available.
- Adjust contrast and color settings in the OSD menu.
Техникалык шарттар
| Модель номери | SLZJ173 |
| Screen Size | 17.3 дюйм |
| Резолюция | 1600x900 HD |
| Аспект катышы | 16:9 |
| Контраст катышы | 800:1 |
| Жарыктык | 250 кд/м² |
| Жаңыртуу ылдамдыгы | 60Hz |
| Панел түрү | TN |
| Viewбурч | 170° |
| Түс гаммасы | 99% sRGB, 16.7 million colors (8-bit) |
| Байланыш | 1x HDMI, 1x USB-C 3.1 (signal input), 1x USB-C 2.0 (phone charging/OTG), 1x 3.5mm Audio Jack, 1x DC Power Port |
| Камтылган динамиктер | Ооба |
| VESA тоосу | 75x75мм |
| Продукциянын өлчөмдөрү | 0.3 x 12 x 8 дюйм (болжол менен) |
| Элемент Салмагы | 3.54 фунт |
Кепилдик жана колдоо
For warranty information or technical support, please contact the manufacturer, Pisichen, or the retailer from whom you purchased the product. Please have your model number (SLZJ173) and purchase details ready when contacting support.