1. Продукт бүтүп калдыview
This manual provides instructions for the iDOO Dual-Motor Electric Spin Mop and its compatible ID-EM002-WH-N1 battery replacement. Please read this manual thoroughly before operating the device to ensure proper use and maintenance.

Image 1.1: iDOO Dual-Motor Electric Spin Mop, including the main unit, water tank, cleaning pads, and battery.
2. Пакеттин мазмуну
Пакетте бардык компоненттер бар экенин текшериңиз:
- iDOO Dual-Motor Electric Spin Mop Main Unit
- Ажыратыла турган суу сактагыч
- Rechargeable Battery Pack (ID-EM002-WH-N1)
- Заряддоо адаптери
- Washable Cleaning Pads (4 included)
- User Manual
3. Орнотуу нускамалары
3.1. Батареяны кубаттоо жана орнотуу
- Before first use, fully charge the battery pack. Connect the charging adapter to the battery pack and plug it into a power outlet. The battery pack can be charged separately.
- Charging typically takes approximately 2.5 hours. Do not charge for more than 6 hours.
- Charge the battery when only one red indicator light is illuminated.
- Once charged, insert the battery pack into the designated slot on the mop handle until it clicks into place.
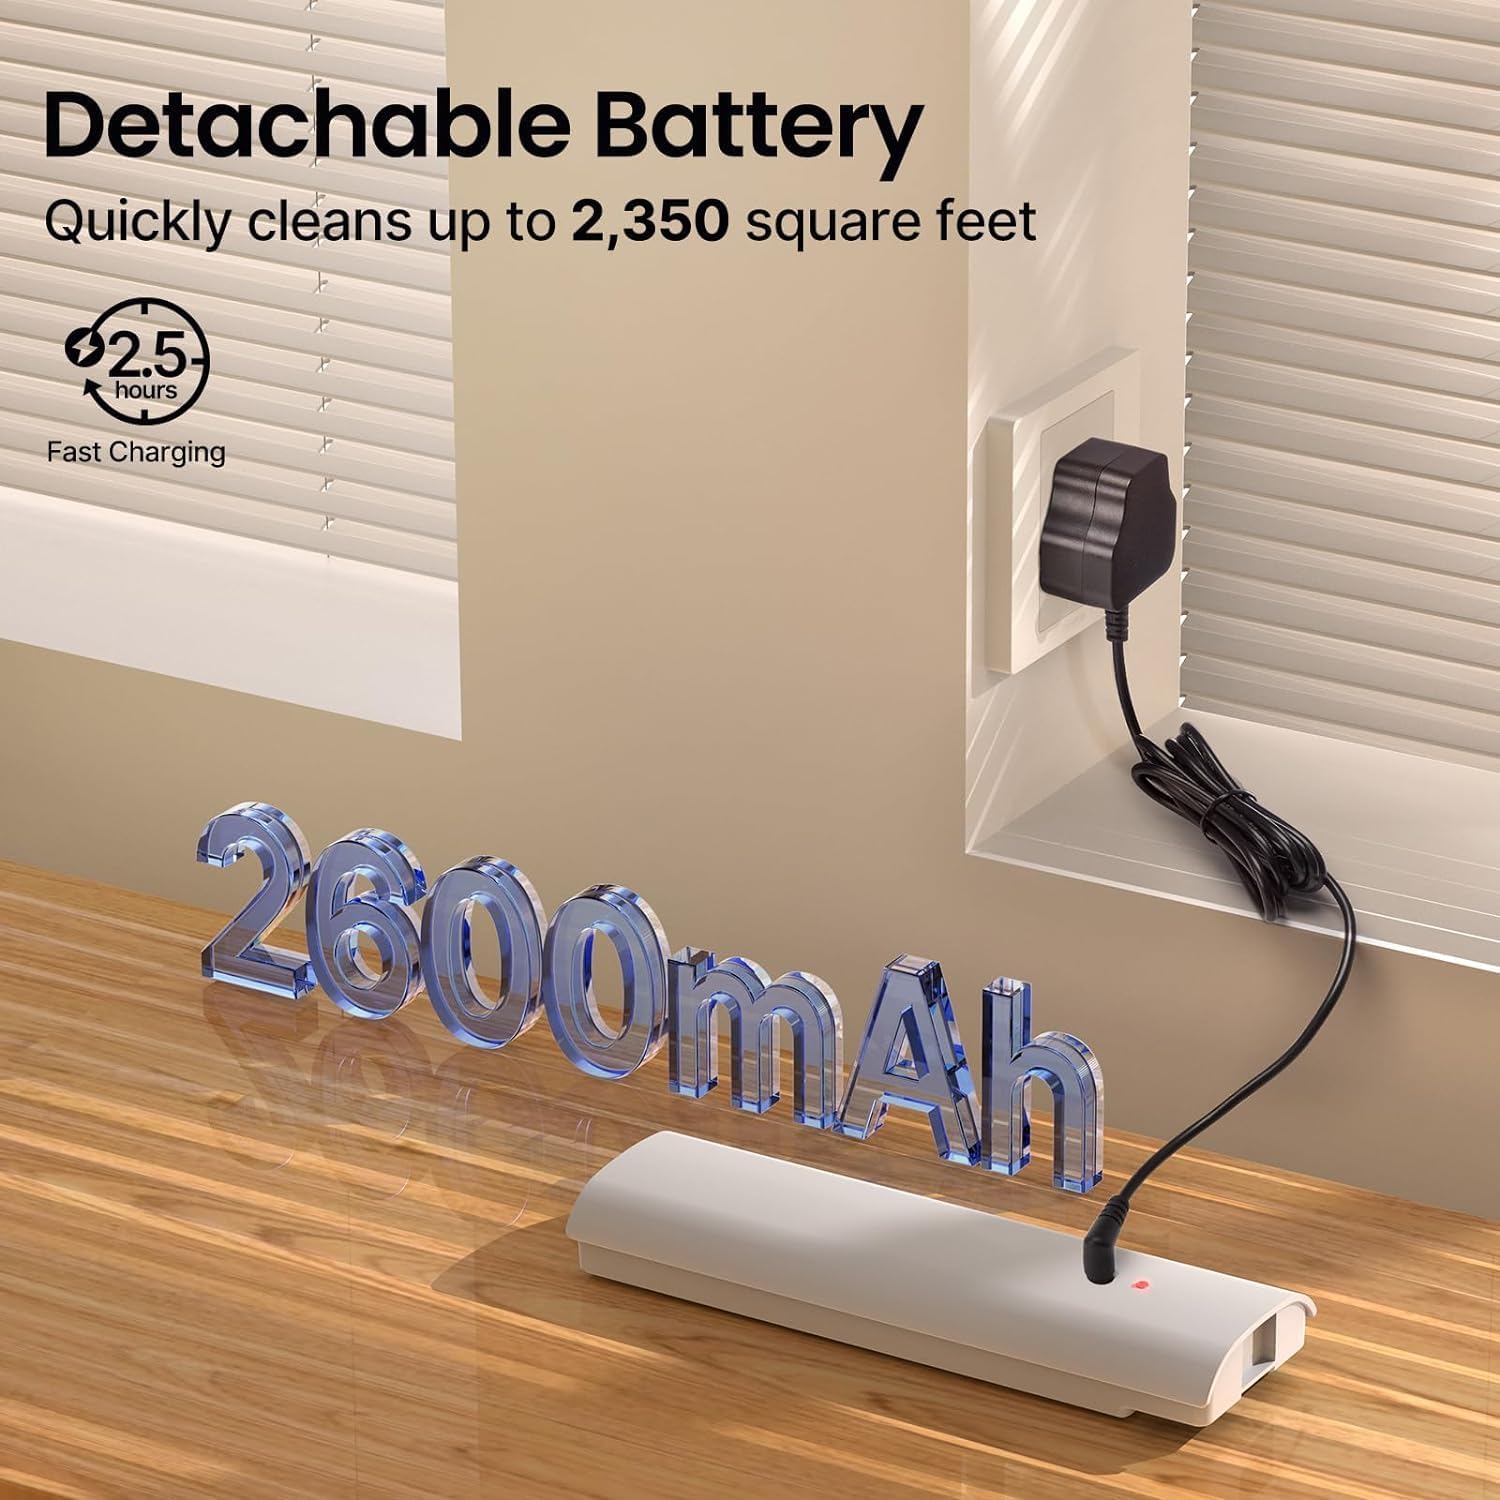
Image 3.1: The detachable battery pack connected to its charging adapter.
3.2. Attaching Cleaning Pads
Align the washable cleaning pads with the hook-and-loop fasteners on the bottom of the mop head. Press firmly to secure them.
3.3. Суу багын толтуруу
- Remove the detachable water tank from the mop unit.
- Open the tank cap and fill with clean water. A small amount of floor cleaning solution can be added if desired. Do not overfill.
- Securely close the tank cap and reinsert the water tank into the mop unit until it is firmly seated.

Image 3.2: Inserting the filled water tank into the mop unit.
4. Иштөө нускамалары
4.1. Күйгүзүү / Өчүрүү
Press the power button located on the handle to turn the mop on. Press it again to turn the mop off. Do not turn on the electric mop when charging, as this may shorten battery life.
4.2. Чачыратуу функциясын колдонуу
Сууну же тазалоочу эритмени полго куюу үчүн туткадагы чачыратуу баскычын басыңыз. Чачыратууну токтотуу үчүн баскычты коё бериңиз.

Image 4.1: The mop in operation, demonstrating the spray function.
4.3. сүртүрүү
The iDOO Electric Spin Mop features dual motors that spin the cleaning pads at up to 280 revolutions per minute, providing effective cleaning. The mop is self-propelled, assisting in forward movement. Gently twist the handle to guide the mop and change direction.

Image 4.2: A user operating the iDOO Electric Spin Mop on a wooden floor.
4.4. Suitable Surfaces
This electric mop is suitable for various hard floor surfaces, including:
- Катуу жыгач
- Мозаика
- Ламинат
- Мрамор
- Винил полдору
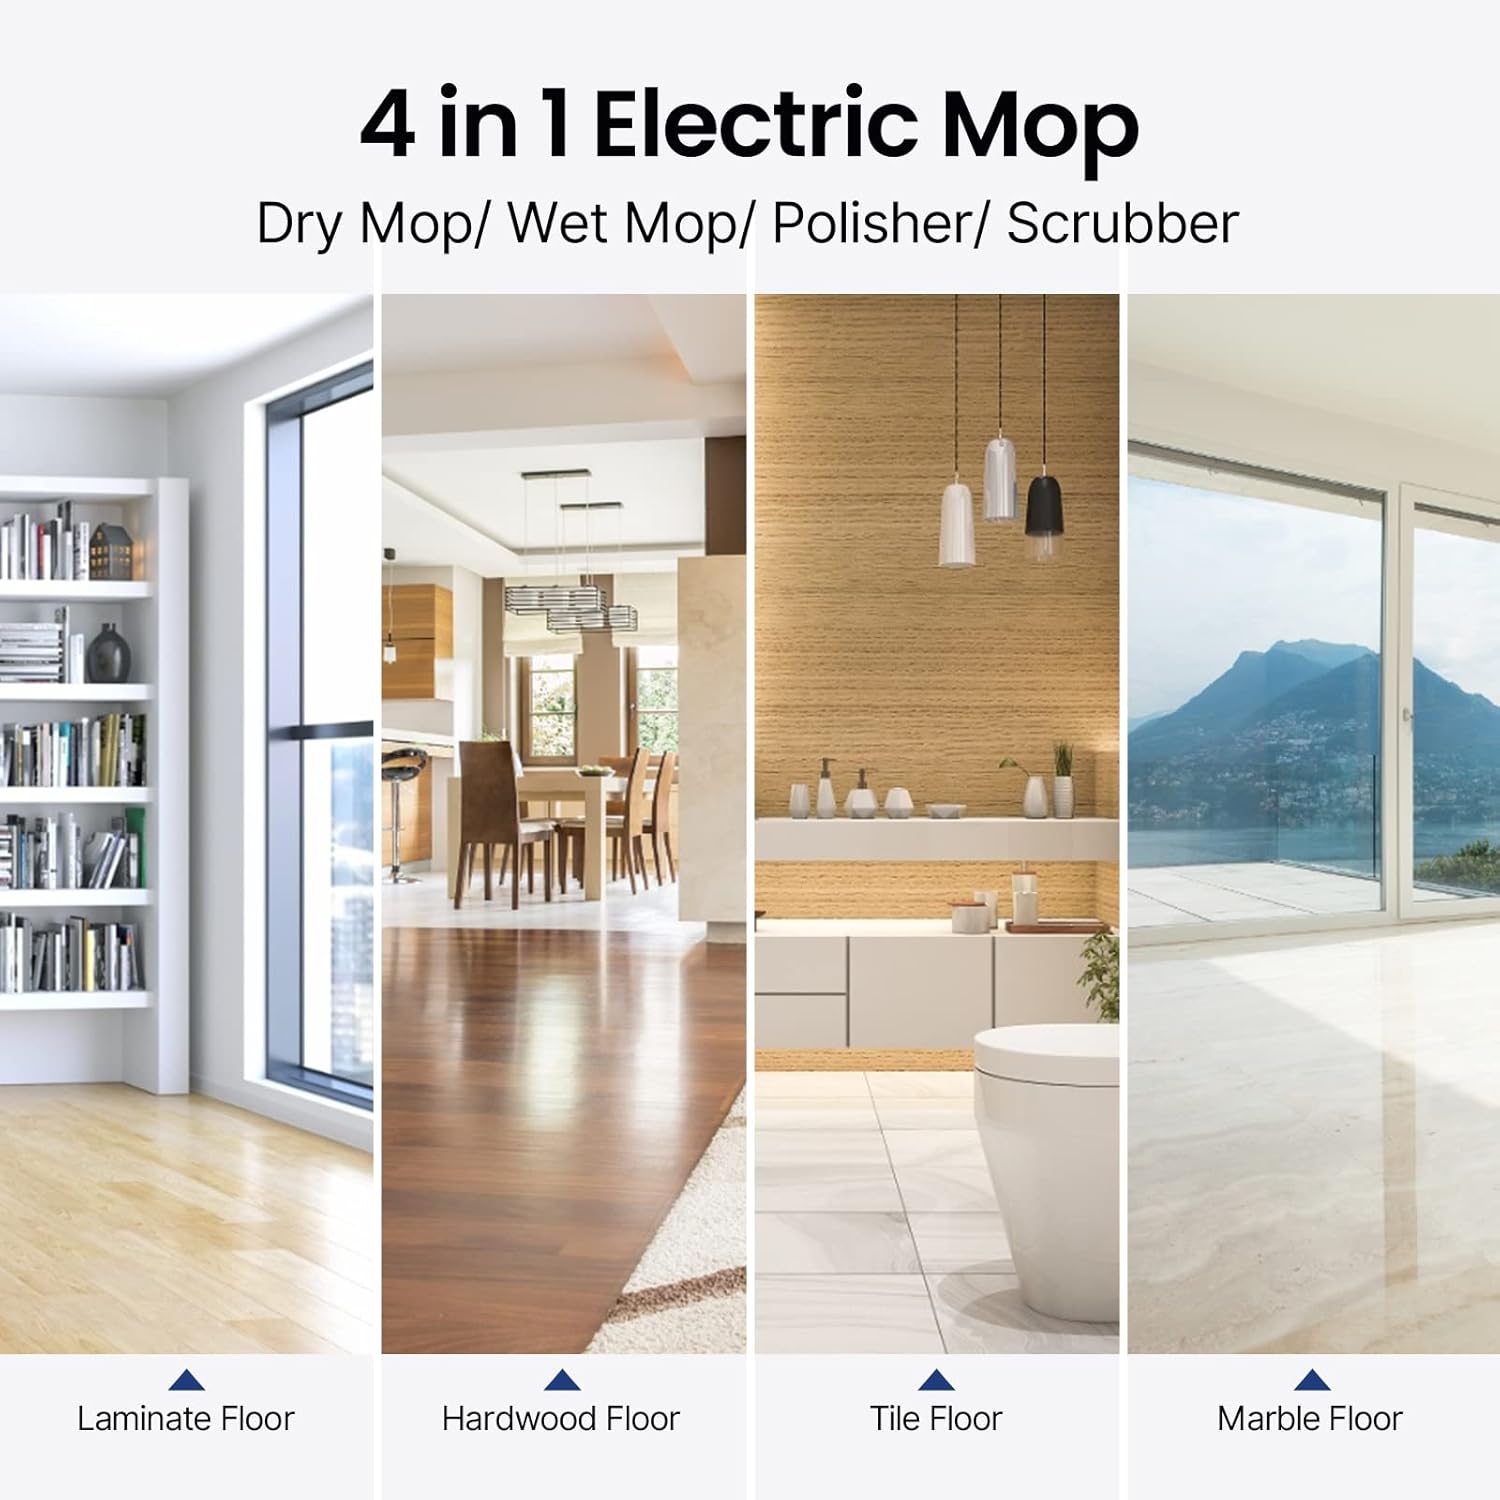
Image 4.3: Visual representation of the mop's versatility across different floor types.
5. Техникалык тейлөө
5.1. Cleaning Pads
The cleaning pads are washable and reusable. After each use, remove the pads from the mop head and wash them with water and mild detergent. Allow them to air dry completely before reattaching or storing.
5.2. Суу багы
Empty any remaining water or cleaning solution from the tank after each use. Rinse the tank with clean water and allow it to air dry to prevent odor or residue buildup.
5.3. Mop Unit Cleaning
Wipe the exterior of the mop unit with a damp кездеме. Негизги блокту сууга салбаңыз.
5.4. Батареяга кам көрүү жана сактоо
- Always charge the battery when only one red indicator is on.
- Батарейканы 6 сааттан ашык заряддабаңыз.
- Store the mop and battery in a cool, dry place away from direct sunlight and extreme temperatures.
- For long-term storage, ensure the battery is partially charged (around 50%) to maintain its health.
6. Кыйынчылыктарды
| Көйгөй | Мүмкүн себеп | Чечим |
|---|---|---|
| Mop does not turn on | Батарея заряддалган эмес же туура орнотулган эмес. | Ensure the battery is fully charged and correctly inserted into the mop unit. |
| Mop pads are not spinning | Мотордун иштешинин бузулушу же көйгөйү. | Check for any debris caught in the mop head. If the issue persists, contact customer support. |
| Spray function not working | Суу резервуары бош же тыгылып калган. | Refill the water tank. Check for any blockages in the spray nozzle. |
| Батареянын иштөө мөөнөтү күтүлгөндөн кыска | Improper charging habits or aging battery. | Follow recommended charging procedures (charge when one red indicator is on, do not overcharge). Consider a replacement battery if the issue persists after extended use. |
7. Техникалык шарттар
- Бренд: iDOO
- Модель аты: ID-EM002-WH-N1
- Өзгөчөлүктөр: Dual Motors, Self-Propelled, Cordless
- Беттик сунуш: Floor, Tile, Hardwood, Laminate, Marble, Vinyl
- Камтылган компоненттер: Cleaning Pads, Water Tank, Battery Pack
- Форма фактору: Тик
- Кубат булагы: Батарея менен иштейт
- Батарея түрү: 11.1V 2600mAh литий батареясы
- Заряддоо убактысы: Болжол менен 2.5 саат
- Төлөө боюнча камтуу: 2350 чарчы фут чейин
- Мотор ылдамдыгы: Up to 280r/Min
- Ызы-чуу деңгээли: 46дБ чейин аз
8. Кепилдик жана колдоо
For warranty information or technical support, please refer to the warranty card included with your product or visit the official iDOO webсайт. Сатып алуу квитанциясын кепилдик дооматтары үчүн сатып алуунун далили катары сактаңыз.