1. Киришүү
This manual provides detailed instructions for the setup, operation, maintenance, and troubleshooting of your Arducam USB 3.0 Camera. Please read this manual thoroughly before using the product to ensure optimal performance and longevity.
2. Продукт бүтүп калдыview
2.1. Кутуда эмне бар
- 1 x IMX283 USB3.0 Camera Module with Metal Case
- 1 x 1m USB A to Type-C Cable
2.2. Негизги өзгөчөлүктөрү
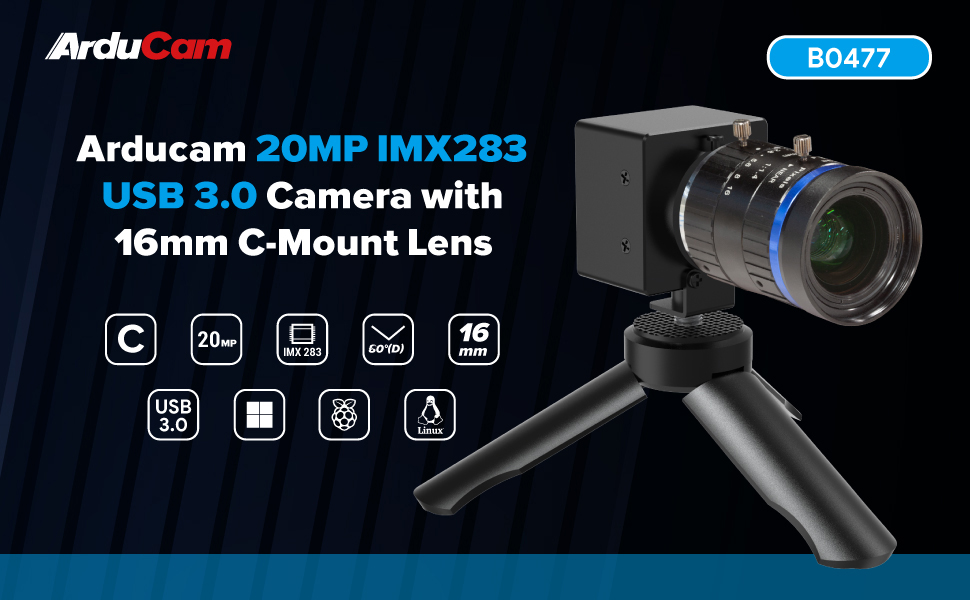
- Superior Imaging: Utilizes a 1-inch IMX283 CMOS sensor, achieving a maximum still resolution of 5472x3648 pixels.
- Flexible Frame Rates: Supports programmable frame rates, reaching up to 120fps at 720p resolution.
- Өркүндөтүлгөн сүрөт иштетүү: Features proprietary on-board ISP for image enhancement, including de-Bayer, gamma correction, BLC, AE, AWB, CCM, and RGB2YUV conversion.
- Telephoto Precision: Equipped with a 16mm C-mount lens, offering a 60° diagonal field of view (DFOV).
- "Пайдаланып иштетүү" дизайны: Encased in a durable metal housing, designed for easy plug-and-play operation.
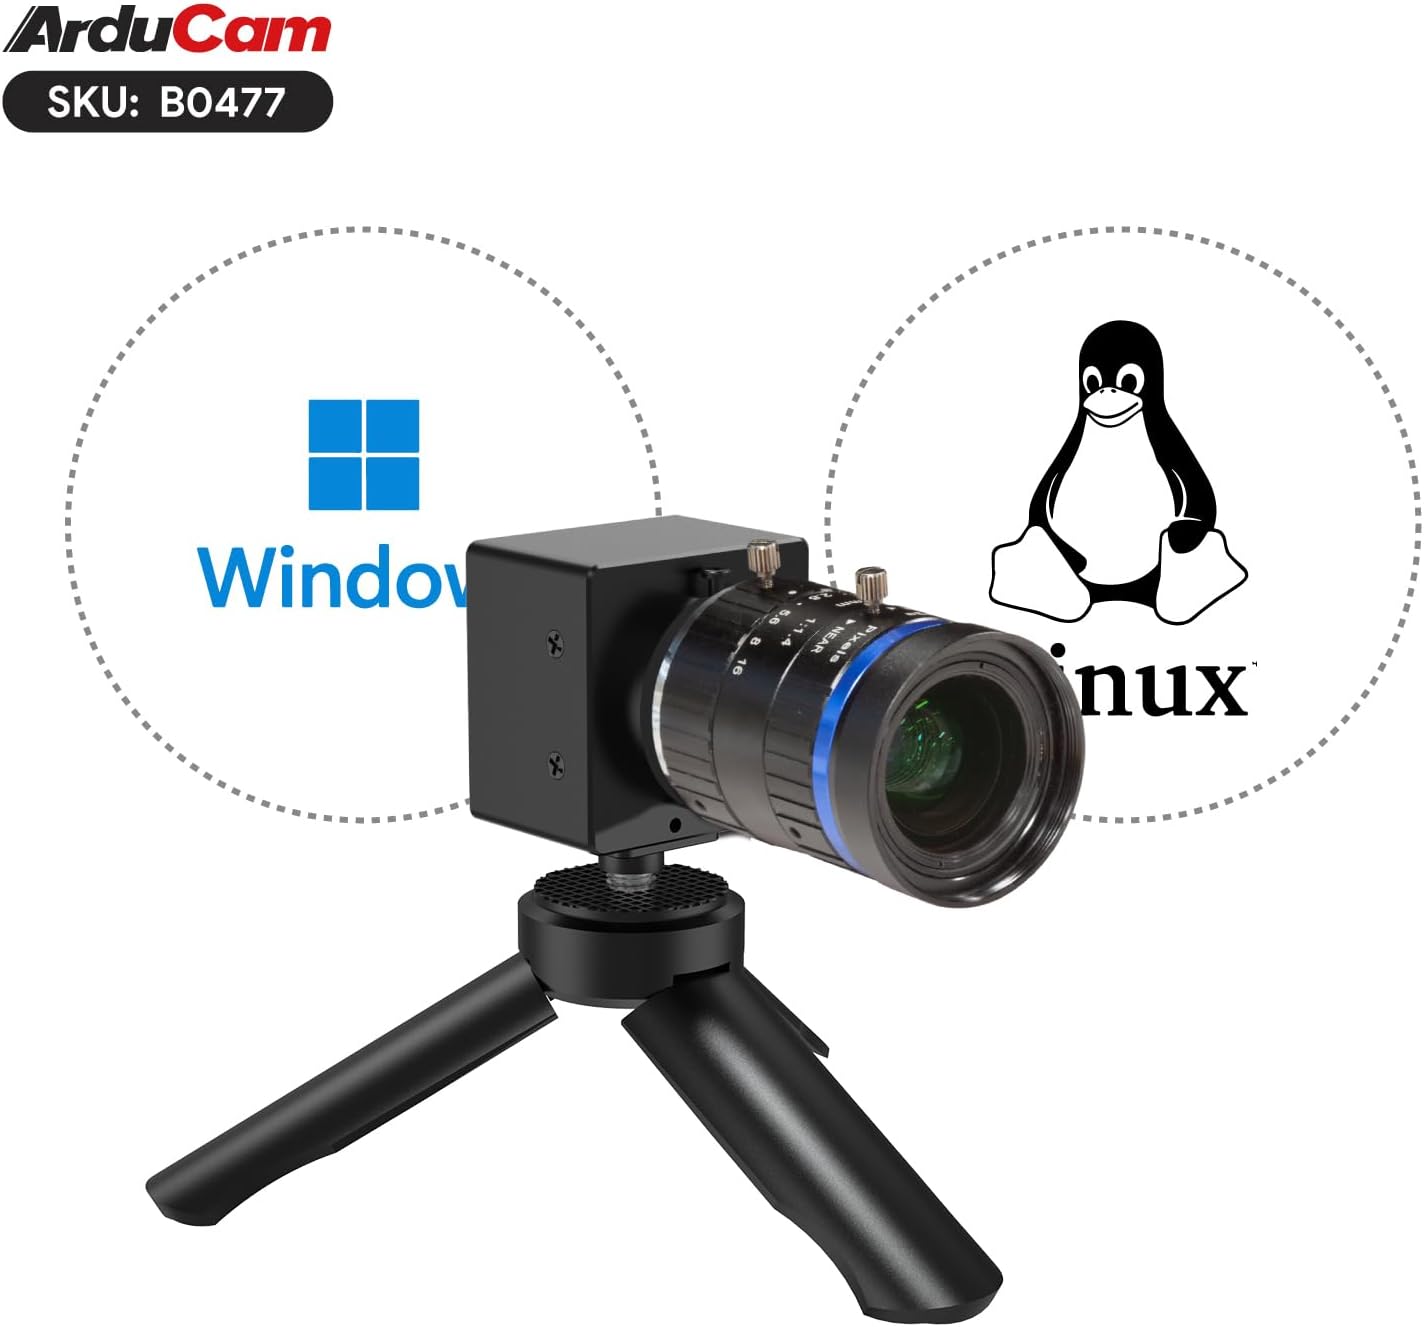
- Операциялык системанын шайкештиги: Compatible with Windows and Linux operating systems.
2.3. Продукциянын компоненттери


3. Орнотуу нускамалары
3.1. Объективди бекитүү
- Carefully remove the protective cap from the camera module's C-mount interface.
- Align the 16mm C-mount lens with the camera module's C-mount thread.
- Gently screw the lens onto the camera module until it is securely fastened. Avoid overtightening.
- Алдыңкы линзанын капкагын алып салыңыз.
3.2. Компьютерге туташуу
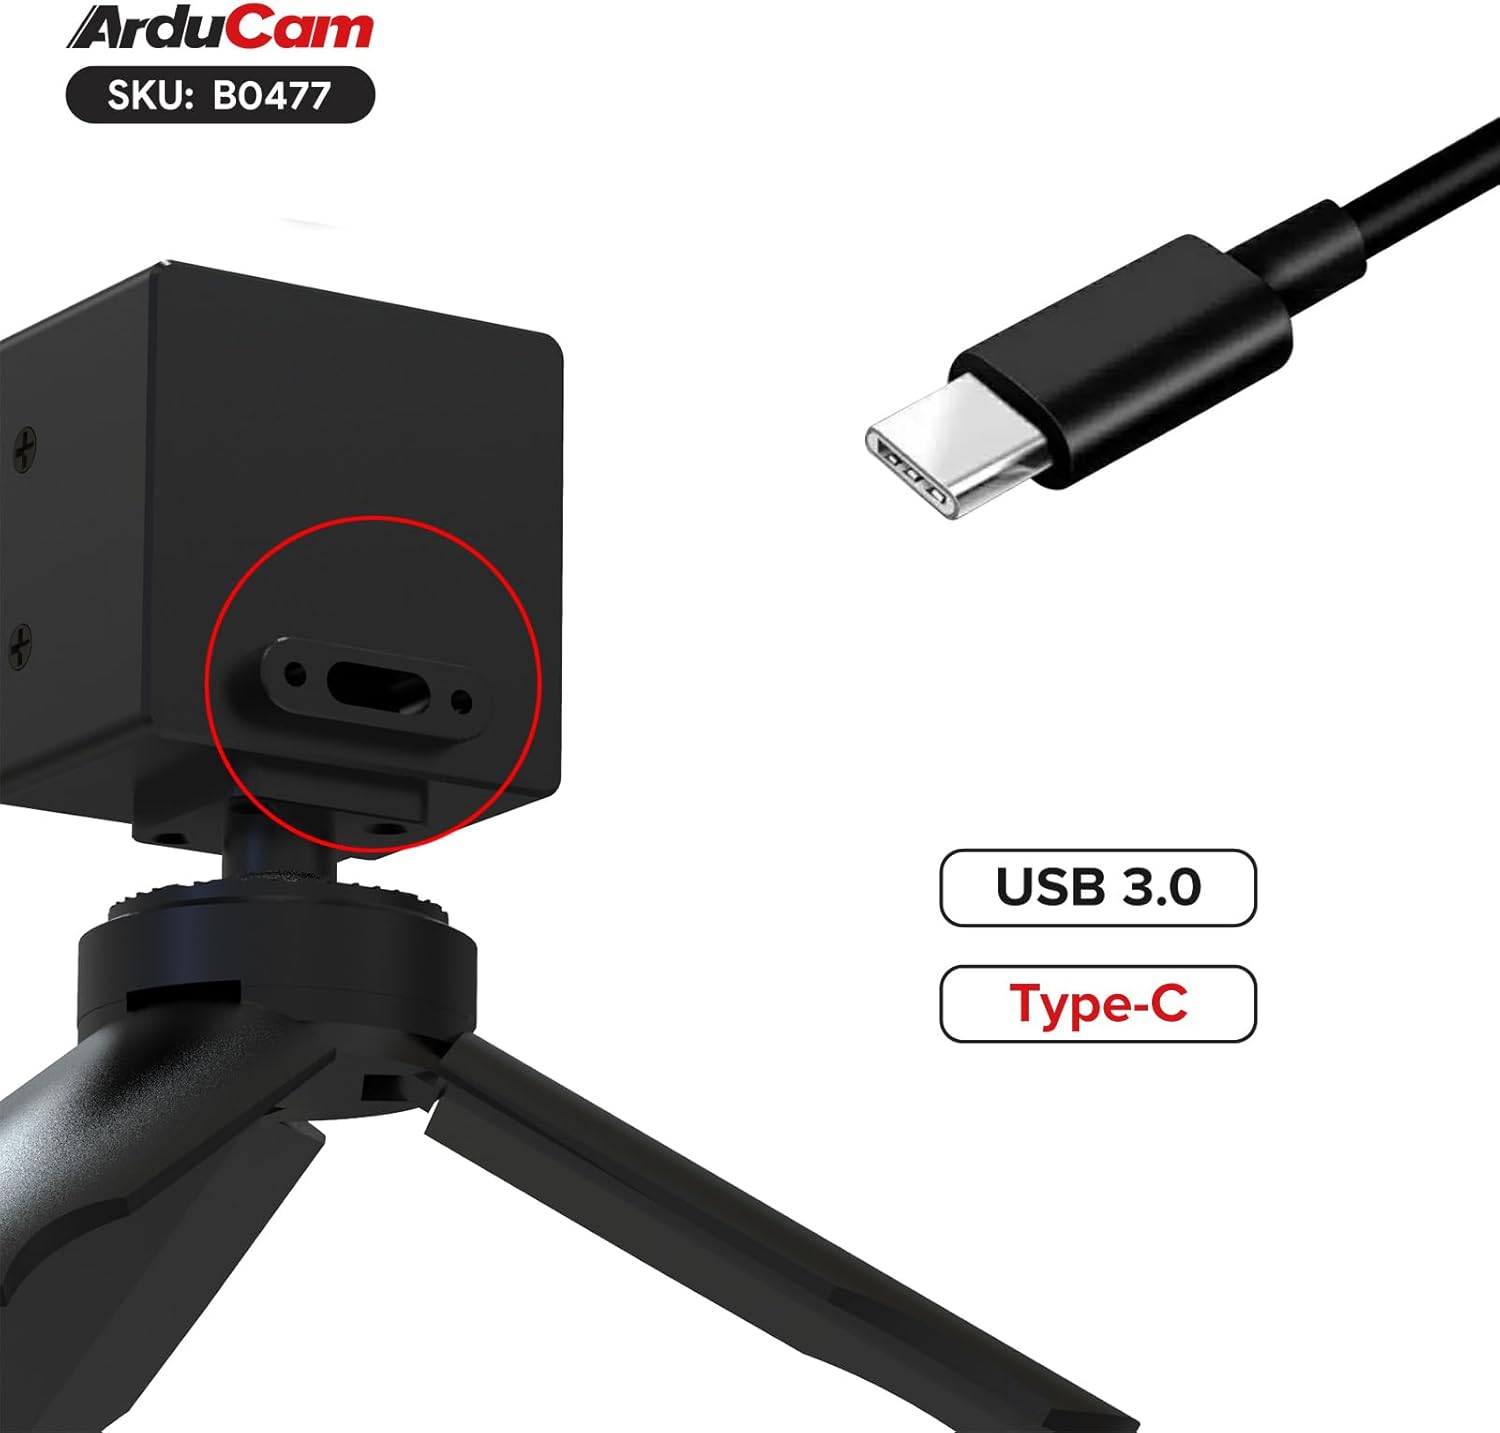
- Connect the USB Type-C end of the provided cable to the camera module's USB 3.0 port.
- Connect the USB-A end of the cable to an available USB 3.0 port on your computer. For optimal performance, ensure you use a USB 3.0 port (typically blue).
- The camera is UVC (USB Video Class) compliant and should be recognized automatically by most operating systems without requiring specific driver installation.
4. Иштөө нускамалары
4.1. Basic Operation (Windows)
- After connecting the camera, open a compatible camera application (e.g., Windows Camera app, OBS Studio, AmCap, or Arducam's own software if available).
- Select the Arducam USB 3.0 Camera as your video input device.
- Adjust resolution, frame rate, and other image settings (exposure, white balance, gain) within the application's settings. The camera supports up to 5472x3648 resolution and 120fps at 720p.
4.2. Basic Operation (Linux)
The camera is designed to be UVC compliant for Linux. You can use standard Linux camera applications like Cheese, VLC, or OBS Studio.
- Connect the camera to your Linux system.
- Open your preferred camera application and select the Arducam camera as the input source.
- Configure video settings as needed.
Note: Some users have reported intermittent issues with the camera not re-initializing correctly on Linux after closing an application. If this occurs, try unplugging and re-plugging the camera, or restarting your system. Ensure your Linux distribution and kernel are up-to-date for best compatibility.
4.3. Объективди тууралоо
- Фокус: Rotate the focus ring on the lens to achieve sharp imagery at your desired distance.
- Апертура: Adjust the aperture ring to control the amount of light entering the lens and the depth of field. A smaller aperture number (e.g., f/1.4) means a wider opening and shallower depth of field, while a larger number (e.g., f/16) means a narrower opening and greater depth of field.
5. Техникалык тейлөө
5.1. Линзаны жана сенсорду тазалоо
- Use a soft, lint-free microfiber cloth specifically designed for optical surfaces to clean the lens.
- Өтө катуу тактар үчүн, линзаны тазалоочу эритмени түз линзага эмес, кездемеге сүйкөңүз.
- Avoid touching the sensor directly. If dust is visible on the sensor, use an air blower to gently remove it. Do not use compressed air from a can, as it can leave residue.
- Important: Some units may have dust or fingerprints between the sensor and its protective window from manufacturing. If this significantly impacts image quality, contact Arducam support.
5.2. Жалпы кам көрүү жана сактоо
- Камераны колдонбогон учурда кургак, чаңсыз чөйрөдө сактаңыз.
- Protect the lens with its cap when stored or transported.
- Камераны экстремалдык температурага же нымдуулукка дуушар кылуудан алыс болуңуз.
- Handle the camera by its metal case, avoiding direct pressure on the lens or sensor area.
6. Кыйынчылыктарды
- Problem: Camera not detected or showing a black screen.
Чечим:
- Ensure the USB cable is securely connected to both the camera and a USB 3.0 port on your computer.
- Башка USB портун же кабелин колдонуп көрүңүз.
- Компьютериңизди өчүрүп күйгүзүңүз.
- On Linux, if the camera stops working after closing an application, try unplugging and re-plugging the camera, or restarting your system.
- Verify that the camera is selected as the input device in your application.
- Problem: Image quality is poor or blurry.
Чечим:
- Adjust the focus ring on the 16mm C-mount lens until the image is sharp.
- Ensure the lens and sensor are clean (refer to Section 5.1).
- Check lighting conditions; insufficient light can lead to noisy or blurry images.
- Verify that the correct resolution and frame rate settings are applied in your camera application.
- Problem: Dust or spots visible in the image.
Чечим:
- Clean the front element of the lens.
- Use an air blower to gently clear any dust from the sensor surface.
- If the dust appears to be internal (between the sensor and its protective window), contact Arducam support for assistance.
7. Техникалык шарттар
| Өзгөчөлүк | Деталь |
|---|---|
| Сенсор | 1-inch IMX283 CMOS |
| Max Still Resolution | 5472x3648 (20MP) |
| Видео тартуунун резолюциясы | 720p чейин |
| Макс кадр ылдамдыгы | 120fps at 720p |
| Линзанын түрү | 16mm C-Mount Lens |
| Диагоналдык талаасы View (DFOV) | 60° |
| Интерфейс | USB 3.0 (Type-C connector on camera) |
| Операциялык системанын шайкештиги | Windows, Linux |
| Турак жай | Металл корпус |
| Элемент Салмагы | 4.8 унция |
| Пакеттин өлчөмдөрү | 3 x 2.7 x 2.7 дюйм |
8. Колдоо жана кепилдик
For technical support, product inquiries, or warranty information, please visit the official Arducam website or contact their customer service directly. Specific warranty terms may vary by region and purchase location.
Көбүрөөк маалымат жана колдоо булактарын таба аласыз Arducam Store on Amazon.


