1. Продукт бүтүп калдыview
The ApoloSign EP103A is a 10.1-inch Android 13 tablet designed for versatile use, from entertainment to productivity. It features an Octa-core processor, 8GB RAM (4GB physical + 4GB virtual), and a 1920x1200 pixel display. This manual provides essential information for setting up, operating, maintaining, and troubleshooting your device.

Сүрөт 1.1: Алдыңкы жана арткы view of the ApoloSign EP103A Android 13 Tablet.
Негизги өзгөчөлүктөрү:
- Операция системасы: Android 13
- Процессор: Octa-core (Quanzhi)
- Дисплей: 10.1-inch, 1920 x 1200 pixels IPS
- Эстутум: 8GB RAM (4GB + 4GB virtual expansion)
- Сактагыч: 64GB Flash Memory (expandable up to 128GB via TF Card)
- Камералар: 5 МП арткы, 2 МП алдыңкы
- Байланыш: WiFi 6 (802.11ax), Bluetooth 5.0
- Батарея: 5000mAh
2. Баштоо: Орнотуу
2.1 Кутудан чыгаруу жана алгачкы текшерүү
Carefully remove all items from the packaging. Verify that all components are present and undamaged. The package typically includes the ApoloSign EP103A tablet, a user guide, a power adapter, and a USB cable.
Video 2.1: This video demonstrates the unboxing process, showing the tablet and its included accessories: user guide, power adapter, and USB cable.
2.2 Баштапкы төлөм
Before first use, fully charge the tablet. Connect the provided USB cable to the tablet's Type-C port and the power adapter, then plug the adapter into a wall outlet. The charging indicator will typically illuminate. A full charge may take several hours.
2.3 Күйгүзүү/өчүрүү
- Күйгүзүү үчүн: Press and hold the Power button (located on the top edge, as shown in Image 2.2) until the ApoloSign logo appears on the screen.
- Өчүрүү үчүн: Press and hold the Power button until a menu appears. Select 'Power off' from the options.
- Кайра баштоо үчүн: Press and hold the Power button until a menu appears. Select 'Restart' from the options.
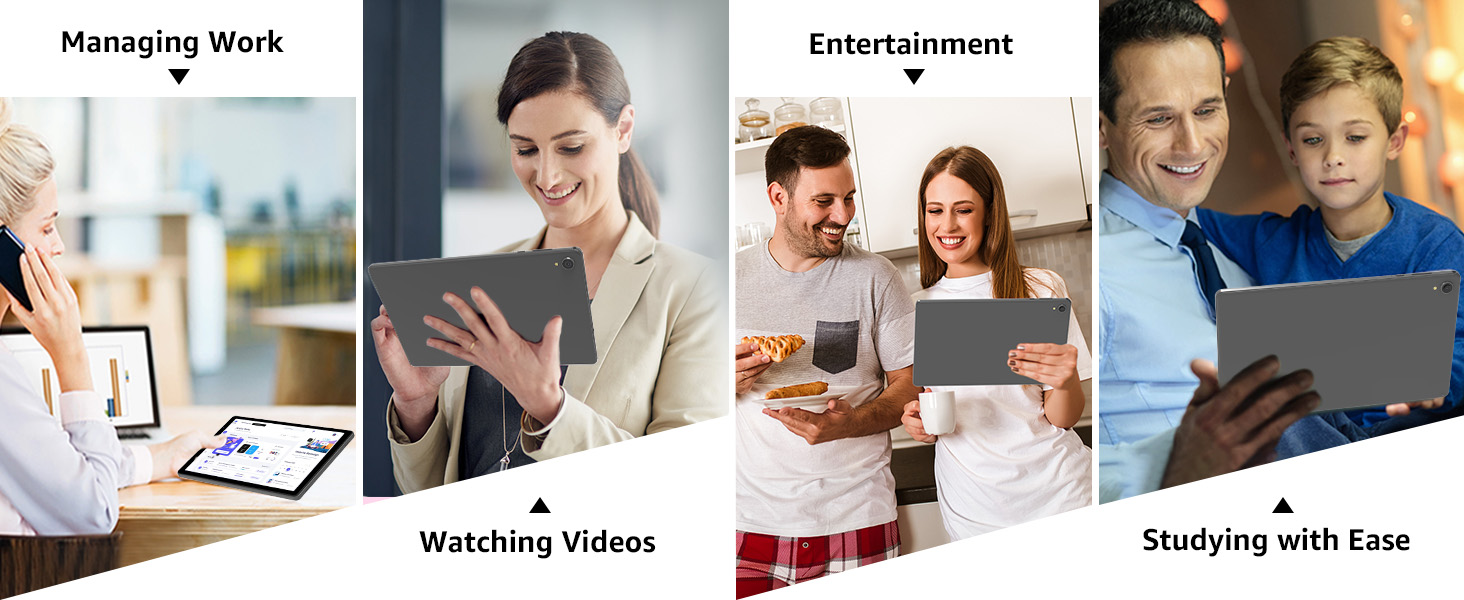
Image 2.2: Diagram illustrating the location of buttons and connectors, including the Power button, Volume controls, Headphone Jack, TF Card slot, and Type-C port.
2.4 Баштапкы орнотуу устасы
Планшет биринчи жолу күйгүзүлгөндө, ал сизге баштапкы орнотуу процессин көрсөтөт. Экрандагы көрсөтмөлөрдү аткарып, төмөнкүлөрдү жасаңыз:
- Тил тандаңыз: Өзүңүзгө жаккан тилди тандаңыз.
- Wi-Fi'га туташуу: Wi-Fi тармагын тандап, сырсөздү киргизиңиз.
- Дата менен убакытты коюу: Configure these settings, usually automatically if connected to Wi-Fi.
- Sign in to Google Account: Enter your Google account credentials or create a new one. This is necessary to download apps from the Google Play Store.
- Экран кулпусун орнотуу: Configure a PIN, pattern, or password for security.
3. Планшетиңизди иштетүү
3.1 Башкы экран жана навигация
The home screen is your central hub for accessing apps and widgets. Swipe left or right to navigate between home screens. Use gestures like swiping down from the top for notifications and quick settings.
3.2 Колдонмо башкаруу
- Колдонмолорду орнотуу: Open the 'Play Store' app, search for your desired application, and tap 'Install'.
- Колдонмолорду орнотуудан чыгаруу: Press and hold an app icon on the home screen or app drawer, then drag it to 'Uninstall' or select 'App info' and choose 'Uninstall'.
- Сактагычты башкаруу: The tablet comes with 64GB of internal storage, expandable up to 128GB using a TF (microSD) card. Insert the TF card into the designated slot (refer to Image 2.2).

Image 3.1: The tablet displaying various applications, highlighting its 8GB RAM and 64GB ROM with 1TB expansion capability.
3.3 Камераны колдонуу
The tablet is equipped with a 5MP rear camera and a 2MP front camera. Open the 'Camera' app to capture photos and videos.
- Сүрөткө тартуу үчүн жапкычты басыңыз.
- Сүрөт жана видео режимдерин которуштуруу.
- Use the front camera for video calls and selfies.

Image 3.2: The tablet showcasing its 5MP main camera and 2MP front camera, suitable for capturing moments and video calls.
Video 3.1: This video demonstrates the tablet's camera functionality, showing how to take pictures.
3.4 Байланыш
- Wi-Fi 6: Connect to high-speed Wi-Fi networks for internet access. Go to Settings > Network & internet > Wi-Fi.
- Bluetooth 5.0: Pair with Bluetooth devices such as headphones, speakers, or keyboards. Go to Settings > Connected devices > Pair new device.

Image 3.3: The tablet connected to a Bluetooth speaker, illustrating its Bluetooth 5.0 and Wi-Fi 6 capabilities for seamless connectivity.
4. Техникалык тейлөө
4.1 Батареяга кам көрүү
- Батареянын иштөө мөөнөтүн начарлатышы мүмкүн болгон экстремалдык температурадан качыңыз.
- Батареянын бат-баттан түгөнүп калышына жол бербеңиз.
- Оптималдуу кубаттоо үчүн берилген кубаттагычты колдонуңуз.

Image 4.1: The tablet highlighting its 5000mAh battery, providing up to 8 hours of video playback.
4.2 Тазалоо
Планшеттин экранын жана корпусун тазалоо үчүн жумшак, мамыксыз чүпүрөктү колдонуңуз. Абразивдүү материалдарды же катуу химиялык заттарды колдонбоңуз.
4.3 Программалык камсыздоо жаңыртуулары
Оптималдуу аткарууну жана коопсуздукту камсыз кылуу үчүн системанын жаңыртууларын дайыма текшерип, орнотуңуз. Орнотуулар > Система > Системанын жаңыртууларына өтүңүз.
5. Кыйынчылыктарды
This section addresses common issues you might encounter with your ApoloSign EP103A tablet.
5.1 Жалпы маселелер жана чечимдер
- Планшет күйбөй жатат: Ensure the tablet is charged. Connect it to the charger for at least 30 minutes before attempting to power on again.
- Планшет заряддалбай жатат: Verify the charging cable and adapter are securely connected and undamaged. Try a different outlet or a compatible charger.
- Slow performance or apps closing randomly: Close unnecessary background applications. Clear app caches (Settings > Apps > [App Name] > Storage & cache > Clear cache). Consider uninstalling rarely used apps or moving large files to an external TF card.
- Low speaker volume: Check the volume settings (use the Volume+ button or adjust in Settings > Sound). Ensure no external audio devices are connected via Bluetooth or the headphone jack.
- Wi-Fi туташуу көйгөйлөрү: Restart your tablet and your Wi-Fi router. Forget the network in tablet settings and reconnect.
5.2 Заводдук абалга кайтаруу
If your tablet experiences persistent software issues, a factory reset may resolve them. Эскертүү: Заводдук баштапкы абалга келтирүү планшетиңиздеги бардык маалыматтарды өчүрөт. Улантуудан мурун маанилүү маалыматтардын камдык көчүрмөсүн сактап коюңуз.
- барыңыз Орнотуулар.
- багыттоо Система.
- Тандоо Параметрлерди баштапкы абалга келтирүү.
- Тандоо Бардык дайындарды өчүрүү (дескриптке кайтаруу).
- Чечимиңизди ырастап, экрандагы нускамаларды аткарыңыз.
6. Техникалык шарттар
| Өзгөчөлүк | Спецификация |
|---|---|
| Бренд | ApoloSign |
| Модель аты | EP103A |
| Операция системасы | Android 13 |
| Туруктуу экран дисплей өлчөмү | 10.1 дюйм |
| Screen Resolution | 1920 x 1200 пиксель |
| Max Screen Resolution | 1920x1200 |
| Процессор бренди | Quanzhi |
| Эстутум сактоо сыйымдуулугу | 64 ГБ |
| Flash эстутум өлчөмү | 64 ГБ |
| RAM | 8 ГБ (4 ГБ + 4 ГБ виртуалдык) |
| Арткы Webcam Resolution | 5 депутат |
| Фронт Webcam Resolution | 2 депутат |
| Зымсыз түрү | 802.11ax (WiFi 6) |
| Bluetooth | 5.0 |
| Элемент Салмагы | 2.01 фунт |
| Продукциянын өлчөмдөрү | 9.8 x 6.1 x 0.4 дюйм |
| Уюлдук технология | 2G |
7. Кепилдик жана колдоо
7.1 Кепилдик маалыматы
Specific warranty details for your ApoloSign EP103A tablet are typically provided with your purchase documentation or on the product packaging. Please refer to these materials for information regarding warranty coverage, terms, and conditions.
7.2 Кардарларды колдоо
For further assistance, technical support, or inquiries not covered in this manual, please contact ApoloSign customer service. Contact information can usually be found on the official ApoloSign webсайтында же продуктунун таңгагында.


