1. Киришүү
The VILTROX DC-X2 is a high-brightness 6-inch touchscreen video field monitor designed for professional videography and photography. It features a 2000nit display for clear visibility in various lighting conditions, 4K HDMI input/output, and a suite of advanced monitoring tools such as 3D Lut, RGB Parade, and Focus Peaking. This manual provides detailed instructions for the proper setup, operation, and maintenance of your DC-X2 monitor.
2. Коопсуздук маалыматы
- Мониторду сууга же ашыкча нымдуулукка дуушар кылбаңыз.
- Мониторду түшүрүп алуудан же катуу соккуга кабылтуудан алыс болуңуз.
- Do not attempt to disassemble or repair the monitor yourself. Refer to qualified service personnel.
- Use only VILTROX-approved accessories and power sources.
- Мониторду күчтүү магнит талаасынан алыс кармаңыз.
- Ensure proper ventilation to prevent overheating, especially during extended use.
3. Пакеттин мазмуну
Пакетиңизде бардык буюмдар бар экенин текшериңиз:
- VILTROX DC-X2 Monitor
- NP-F550 Battery x1
- VL-550 Custom Ball Head x1
- Quick-release sunhood
- HDMI-HDMI Cable x1
- Mini-HDMI Cable x1
- Carry Case

Image: The VILTROX DC-X2 monitor shown with its standard accessories, including the NP-F550 battery, ball head, sunhood, and cables.
4. Продукт бүтүп калдыview
The DC-X2 monitor features a robust design with intuitive controls and versatile connectivity options.
4.1 Front Panel (Display)
The front features a 6-inch Full HD 1920x1080 IPS touchscreen display with 2000 Nits brightness for excellent outdoor visibility.
4.2 Top Panel (Controls)
The top panel houses the power button, return button, and four customizable function buttons (F1, F2, F3, F4) for quick access to frequently used features.
Сүрөт: жакын план view of the top edge of the VILTROX DC-X2 monitor, highlighting the power button, return button, and the F1, F2, F3, F4 customizable function buttons.
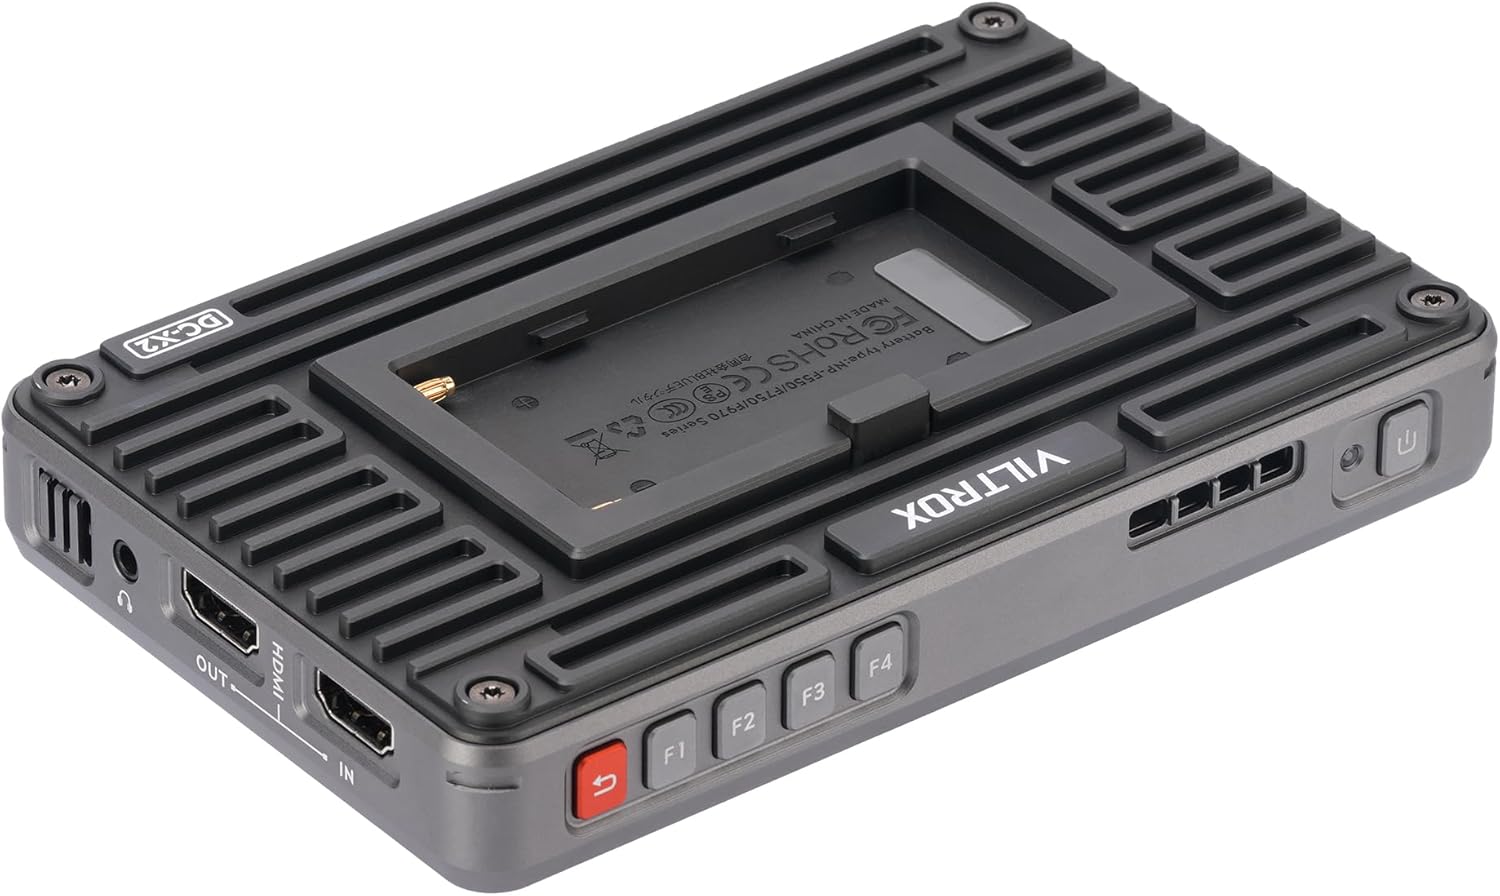
4.3 Rear Panel (Battery Mount & Cooling)
The rear panel includes the NP-F series battery plate for power and an efficient silent fan with active cooling to maintain optimal operating temperature.

Image: The rear side of the VILTROX DC-X2 monitor, showing the mounted NP-F battery and the heat dissipation design.
4.4 Side Panels (Ports & Mounts)
The side panels feature various input/output ports and mounting points:
- HDMI IN: For video signal input (supports up to 4K 30Hz).
- HDMI OUT: For video signal loop output.
- DC IN: Тышкы электр менен камсыздоо үчүн.
- USB-C: Кубат киргизүү үчүн.
- USB-A: For LUT import via USB drive.
- 3.5 мм аудио чыгышы: Кулакчындарды көзөмөлдөө үчүн.
- 1/4"-20 Threaded Mounts: Two mounting points (bottom and side) for attaching to camera rigs or accessories.

Сүрөт: бир тарап view of the VILTROX DC-X2 monitor, illustrating the 1/4-20 threaded mounting point and various input/output ports.
5. Орнотуу
5.1 Батареяны туташтыруу
Slide the provided NP-F550 battery onto the battery plate on the rear of the monitor until it clicks into place. Ensure it is securely fastened.
5.2 Мониторду орнотуу
Attach the VL-550 Custom Ball Head to one of the 1/4"-20 threaded mounts on the monitor (bottom or side). Secure the ball head to your camera's hot shoe or a compatible rig. Adjust the angle as needed.

Image: The VILTROX DC-X2 monitor securely mounted on a camera rig, demonstrating its integration into a professional setup.
Video: This video demonstrates how to adjust the monitor's angle after installation, showcasing the flexibility of its mounting system.
5.3 Камерага туташуу
Use the provided HDMI-HDMI or Mini-HDMI cable to connect your camera's HDMI output to the HDMI IN port on the DC-X2 monitor.
5.4 Attaching the Sunhood
The quick-release sunhood can be easily attached to the monitor's frame to reduce glare in bright outdoor conditions. It also serves as a screen protector when folded.
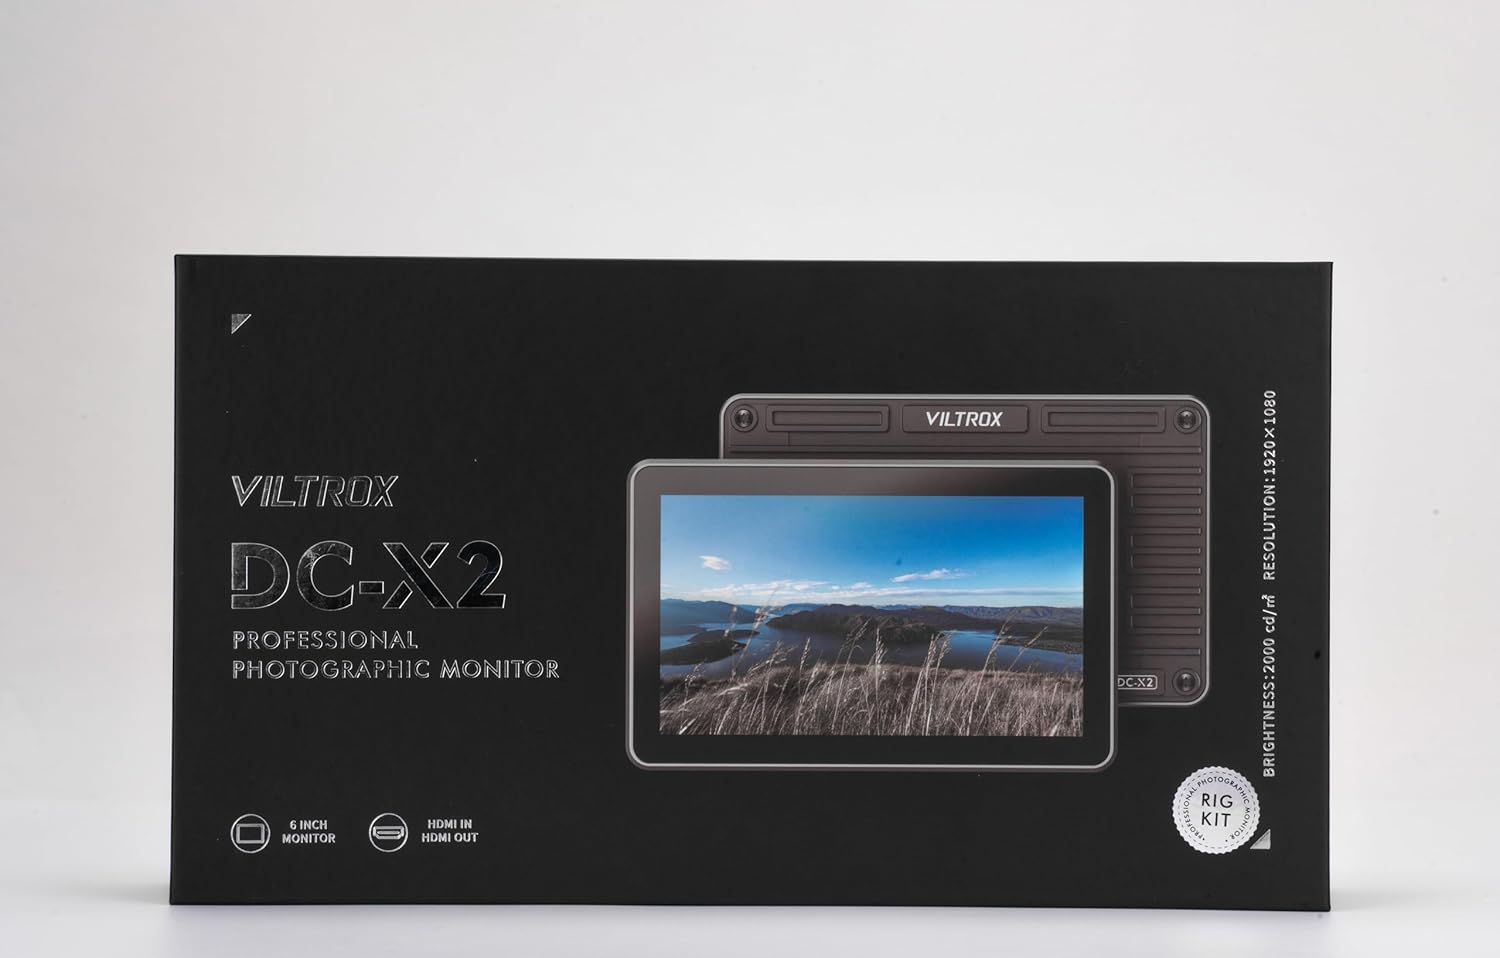
Image: The VILTROX DC-X2 monitor with its quick-release sunhood deployed, providing shade for improved visibility in bright environments.
6. Иштөө нускамалары
6.1 Күйгүзүү/өчүрүү
Press and hold the power button on the top panel to turn the monitor on or off. A green indicator light will illuminate when the monitor is powered on.
Video: This video demonstrates the basic power on and off sequence of the VILTROX DC-X2 monitor, including initial menu navigation.
6.2 Сенсордук экранда навигация
The DC-X2 features an intuitive touchscreen interface. Tap to select options, swipe to navigate menus, and pinch-to-zoom for detailed image inspection.

Image: A hand demonstrating touchscreen interaction on the VILTROX DC-X2 monitor, showing the ease of navigating its interface.
6.3 Using Function Buttons (F1-F4)
The F1-F4 buttons are customizable shortcuts. You can assign frequently used functions (e.g., Focus Peaking, 3D Lut, Histogram) to these buttons via the monitor's menu for quick access during shooting.
6.4 Advanced Monitoring Features
The DC-X2 offers a comprehensive suite of monitoring tools:
- 3D Lut: Import and apply custom LUTs via the USB-A port for accurate color grading preview.
- RGB Parade: Visualize the distribution of red, green, and blue color channels.
- Фокустун чокусу: Highlights in-focus areas for precise manual focusing.
- Толкун формасы: Displays luminance levels across the image.
- Векторскоп: Shows color hue and saturation.
- Гистограмма: Provides a graphical representation of tonal distribution.
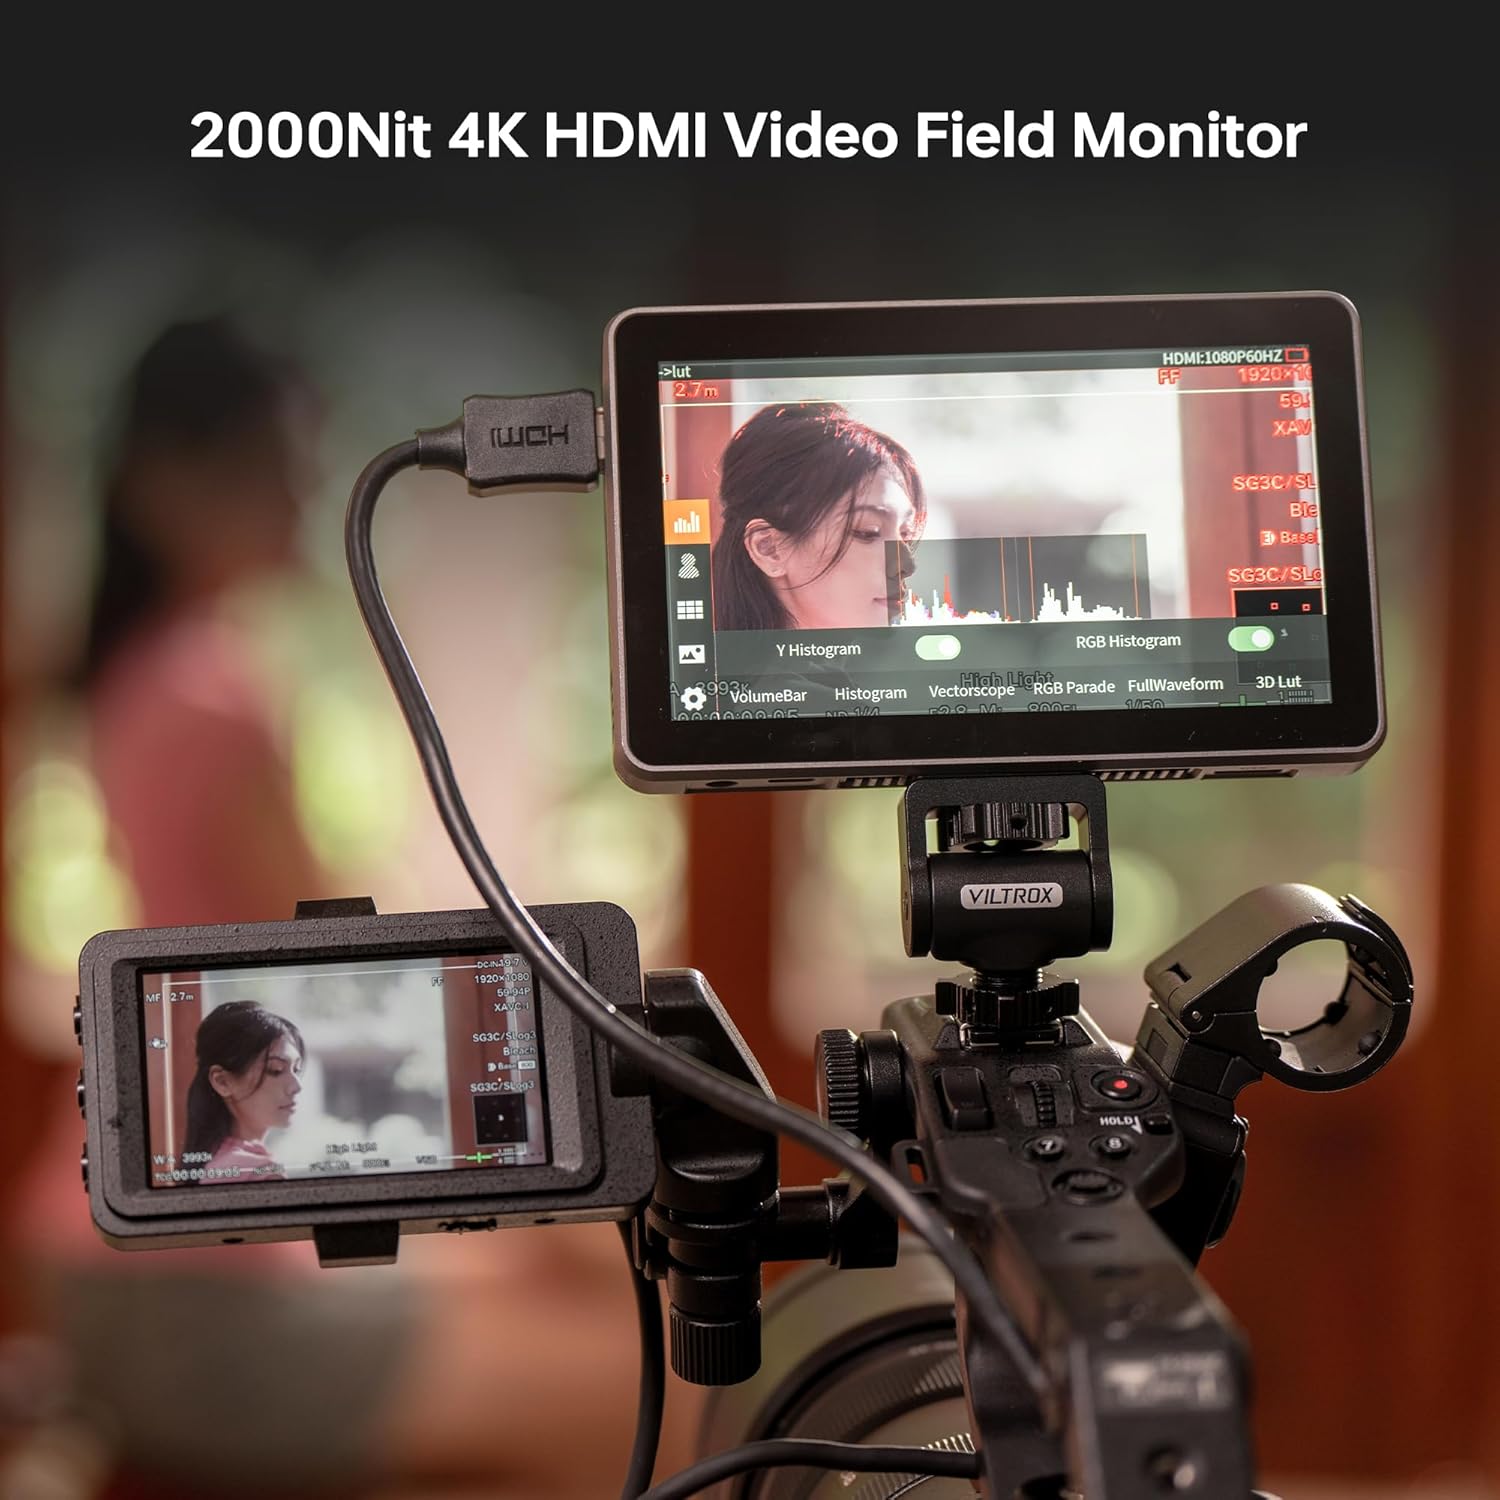
Image: The VILTROX DC-X2 monitor screen showing various professional monitoring tools, including Y Histogram and RGB Histogram, for detailed video analysis.
Видео: толугураакview of the Viltrox DC-X2/X3 monitor, detailing its functions, settings, and screen capabilities for professional use.
Video: This video showcases the Viltrox DC-X2/X3 monitor in action with the AF 35mm F1.2 LAB lens, demonstrating its practical application for photographers.
Video: A brief demonstration of the Viltrox DC-X2 camera monitor in use, highlighting its compact size and functionality.
7. Техникалык тейлөө
- Экранды тазалоо: Сенсордук экранды тазалоо үчүн электроника үчүн атайын иштелип чыккан жумшак, мамыксыз чүпүрөктү колдонуңуз. Абразивдүү тазалоочу каражаттарды же эриткичтерди колдонбоңуз.
- Денени тазалоо: Wipe the monitor body with a dry, soft cloth.
- Муздатуу желдеткич: Periodically check the cooling fan vents for dust accumulation. Use a soft brush or compressed air to gently clear any obstructions.
- Сактагыч: When not in use, store the monitor in its provided carry case to protect it from dust, scratches, and impacts. Remove the battery if storing for extended periods.
8. Кыйынчылыктарды
| Көйгөй | Мүмкүн себеп | Чечим |
|---|---|---|
| Монитор күйбөйт. | Battery is low or not inserted correctly. External power not connected. | Charge or replace battery. Ensure external power adapter is securely connected. |
| Сигнал көрсөтүлгөн жок. | HDMI cable loose or faulty. Camera output settings incorrect. | Check HDMI cable connection. Verify camera's HDMI output settings (resolution, frame rate). Try a different HDMI cable. |
| Сенсордук экран жооп бербейт. | Убактылуу программалык ката. | Restart the monitor. Ensure screen is clean and free of debris. |
| Монитор ысып кетти. | Poor ventilation. Extended use in high temperatures. | Ensure cooling vents are clear. Operate in a well-ventilated area. Reduce brightness if possible. |
9. Техникалык шарттар
| Өзгөчөлүк | Спецификация |
|---|---|
| Дисплей өлчөмү | 6 дюйм |
| Резолюция | 1920 x 1080 (Full HD) |
| Жарыктык | 2000 Nits |
| Контраст катышы | 1000:1 |
| Viewбурч | 160° |
| Киргизүү/Чыгуу | HDMI In/Out (up to 4K 30Hz) |
| Power Input | NP-F Battery, DC In, USB-C |
| Өлчөмдөр | 12.01 x 6.69 x 2.95 дюйм |
| Салмагы | 2.83 фунт |
10. Кепилдик жана колдоо
VILTROX products are designed and manufactured to the highest quality standards. For warranty information and technical support, please refer to the official VILTROX webсайтка же түздөн-түз кардарларды тейлөөгө кайрылыңыз. Сатып алуу квитанциясын кепилдик дооматтары үчүн сатып алуунун далили катары сактаңыз.
Кошумча жардам алуу үчүн төмөнкүгө кириңиз: www.viltrox.com


