1. Продукт бүтүп калдыview
The Retevis RT22 is a compact and portable two-way radio designed for reliable communication. It features voice-activated transmission (VOX), an emergency alarm function, and comes with acoustic tube earpieces for clear and private communication. This manual provides essential information for the proper setup, operation, and maintenance of your RT22 walkie talkies.

Figure 1: Retevis RT22 Walkie Talkie, showcasinанын көчмө дизайны.
2. Пакеттин мазмуну
Before using your Retevis RT22 walkie talkies, please verify that all items are present in the package:
- 4x Retevis RT22 Portable Radios
- 4x Rechargeable Li-ion Batteries
- 4x USB кабели
- 4x Unique Belt Clips
- 2x USB Adapters
- 4x Retevis Acoustic Tube Walkie Talkie Earpieces
- 1x Колдонуучунун колдонмосу (англисче)

Figure 2: Included components in the Retevis RT22 package.
3. Parts of the Radio
Familiarize yourself with the various parts of your Retevis RT22 walkie talkie:

Figure 3: Labeled diagram of the Retevis RT22 Walkie Talkie.
- Индикатор жарыгы: Радионун абалын көрсөтөт (мисалы, берүү, кабыл алуу, кубаттоо).
- Кубат/үн баскычы: Радиону күйгүзөт/өчүрөт жана үнүн тууралайт.
- Баяндамачы: Алынган аудиону чыгаруу.
- PTT (баскыч менен сүйлөшүү) баскычы: Өтүү үчүн басып туруңуз, кабыл алуу үчүн коё бериңиз.
- Channel + / Monitor Button: Increases channel number. Short press to activate monitor function.
- Channel - Button: Decreases channel number.
- Микрофон: Captures your voice during transmission.
- USB сайгыч: Радиону заряддоо үчүн.
4. Орнотуу
4.1 Батареяны орнотуу
Батарейканы орнотуу үчүн:
- Радио өчүрүлгөнүн текшериңиз.
- Радионун артындагы батарея бөлүкчөсүнүн капкагын табыңыз.
- Slide the battery cover downwards to remove it.
- Align the rechargeable Li-ion battery with the contacts inside the compartment.
- Батареяны чыкылдагыча акырын басыңыз.
- Replace the battery compartment cover by sliding it upwards until it locks.

Figure 4: Battery compartment of the Retevis RT22.
4.2 Батареяны заряддоо
Charge the battery before initial use and when the battery indicator is low.
- Connect the USB cable to the USB plug on the radio.
- Connect the other end of the USB cable to a USB adapter, and then plug the adapter into a standard wall outlet.
- Индикатор жарыгы, адатта, кубаттоо учурунда кызыл түстө күйүп, толук кубатталганда жашыл түскө айланат.
- Кубаттоо убактысы ар кандай болушу мүмкүн. Батареяны ашыкча заряддабаңыз.
4.3 Кур кыстыргычты бекитүү
To attach the belt clip, align the clip with the designated slots on the back of the radio and slide it upwards until it locks into place. To remove, push the release tab and slide the clip downwards.
4.4 Кулакчынды туташтыруу
The Retevis RT22 uses a 2-pin connector for accessories. Insert the earpiece's 2-pin plug firmly into the accessory jack on the side of the radio. Ensure a secure connection for optimal audio performance.

Figure 5: Retevis Acoustic Tube Earpiece.
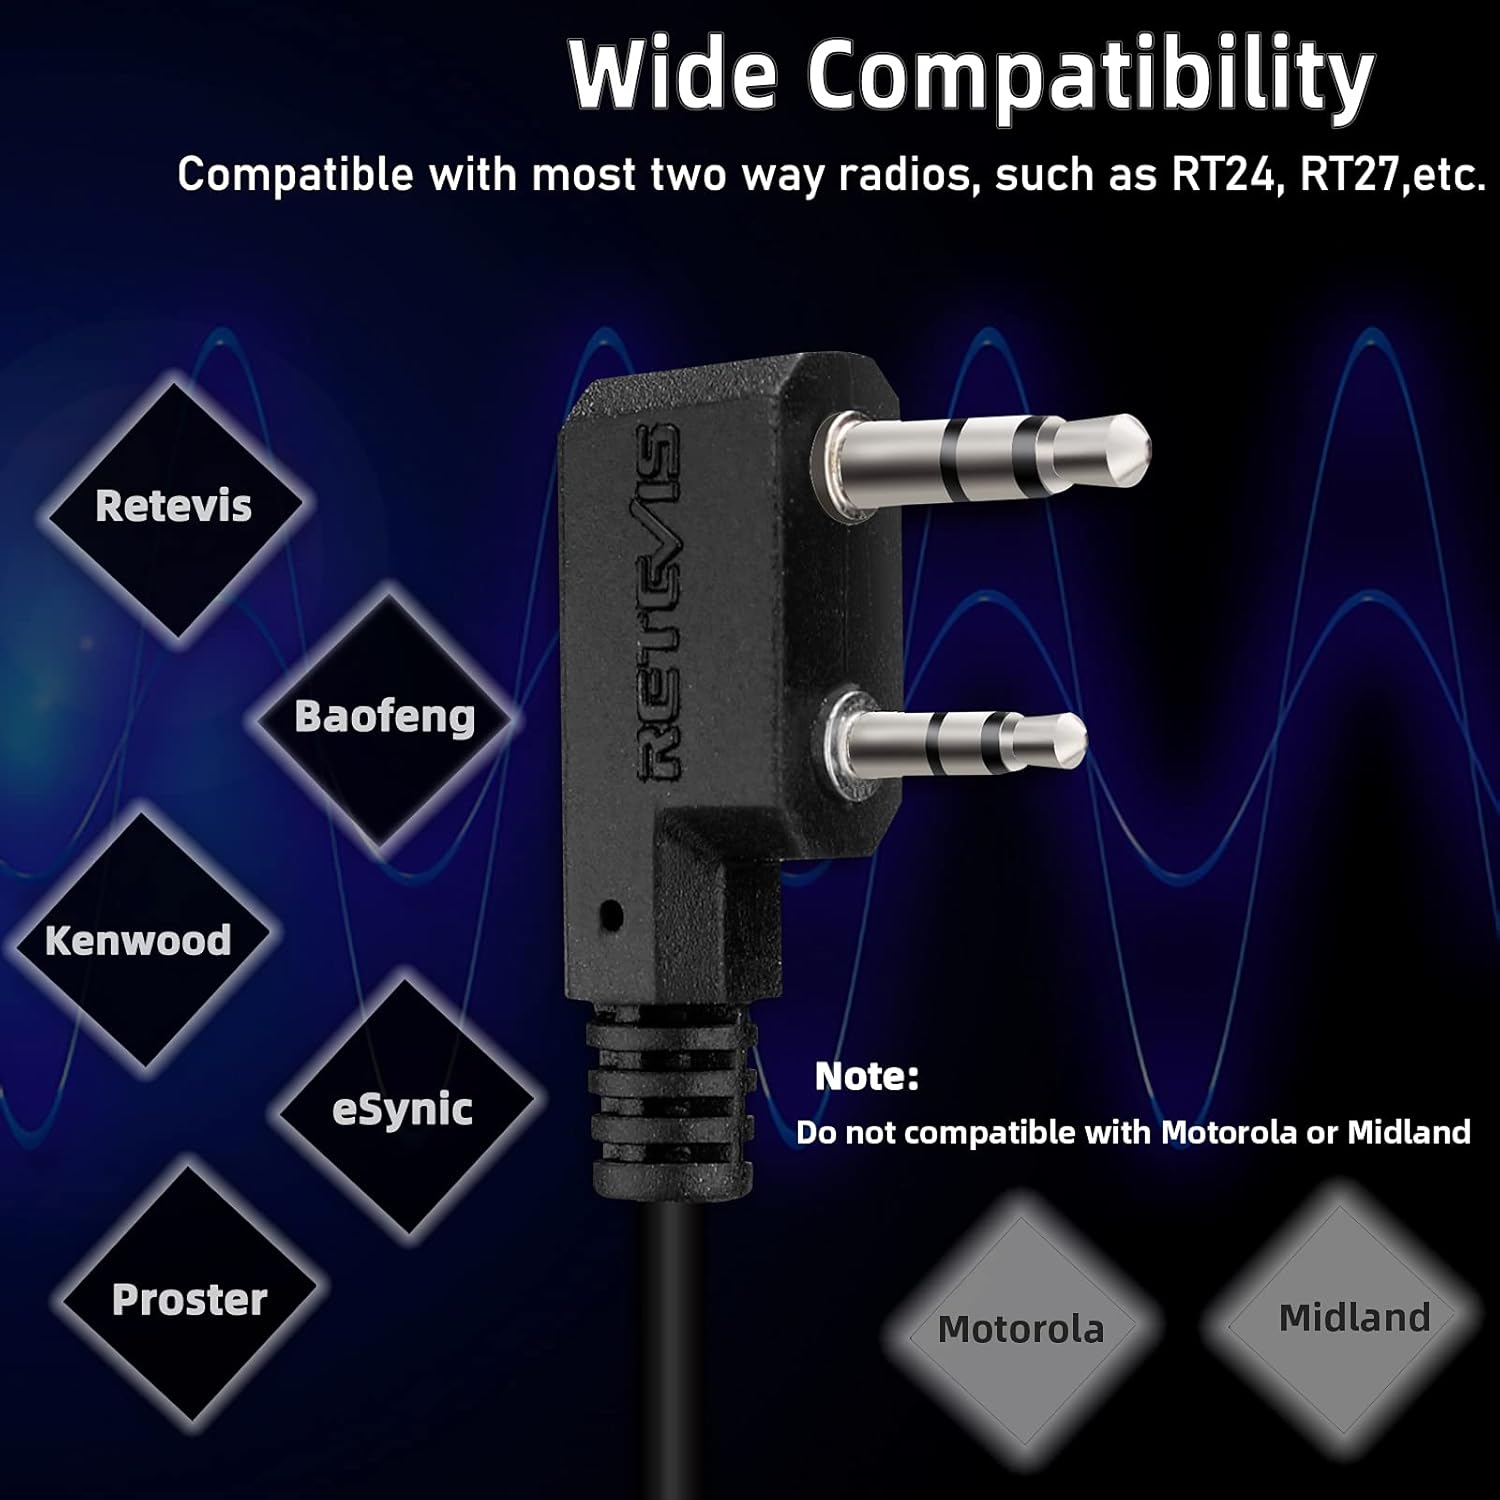
Figure 6: Components of the Acoustic Tube Earpiece.
5. Иштөө нускамалары
5.1 Күйгүзүү/өчүрүү жана үндү тууралоо
To turn the radio on, rotate the Power/Volume knob clockwise until you hear a click. Continue rotating clockwise to increase the volume. To turn off the radio, rotate the knob counter-clockwise until it clicks off.
5.2 Канал тандоо
колдонуу Канал + жана Channel - buttons on the side of the radio to select your desired communication channel. Ensure all radios in your group are set to the same channel for communication.
5.3 Берүү жана кабыл алуу
- Өткөрүш үчүн: басып, кармап туруңуз PTT (Push-to-Talk) button on the side of the radio. Speak clearly into the microphone. The indicator light will glow red. Release the PTT button to stop transmitting.
- Кабыл алуу үчүн: Ensure the PTT button is not pressed. The indicator light will glow green when a signal is being received on your current channel.
5.4 VOX Function (Voice Activated Transmission)
The VOX function allows for hands-free communication. When activated, the radio will automatically transmit when it detects your voice, without needing to press the PTT button. Refer to the full user manual for detailed instructions on activating and adjusting VOX sensitivity.
5.5 Шашылыш сигнал
The RT22 features an emergency alarm function. To activate, press and hold the Channel + / Monitor button for approximately 3 seconds. The radio will emit a loud alarm tone. Press the PTT button to cancel the alarm.
5.6 Монитор функциясы
To temporarily disable squelch and listen for weak signals on the current channel, short press the Channel + / Monitor button. Release the button to return to normal operation.
6. Техникалык тейлөө
- Тазалоо: жумшак колдонуу, damp Радионун сыртын тазалоо үчүн кездеме колдонуңуз. Катуу химиялык заттарды же эриткичтерди колдонбоңуз.
- Батареяга кам көрүү: Store batteries in a cool, dry place. Avoid extreme temperatures. If the radio will not be used for an extended period, remove the battery.
- Суу каршылык: The Retevis RT22 is сууга чыдамдуу эмес. Avoid exposing the radio to rain, splashes, or immersion in water.
- Сактагыч: Store the radio in a dry, dust-free environment when not in use.
7. Кыйынчылыктарды
| Көйгөй | Мүмкүн себеп | Чечим |
|---|---|---|
| Радио күйбөйт. | Батарея түгөндү же туура эмес орнотулган. | Батареяны заряддаңыз же туура түрдө кайра орнотуңуз. |
| Өткөрүп же кабыл албайт. | Туура эмес канал тандалды; диапазондон тышкары; батареянын заряды аз. | Verify channel settings; move closer to other radios; charge battery. |
| Аудио сапаты начар. | Volume too low; earpiece not fully connected; interference. | Adjust volume; re-seat earpiece; move away from sources of interference. |
| VOX not working. | VOX sensitivity too low; VOX not activated. | Adjust VOX sensitivity; ensure VOX is enabled. |
8. Техникалык шарттар
| Өзгөчөлүк | Деталь |
|---|---|
| Модель номери | RT22 |
| Бренд | Retevis |
| Каналдардын саны | 22 |
| Жыштык диапазону | 462-467 МГц |
| Тtage | 3.7 вольт |
| Өзгөчөлүктөр | Emergency Alarm, VOX (Voice Activated) |
| Сууга туруктуулук деңгээли | Сууга чыдамдуу эмес |
| Шайкеш түзмөктөр | Retevis two-way radios, Acoustic Tube Headset, Earpieces |
| FCC ID | 2AAR8RT22 |

Figure 7: Physical dimensions of the Retevis RT22.
9. Кепилдик жана колдоо
Retevis products are designed for reliability and performance. For specific warranty information, please refer to the documentation included with your purchase or visit the official Retevis website. For technical support, troubleshooting assistance, or inquiries about replacement parts, please contact Retevis customer service through their official channels.
Official Retevis Store: Visit the Retevis Store on Amazon


