Introduction
Thank you for choosing the Anmytek Shoe Cabinet. This manual provides essential information for the safe and efficient assembly, operation, and maintenance of your new shoe cabinet. Please read this manual thoroughly before beginning assembly and retain it for future reference.
Коопсуздук маалыматы
To ensure safe use of your Anmytek Shoe Cabinet, please observe the following precautions:
- Чийилип калбашы үчүн, шкафты ар дайым таза, тегиз жана жумшак бетке чогултуңуз.
- Монтаждоо алдында бардык бөлүктөрдүн бар экенин жана бузулбаганын текшериңиз. Эгерде бөлүктөрү жок же бузулуп калса, монтаждоону улантпаңыз.
- Use the provided anti-tipping kit to secure the cabinet to a wall. This is crucial for preventing accidental tipping, especially in households with children or pets.
- Do not overload the cabinet. Distribute weight evenly across shelves and drawers.
- Кичинекей бөлүктөрүн жана таңгактоочу материалдарды муунуп калуу коркунучун болтурбоо үчүн балдардан алыс кармаңыз.
- Мезгил-мезгили менен бардык байланыштарды жана бекиткичтерди текшерип туруңуз, алар бекем бойдон калууда.
Пакеттин мазмуну
Чогултуудан мурун, төмөндө көрсөтүлгөн бардык компоненттер таңгагыңызда бар экенин текшериңиз. Эгерде кандайдыр бир тетиктер жок болсо же бузулган болсо, кардарларды колдоо кызматына кайрылыңыз.
Компоненттери:
- Негизги шкаф панелдери (үстүңкү, астыңкы, капталдары, арткы бети)
- Flip Drawers (2 sets)
- Side Cabinet Door
- Adjustable Shelves (for side cabinet)
- Top Slide Drawer
- Буттар (4 даана)
- Hardware Pack (screws, dowels, cam locks, hinges, handles, anti-tipping kit)
Керектүү куралдар (камтылган эмес):
- Филлипс баш бурагычы
- Балка (милдеттүү эмес, дюбель үчүн)
- Drill (optional, for anti-tipping kit wall anchor)
- Деңгээл
Орнотуу жана чогултуу
Follow these step-by-step instructions for assembling your Anmytek Shoe Cabinet. It is recommended to have two people for assembly.
1-кадам: аймакты даярдоо
Clear a spacious area and lay down a blanket or cardboard to protect the cabinet parts and your floor from scratches during assembly.
2-кадам: Негизди жана буттарды чогултуңуз
Attach the four golden legs to the bottom panel of the cabinet using the provided screws. Ensure they are securely fastened.

Image: The fully assembled Anmytek Shoe Cabinet, highlighting its design and the golden legs.
Step 3: Construct the Main Frame
Connect the side panels to the bottom panel, then attach the back panel. Use cam locks and dowels as indicated in the detailed assembly diagram (refer to the included paper manual for specific diagrams). Ensure all connections are tight and flush.
Step 4: Install Flip Drawers and Side Cabinet
Install the mechanisms for the two flip drawers into their respective compartments. Attach the flip drawer fronts. For the side cabinet, install the hinges and attach the door. Insert the adjustable shelves into the side cabinet at your desired height.
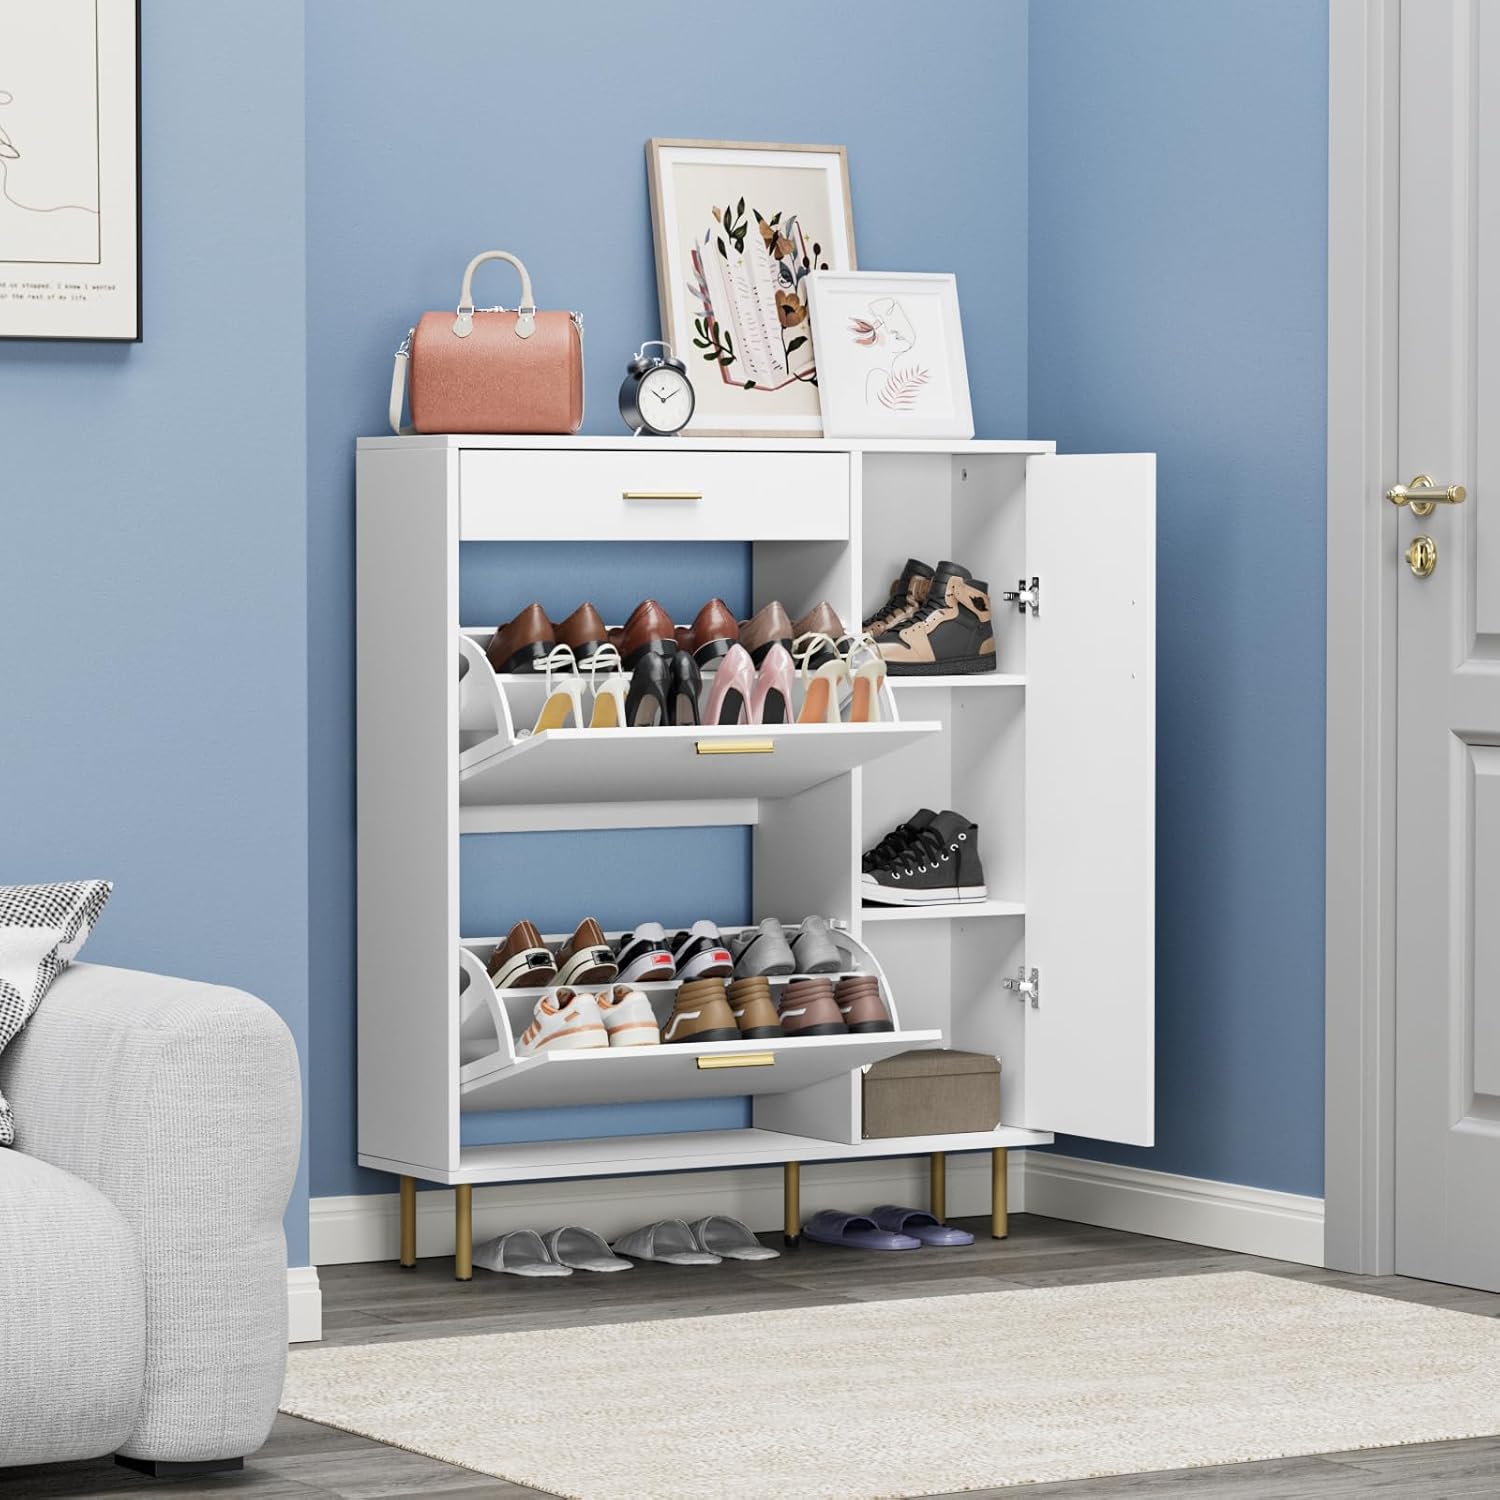
Image: The shoe cabinet with its flip drawers open, displaying shoes, and the side cabinet with its door closed. This illustrates the storage capacity and design.

Image: A detailed diagram illustrating how the panels within the flip-out drawers can be adjusted or removed, and how the shelves in the side cabinet are adjustable and removable to accommodate different shoe sizes, including boots.
Step 5: Install Top Slide Drawer
Assemble the top slide drawer and install its runners. Slide the drawer into its designated slot at the top of the cabinet.
Step 6: Attach Handles and Anti-Tipping Kit
Attach the golden handles to the flip drawers, side cabinet door, and top slide drawer. Finally, install the anti-tipping kit to secure the cabinet to a wall. This step is critical for stability and safety.

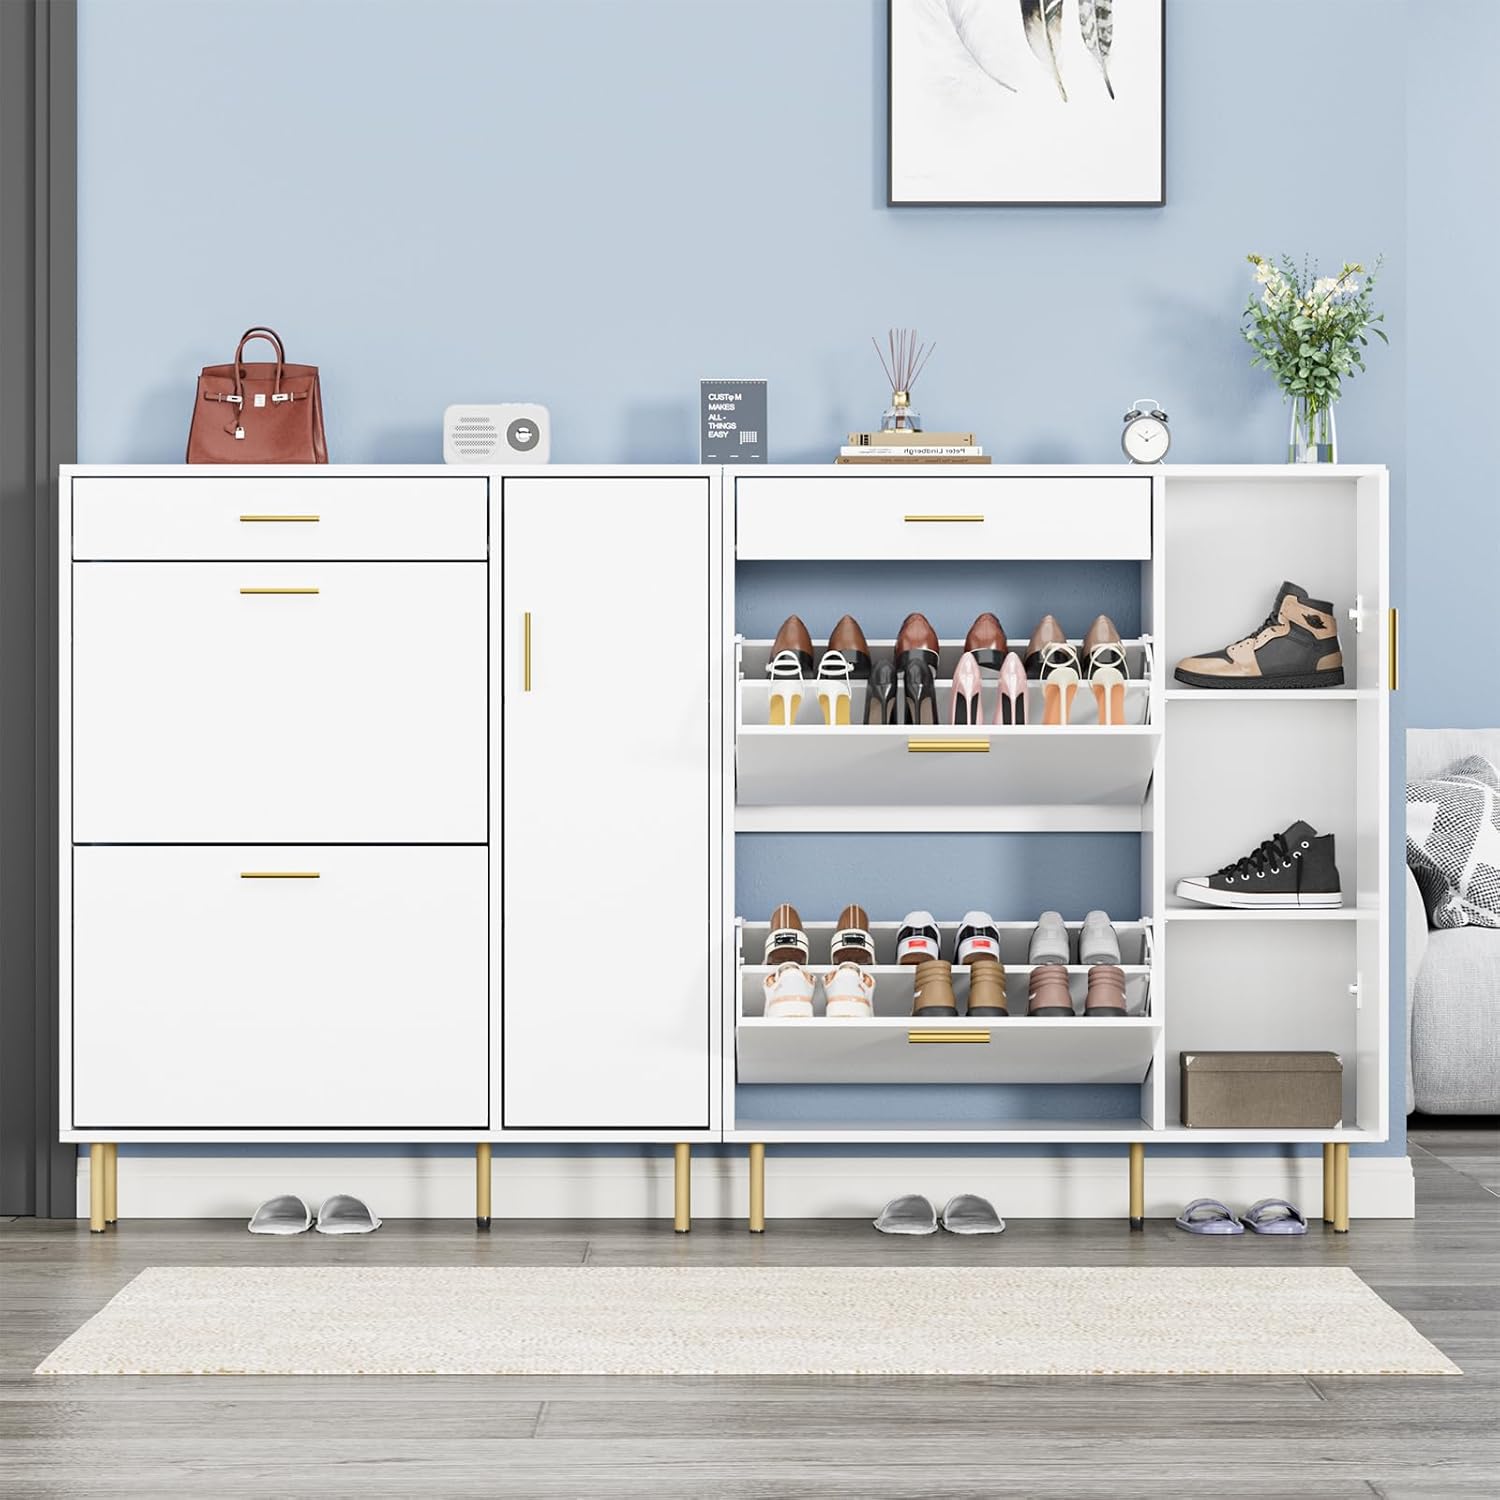
Image: The shoe cabinet positioned in an entryway, demonstrating its space-saving design and how it can store different types of footwear.
Иштөө нускамалары
Айланма тартмаларды колдонуу
Gently pull the handle of the flip drawer to open it. The internal mechanism will tilt the shoe racks forward, allowing easy access to your shoes. To close, push the drawer back until it clicks securely into place. The internal panels can be adjusted or removed to accommodate different shoe heights, such as sneakers, high heels, or flat shoes.
Сүрөт: жакын план view of the shoe cabinet with one flip drawer open, demonstrating how shoes are organized and stored within the tilting compartments.
Каптал шкафты колдонуу
Open the side cabinet door to access the internal shelves. These shelves are adjustable, allowing you to customize the storage space for taller items like boots or larger shoes. Simply remove and re-insert the shelf pins into the desired holes.
Using the Top Slide Drawer
The top slide drawer is ideal for storing small items such as keys, wallets, or other entryway essentials. Pull the handle to open and push to close.
Кароо жана тейлөө
Proper care will extend the life and appearance of your Anmytek Shoe Cabinet:
- Тазалоо: Беттерди жумшак менен сүртүңүз, гamp cloth. Avoid abrasive cleaners or harsh chemicals, as they can damage the finish.
- Чаңдандыруу: Дайыма чаңды кургак, жумшак чүпүрөк менен сүртүп туруңуз.
- Төгүлүүлөр: Инженердик жыгачка боёп же зыян келтирбөө үчүн төгүлгөн жерлерди дароо тазалаңыз.
- Күн нуру: Түз тийген күн нурунун узакка созулушунан сактаныңыз, бул өңү өчүп же өңү бузулушу мүмкүн.
- Нымдуулук: Жыгачтын бузулушуна же жарака кетишине жол бербөө үчүн бөлмөдө туруктуу нымдуулук деңгээлин сактаңыз.
- Аппараттык камсыздоону текшерүү: Бардык бурамаларды, болтторду жана бекиткичтерди бекем бекитилгенин мезгил-мезгили менен текшерип туруңуз. Зарыл болсо, кайра бекитиңиз.
Проблемаларды чечүү
| Көйгөй | Мүмкүн себеп | Чечим |
|---|---|---|
| Кабинет солкулдап же туруксуз. | Бекиткичтер бошоп калган; пол тегиз эмес; оодарылып кетүүгө каршы комплект орнотулган эмес. | Ensure all screws and cam locks are tightened. Use a level to check the floor and place shims if necessary. Install the anti-tipping kit securely to a wall. |
| Флип тартмалары бир калыпта ачылбайт/жабылбайт. | Obstruction; misaligned mechanism; overloaded. | Check for any shoes or objects blocking the mechanism. Verify that the drawer mechanism is correctly installed and aligned. Reduce the number of shoes if overloaded. |
| Side cabinet door is misaligned. | Илниктер бош же туура эмес туураланган. | Adjust the screws on the hinges to realign the door. Refer to the hinge adjustment instructions in the assembly manual. |
| Монтаж учурунда жетишпеген тетиктер. | Таңгактоо катасы. | Do not proceed with assembly. Contact Anmytek customer support immediately with your purchase details and the list of missing parts. |
Продукт спецификациялары
- Бренд: Anmytek
- Модел: H0153
- Түсү: Ак
- Продукциянын өлчөмдөрү: 9.4"D x 35.4"W x 41.3"H (24cm D x 90cm W x 105cm H)
- Материал: Инженердик жыгач
- Өзгөчөлүктөр: Space Saving, Anti-Tipping, Adjustable Shelf
- Монтаж түрү: Floor Mount
- Бөлмө түрү: Entryway, Living Room, Hallway
- Текчелердин саны: 4 (adjustable in side cabinet) + 2 flip drawers (multiple compartments)
- Элемент Салмагы: 52.8 фунт (24 килограмм)
- Ассамблея талап кылынат: Ооба
- Сыйымдуулугу: Stores up to 15-20 pairs of shoes (varies by shoe size and style)

Image: A detailed diagram showing the dimensions of the Anmytek Shoe Cabinet, including height, width, and depth, along with internal measurements for various compartments.
Кепилдик жана колдоо
Anmytek stands behind the quality of its products. For any issues regarding defective products, missing parts, or general inquiries, please contact our customer support team.
Колдоо кызматы менен байланышуу: If you encounter any problems, please click "Contact Seller" on the platform where you purchased the product to receive a satisfactory solution. Please have your order number and product model (H0153) ready when contacting support.
While specific warranty terms are not detailed in this manual, Anmytek is committed to providing prompt assistance for product-related concerns.


