1. Киришүү
This manual provides comprehensive instructions for the installation, operation, and maintenance of your Xigmatek FENIX 240 ARCTIC AIO ARGB CPU Liquid Cooler. Please read this manual thoroughly before installation to ensure proper setup and optimal performance.
Пакеттин мазмуну:
- 240мм радиатор
- Pump/CPU Block
- Two High-Performance ARGB Fans
- CPU Socket Mounting Kit (for Intel LGA 1700/1200/115X and AMD AM5/AM4)
- Термикалык паста
- MINI ARGB Controller
- Tube Clips
2. Коопсуздук маалыматы
Орнотуу жана эксплуатациялоо учурунда төмөнкү коопсуздук чараларын сактаңыз:
- Орнотуудан мурун, системаңыздын өчүрүлгөнүн жана розеткадан суурулганын текшериңиз.
- Зыян болбош үчүн компоненттерди кылдаттык менен кармаңыз.
- Do not open the pump or radiator; it contains liquid coolant.
- Балдар жетпеген жерде сактаңыз.
- Refer to your motherboard manual for specific fan and ARGB header locations.
3. Орнотуу жана орнотуу
Follow these steps to install your Xigmatek FENIX 240 ARCTIC AIO Liquid Cooler.
3.1 Prepare the Radiator and Fans
Attach the two 120mm ARGB fans to the 240mm radiator using the provided screws. Ensure the fan airflow direction is appropriate for your case (typically exhausting air out of the case or drawing cool air in).
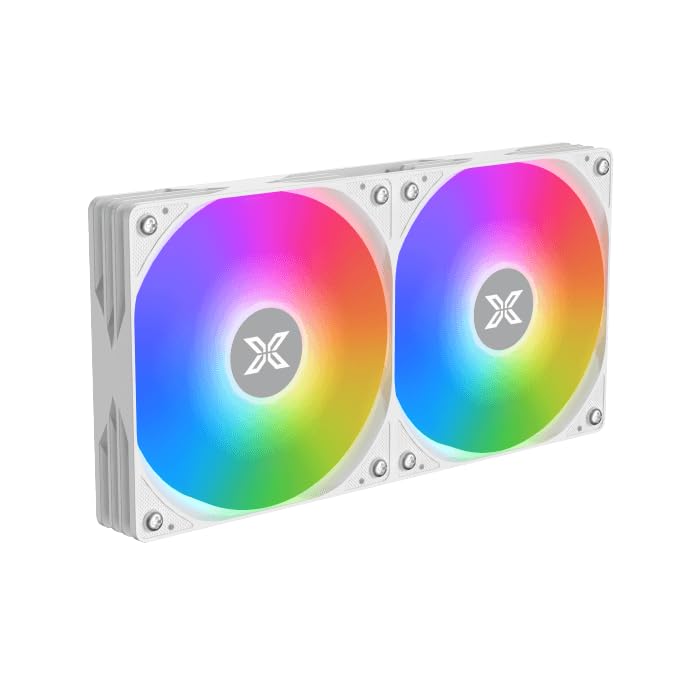
Image: Two ARGB fans are shown mounted on the white radiator, ready for installation.
3.2 Install the CPU Mounting Bracket
Select the appropriate mounting bracket for your CPU socket (Intel LGA 1700/1200/115X or AMD AM5/AM4). Follow the instructions in the mounting kit for your specific socket type to secure the backplate and standoffs to your motherboard.
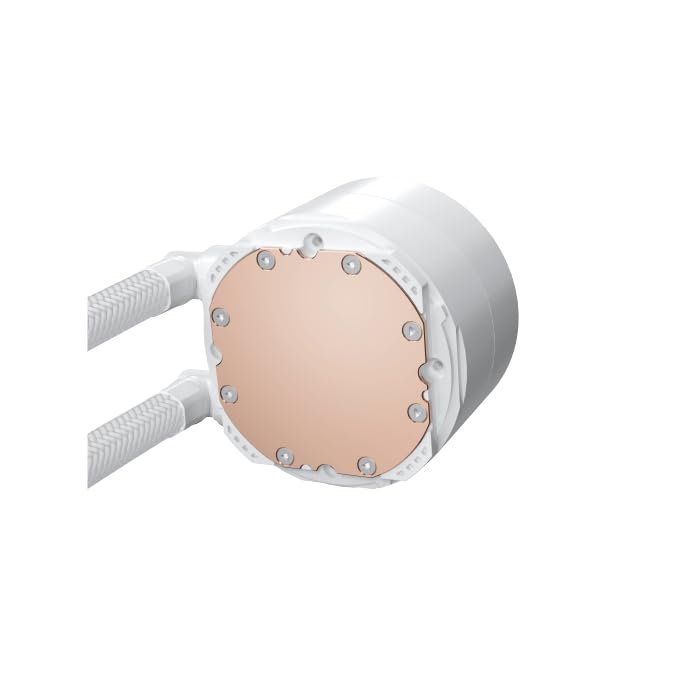
Image: The copper cold plate of the CPU pump block is visible, which makes direct contact with the CPU.
3.3 Термикалык пастаны колдонуу
Clean the CPU surface thoroughly. Apply a small amount of the included thermal paste to the center of your CPU's integrated heat spreader (IHS). A pea-sized dot is generally sufficient.
3.4 Mount the Pump/CPU Block
Carefully place the pump/CPU block onto the CPU, aligning it with the standoffs. Secure it with the provided thumb screws, tightening them in a cross pattern until snug. Avoid overtightening.

Image: The complete Xigmatek FENIX 240 ARCTIC AIO Liquid Cooler, showcasing the radiator, fans, and pump with ARGB lighting.
3.5 Install the Radiator
Mount the radiator and fan assembly into an available 240mm fan mount location in your PC case. Common locations include the top or front of the case. Use the appropriate screws to secure it.

Сүрөт: жакын план view of the radiator fins, highlighting the high-density aluminum construction for efficient heat dissipation.
3.6 Кабелдерди туташтырыңыз
- Насостун 3-пиндүү же 4-пиндүү кубат кабелин энелик платаңыздагы атайын AIO_PUMP же CPU_FAN колонкасына туташтырыңыз.
- Connect the fan power cables to available fan headers on your motherboard or to the included MINI ARGB Controller.
- Connect the ARGB cables from the fans and pump to the MINI ARGB Controller. Then, connect the controller to a 5V 3-pin ARGB header on your motherboard for software control, or use the controller's built-in modes.
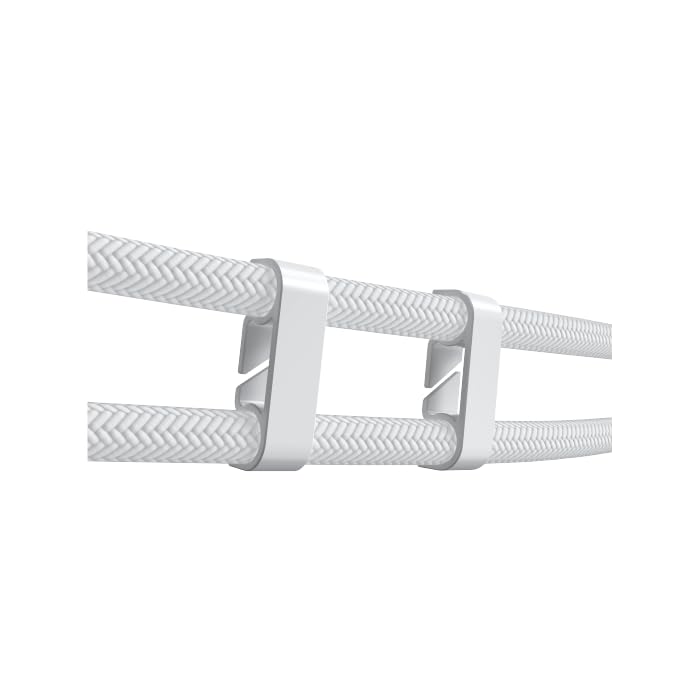
Image: Tube clips are shown securing the braided liquid cooler tubing, helping with cable management and preventing kinks.
4. Иштөө нускамалары
Once installed, power on your system. The Xigmatek FENIX 240 ARCTIC AIO will begin cooling your CPU automatically. The pump and fans will adjust their speed based on CPU temperature, as controlled by your motherboard's BIOS settings or fan control software.
ARGB жарыкты башкаруу:
The integrated ARGB lighting can be controlled via the included MINI ARGB Controller or through compatible motherboard software (e.g., ASUS Aura Sync, MSI Mystic Light Sync, Gigabyte RGB Fusion, ASRock Polychrome Sync). Connect the controller to your motherboard's 5V 3-pin ARGB header to synchronize lighting effects.
5. Техникалык тейлөө
Суюк муздаткычыңыздын үзгүлтүксүз техникалык тейлөөсү анын оптималдуу иштешин жана узак мөөнөттүү иштешин камсыз кылат.
- Чаңды тазалоо: Periodically clean dust from the radiator fins and fan blades using compressed air. Ensure fans are not spinning during cleaning.
- Түтүктөрдү текшерүү: Түтүктө ийилген, агып кетүү же бузулуу белгилерин текшериңиз.
- Насостун ызы-чуусу: Көйгөйдү көрсөтүшү мүмкүн болгон адаттан тыш ызы-чууларды насостон көзөмөлдөңүз.
6. Кыйынчылыктарды
Эгер көйгөйлөргө туш болсоңуз, төмөнкү жалпы көйгөйлөрдү жана чечимдерди караңыз:
- Жогорку CPU температурасы:
- Ensure the pump is running and connected to the correct header.
- Verify fans are spinning and correctly oriented.
- Check if the CPU block is securely mounted and thermal paste is properly applied.
- ARGB жарыктандыруу жок:
- Confirm all ARGB cables are securely connected to the controller and motherboard (5V 3-pin header).
- Check motherboard software settings for ARGB control.
- Ensure the MINI ARGB Controller is powered.
- Адаттан тыш насостун үнү:
- Ensure there are no air bubbles trapped in the pump. Gently tilt your PC case to help dislodge any air.
- Verify the pump is running at an appropriate speed (check BIOS settings).
7. Техникалык шарттар
| Өзгөчөлүк | Спецификация |
|---|---|
| Модель номери | EN42980 |
| Радиатордун өлчөмү | 240мм |
| Радиатор материалы | Алюминий |
| Муздатуу ыкмасы | Суу |
| Fan Speed | 1800 RPM чейин |
| Аба агымынын кубаттуулугу | 82.8 Cubic Inches Per Minute |
| Ызы-чуу деңгээли | 29.8 децибел |
| Тtage | 12 вольт (ток) |
| Ватtage | 280 ватт |
| Шайкеш розеткалар | Intel LGA 1700/1200/115X, AMD AM5/AM4 |
| Продукциянын өлчөмдөрү | 12.91 x 8.11 x 5.71 дюйм |
| Салмагы | 3.62 фунт |
8. Кепилдик жана колдоо
Xigmatek products are manufactured to high-quality standards. For warranty information and technical support, please refer to the official Xigmatek webсайтына кириңиз же жергиликтүү дистрибьюторуңузга кайрылыңыз. Кепилдик талаптары үчүн сатып алганыңызды тастыктаган документти сактап коюңуз.
Кошумча жардам алуу үчүн төмөнкүгө кириңиз: www.xigmatek.com


