1. Киришүү
This manual provides essential information for the installation, operation, and maintenance of your AeroCool D502A Mid Tower Case. Please read these instructions carefully before proceeding with assembly to ensure proper functionality and longevity of your components.

Image 1.1: The AeroCool D502A Mid Tower Case in white, showcasing its mesh front panel and internal layout with components installed.
The AeroCool D502A is designed to support powerful PC builds with excellent airflow and component compatibility. It features a stylish mesh front panel, extensive cooling options, and magnetic dust filters for easy maintenance.
2. Продукциянын өзгөчөлүктөрү
- Stylish Mesh Front Panel: Designed for optimal air intake and a modern aesthetic.
- Mid Tower Design: Accommodates ATX, Micro ATX, and Mini ITX motherboards.
- Кеңири муздатуу колдоо: Supports liquid coolers up to 360mm on the top or front, and up to 11 fan slots for comprehensive air cooling.
- High Component Clearance: Supports GPUs up to 400mm (without front radiator) and CPU coolers up to 171mm.
- Magnetic Dust Filters: Located on the top and side panels, with a removable filter on the bottom for simplified cleaning.
- Алдын ала орнотулган күйөрмандар: Includes four pre-installed ARGB fans with a 5-port PWM ARGB control hub for immediate cooling and lighting.
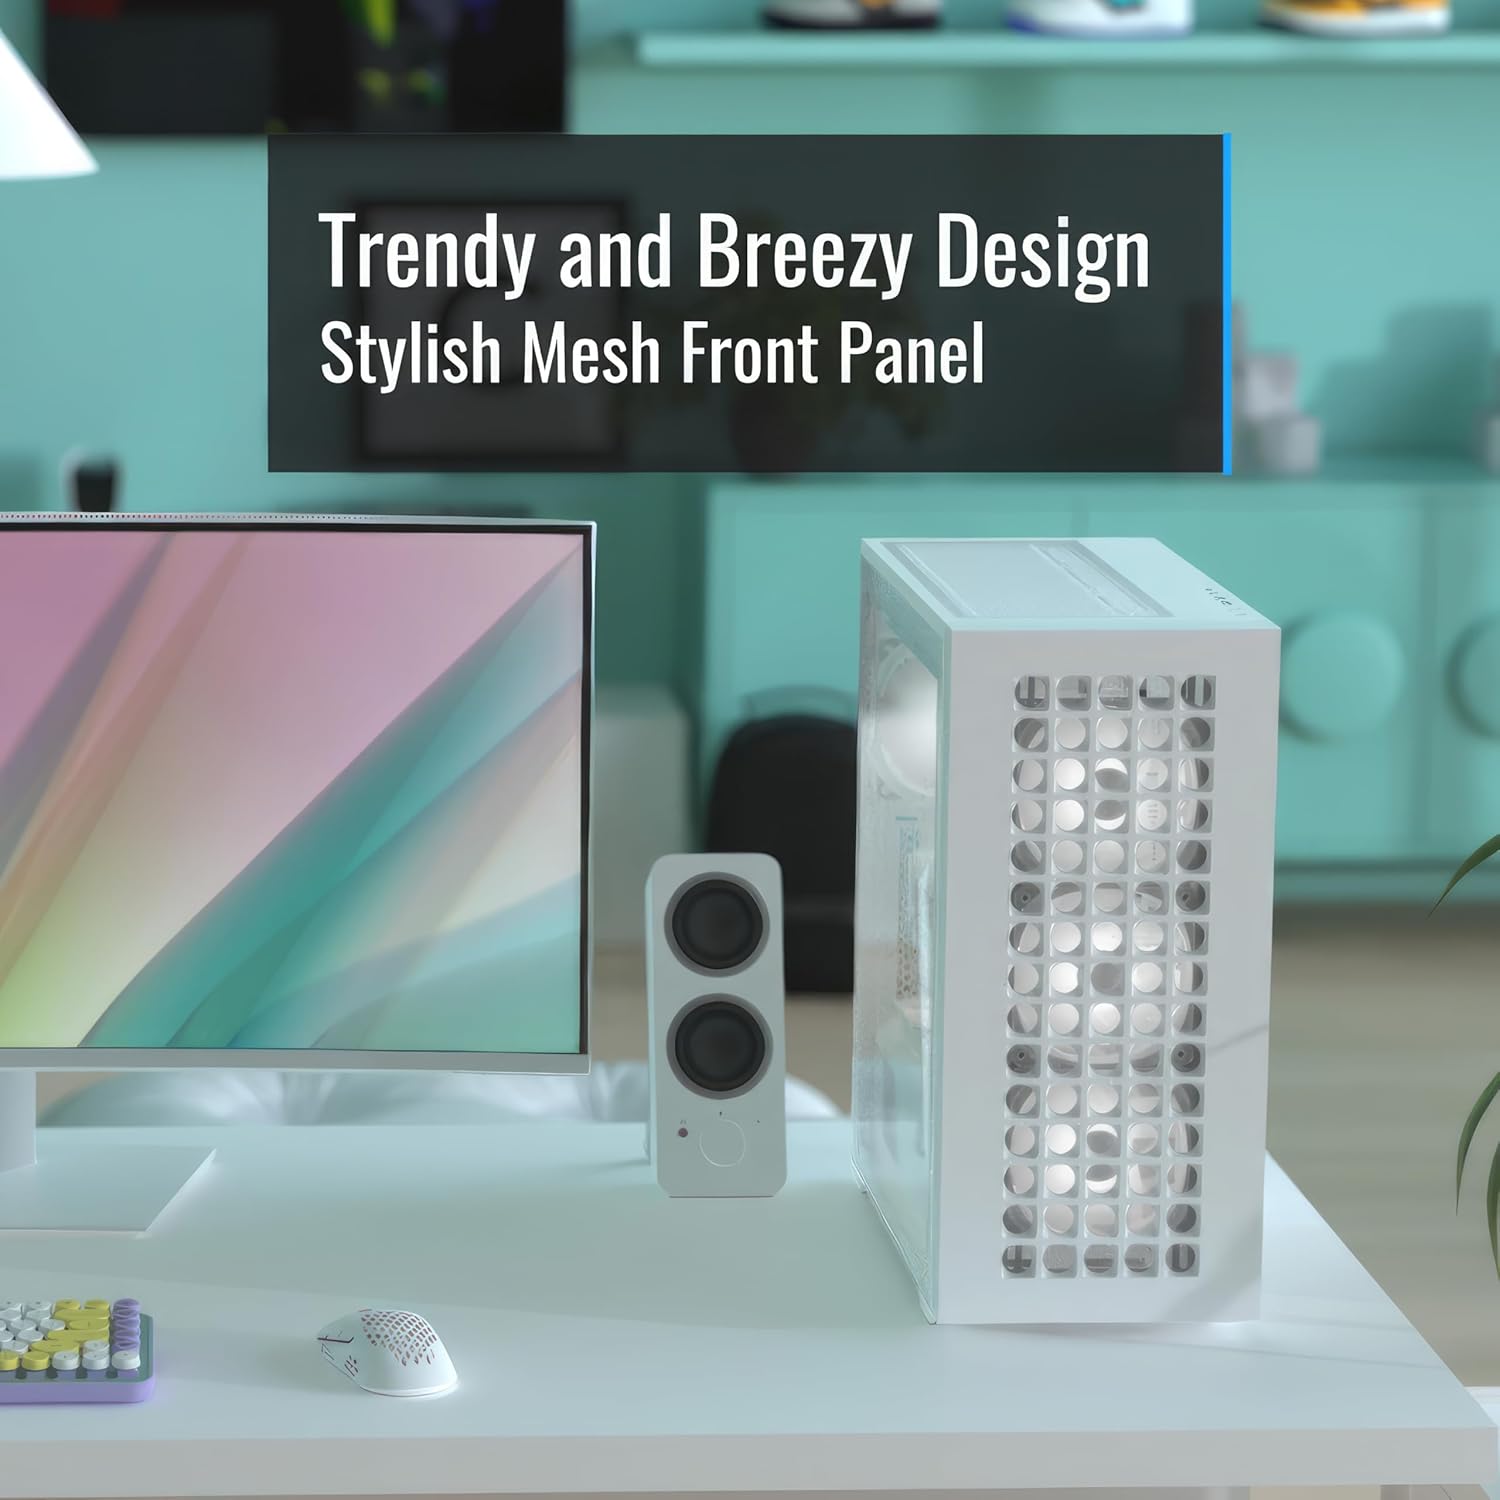
Image 2.1: The AeroCool D502A case on a desk, highlighting its stylish mesh front panel design for enhanced airflow.
3. Орнотуу жана орнотуу
Follow these steps for assembling your PC components within the AeroCool D502A case.
3.1. Ишти даярдоо
- Ишти таңгактан чыгаруу: Carefully remove the case from its packaging. Inspect for any shipping damage.
- Каптал панелдерин алып салуу: Locate and remove the screws securing the side panels. Gently slide and lift the panels off.
- Аксессуар кутусу: Locate the accessory box inside the case, which contains screws, zip ties, and other mounting hardware.
3.2. Motherboard орнотуу
- Standoffs орнотуу: Энелик платаңыздын форм-фактору (ATX, Micro ATX, Mini ITX) үчүн туура стенддер орнотулганын текшериңиз.
- Mount Motherboard: Энелик платаңызды бурама тешиктерин тегиздеп, тирөөчтөргө этияттык менен коюңуз. Аны берилген бурамалар менен бекитиңиз.
3.3. Электр менен камсыздоо блогун (PSU) орнотуу
- Кызмат орду: PSU The D502A supports bottom-mount PSUs. Slide your PSU into the designated compartment at the bottom rear of the case.
- Коопсуз PSU: Fasten the PSU to the case using screws from the rear.
3.4. Сактоочу дискти орнотуу
- The case provides mounting points for 2.5" SSDs and 3.5" HDDs. Refer to the case's internal structure for specific drive cage or mounting bracket locations.
- Secure drives using the appropriate screws.
3.5. Графикалык картаны (GPU) орнотуу
- PCIe уячасынын капкактарын алып салыңыз: Керектүү PCIe уячасынын капкактарын корпустун арткы бөлүгүнөн алып салыңыз.
- GPUну киргизүү: Carefully insert your graphics card into the appropriate PCIe slot on the motherboard.
- Secure GPU: Fasten the GPU to the case using screws. The D502A supports GPUs up to 400mm in length (without a front radiator installed).

Сүрөт 3.1: Ички view of the AeroCool D502A case, illustrating the ample clearance for a graphics card (400mm) and CPU cooler (171mm).
3.6. Cooling System Installation (Fans & Radiators)
The D502A offers extensive cooling flexibility:
- Аба муздатуу: Supports up to 11 fans.
- Суюктук муздатуу: Supports radiators up to 360mm on the top or front, and a 120mm radiator at the rear.

Image 3.2: Diagram detailing the fan mounting locations and sizes for air cooling within the AeroCool D502A case.

Image 3.3: Diagram illustrating the radiator mounting locations and sizes for liquid cooling within the AeroCool D502A case.
3.7. Кабелдик башкаруу
Кабелдерди башкаруу үчүн энелик плата лотогунун артындагы кабелдерди өткөрүү кесиктерин жана байлоочу чекиттерди колдонуңуз. Бул аба агымын жана эстетиканы жакшыртат.

Image 3.4: Close-up of the 5-port PWM ARGB control hub included with the AeroCool D502A case, simplifying fan and lighting connections.
4. Операциялык кароо
Once your system is assembled, ensure proper operation by considering the following:
- Аба агымы: The mesh front panel is crucial for optimal air intake. Ensure no obstructions block the front panel or any fan vents.
- Желдетүүчү башкаруу: Utilize the included PWM ARGB control hub and your motherboard's fan control software to manage fan speeds and RGB lighting for balanced cooling and acoustics.
- Экологиялык факторлор: Operate your PC in a well-ventilated area, away from direct sunlight or heat sources, to maintain stable temperatures.
5. Техникалык тейлөө
Regular maintenance helps preserve your system's performance and extends component lifespan.
- Чаң чыпкасын тазалоо: The D502A features magnetic dust filters on the top and side, and a removable filter on the bottom. Regularly remove and clean these filters to prevent dust buildup inside the case.
- Ички тазалоо: Periodically use compressed air to clear dust from internal components, such as CPU coolers, GPU heatsinks, and fan blades. Ensure the system is powered off and unplugged before cleaning.
- Тышкы тазалоо: Корпустун сыртын жумшак менен сүртүңүз, гamp кездеме. Абразивдүү тазалагычтардан алыс болуңуз.

Image 5.1: Magnetic dust filters on the AeroCool D502A case, designed for easy removal and cleaning.
6. Кыйынчылыктарды
Эгерде сиз компьютериңизди түзүүдө көйгөйлөргө туш болсоңуз, төмөнкү жалпы көйгөйлөрдү чечүү кадамдарын карап көрүңүз:
- Кубат жок:
- PSU күйгүзүлгөнүн жана розеткага туура туташтырылганын текшериңиз.
- Verify all power cables (24-pin ATX, CPU, GPU, drives) are securely connected.
- Check front panel header connections (power button, reset button) to the motherboard.
- Дисплей жок:
- Confirm the monitor cable is connected to the graphics card (not the motherboard, unless using integrated graphics).
- Графикалык картаны жана RAM модулдарын кайра орнотуңуз.
- Ашыкча ысып кетүү:
- Ensure all case fans are spinning and oriented correctly for optimal airflow.
- Чаң чыпкаларын жана ички компоненттерин тазалаңыз.
- CPU муздаткычы туура орнотулганын жана CPU менен жакшы байланышта экенин текшериңиз.
- Fan/RGB Issues:
- Check connections to the fan hub and motherboard.
- Ensure fan control software or BIOS settings are configured correctly.
For more complex issues, consult your component manuals or seek professional assistance.
7. Техникалык шарттар
Detailed specifications for the AeroCool D502A Mid Tower Case:
| Бренд | AeroCool |
| Модель аты | D502A |
| Иштин түрү | Ара Tower |
| Motherboard шайкештиги | ATX, Микро ATX, Мини ITX |
| Материал | Эритме болот |
| Продукциянын өлчөмдөрү (LxWxH) | 18.15 x 8.39 x 18.74 дюйм |
| Элемент Салмагы | 17.2 фунт |
| GPU тазалоо | Up to 400mm (without front radiator) |
| CPU муздаткычын тазалоо | 171 мм чейин |
| Суюк муздатуу колдоо | Front: 120/140/240/280/360mm (Optional) Top: 120/140/240/280/360mm (Optional) Арткы: 120мм (кошумча) |
| Күйөрмандардын колдоосу | Front: 3x 120mm or 3x 140mm Top: 3x 120mm or 2x 140mm Арткы: 1х 120мм Side: 2x 120mm PSU капчыгы: 2х 120мм |
| Алдын ала орнотулган күйөрмандар | 4x ARGB Fans with 5-port PWM ARGB Control Hub |
| I/O порттору | 2x USB 3.0 |
| Кубат менен камсыздоону орнотуу түрү | Төмөнкү тоо |
8. Кепилдик жана колдоо
Кепилдик жөнүндө маалымат жана техникалык колдоо алуу үчүн, расмий AeroCool компаниясына кайрылыңыз webсайтка же түздөн-түз кардарларды тейлөөгө кайрылыңыз. Кепилдик дооматтар үчүн сатып алганыңыздын далилин сактаңыз.


