Introduction
This manual provides detailed instructions for the setup, operation, and maintenance of your usogood TC30 4K 48MP Trail Camera. Designed for wildlife monitoring and outdoor security, this camera captures high-resolution photos and videos with advanced night vision and motion detection capabilities. Please read this manual thoroughly before using the camera to ensure optimal performance and longevity.
Коопсуздук маалыматы
- Do not immerse the camera in water, despite its IP66 rating, to prevent damage.
- Use only specified battery types (AA batteries). Ensure correct polarity during installation.
- Камераны өтө жогорку температурадан жана түз күн нурунан узак убакытка алыс кармаңыз.
- Handle the lens and screen with care to avoid scratches.
- Балдар жетпеген жерде сактаңыз.
Пакеттин мазмуну
Пакетиңизде бардык буюмдар бар экенин текшериңиз:
- usogood TC30 Trail Camera (1)
- 32 ГБ эстутум картасы (1)
- AA Батарейки (8)
- Mounting Belt (1)
- USB кабель (1)
- Колдонмо (1)

Figure 1: TC30 Trail Camera with included accessories.
Продукт бүттүview
Familiarize yourself with the main components of your usogood TC30 Trail Camera.

Сүрөт 2: Алдыңкы view of the TC30 Trail Camera.
Негизги компоненттер:
- Негизги линза: Captures photos and videos.
- Infrared LEDs (36pcs 850nm): Provide illumination for night vision without visible flash.
- PIR Motion Sensors (120° detection): Жаздырууну иштетүү үчүн кыймылды аныктайт.
- 2.0" LCD Screen: Меню навигациясы үчүн жана viewing captured media.
- Башкаруу баскычтары: MENU, UP, DOWN, OK, MODE for camera settings.
- Режим которуу: OFF, TEST, ON positions.
- Батарея бөлүмү: 8 AA батарейкасын кармайт.
- SD карта уячасы: Эстутум картасын салуу үчүн.
- USB порт: Компьютерге туташуу үчүн.
- External Power Port (DC 6V/2.0A): For optional external power supply.
Жайгашуу
1. Батареяны орнотуу
- Open the camera's latch on the right side and open the front cover.
- Батарея бөлүмүн камеранын астыңкы жагына жайгаштырыңыз.
- Insert 8 new AA batteries, paying close attention to the positive (+) and negative (-) indicators inside the compartment to ensure correct polarity. The camera can also operate with 4 batteries installed on one side.
- Батарея уясынын капкагын бекем жабыңыз.

Figure 3: Battery installation diagram.
2. SD картаны орнотуу
- With the front cover open, locate the SD card slot on the side of the camera.
- Insert the provided 32GB SD card into the slot with the metal contacts facing the back of the camera until it clicks into place.
- Чыгаруу үчүн картаны чыкылдагыча акырын түртүңүз, анан коё бериңиз, ошондо ал чыгып калат.

4-сүрөт: SD картаны киргизүү.
3. Камераны орнотуу
- Use the provided mounting belt to secure the camera to a tree or pole. Thread the belt through the slots on the back of the camera.
- Adjust the belt tightly to ensure the camera is stable and does not move.
- Position the camera to cover the desired monitoring area, ensuring no obstructions block the view or motion sensors.

Figure 5: Camera mounted on a tree.
4. Күйгүзүү жана баштапкы орнотуулар
- Режим которгучту тартып жылдырыңыз ӨЧҮРҮҮ чейин СЫНОО. The screen will turn on.
- колдонуу МЕНЮ button to access settings. Navigate with UP жана ылдый arrows, and confirm with OK.
- Set the correct Date and Time first.
- Configure desired settings such as photo resolution (48MP), video resolution (4K), capture mode (photo, video, or photo+video), trigger interval, and PIR sensitivity.
- Once settings are complete, slide the switch from СЫНОО чейин ӨЧҮРҮҮ, then to ON to activate the camera for monitoring. The screen will turn off, and the camera will enter monitoring mode.
Иштөө нускамалары
Мониторинг режими
When the camera is in the ON position, it will automatically detect motion within its 120° detection angle and trigger recording based on your settings. The 0.3-second trigger speed ensures minimal delay in capturing events.

Figure 6: 120° PIR Wide Angle Detection.

Figure 7: 0.3s Fast Trigger Speed.
Түнкү көрүнүш
The camera is equipped with 36pcs 850nm infrared LEDs for clear night vision. These LEDs provide moderate fill light, ensuring detailed images and videos without overexposure or startling wildlife. Night vision activates automatically in low-light conditions.
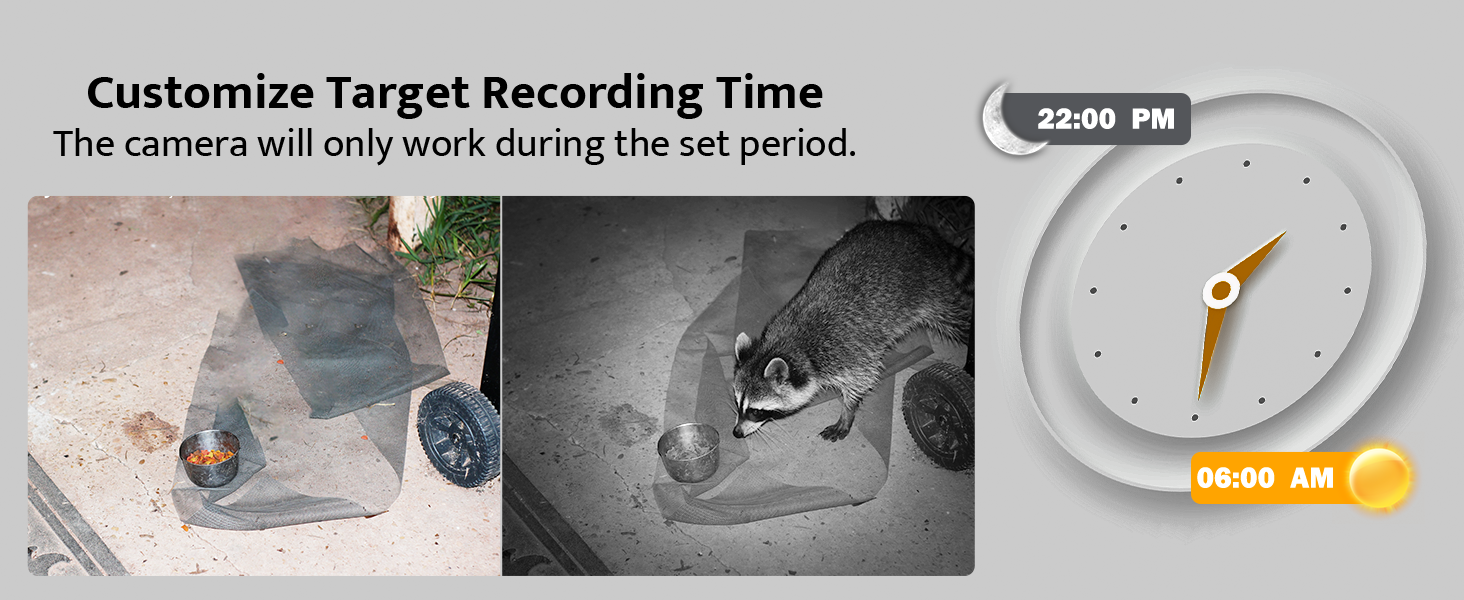
Figure 8: Night Vision Performance.
ViewТартылган медианы көрүү
- Камерада: Режим которуштурууну төмөнкүгө жылдырыңыз СЫНОО. колдонуу РЕЖИМ button to switch between photo and video playback. Use UP жана ылдый arrows to browse files.
- Компьютерде: Connect the camera to your computer using the provided USB cable, or remove the SD card and insert it into a card reader connected to your computer. The camera or SD card will appear as a removable disk, allowing you to access and transfer files.

9-сүрөт: Viewing on camera screen.

Figure 10: Transferring fileс компьютерге.
Техникалык тейлөө
- Тазалоо: Use a soft, dry cloth to clean the camera lens and housing. Avoid abrasive cleaners.
- Батареяны алмаштыруу: Экранда батареянын заряды аз калганын көрсөткөн индикатор пайда болгондо же иштөөсү начарлаганда, бардык 8 AA батарейкасын алмаштырыңыз.
- SD Card башкаруу: Дайыма камдык көчүрмөнү сактоо маанилүү files and format the SD card in the camera's menu to ensure optimal recording performance and prevent data corruption.
- Суу өткөрбөйт коргоо: The camera has an IP66 waterproof rating, protecting it from dust and strong jets of water. Ensure all latches are securely closed to maintain its waterproof integrity, especially after accessing the battery or SD card compartments.

Figure 11: IP66 Waterproof Design.
Проблемаларды чечүү
| Көйгөй | Мүмкүн себеп | Чечим |
|---|---|---|
| Камера күйбөйт. | Batteries are low or incorrectly installed. Mode switch is OFF. | Replace batteries or ensure correct polarity. Slide switch to TEST or ON. |
| Түнкү көрүү начар сүрөттөрү. | IR LEDs obstructed. Camera too far from subject. | Clear any obstructions. Reposition camera closer to the target area (within 65ft). |
| Camera not recording motion. | PIR sensitivity too low. SD card full or corrupted. | Increase PIR sensitivity in settings. Format or replace SD card. Ensure camera is in ON mode. |
| Дата/убакыт туура эмес. | Not set or batteries removed for too long. | Re-enter Date/Time in TEST mode settings. |
| Fileболушу мүмкүн эмес viewed on computer. | USB connection issue. SD card not properly inserted in reader. | Ensure USB cable is securely connected. Try a different USB port or card reader. |
Техникалык шарттар
| Өзгөчөлүк | Деталь |
|---|---|
| Модел | TC30 |
| Натыйжалуу дагы эле чечим | 48 мегапиксел |
| Видео тартуунун резолюциясы | 4K (30 кадр/сек) |
| Detection Angle | 120 градус |
| Триггер ылдамдыгы | 0.3 секунд |
| Түнкү көрүү диапазону | 65 Фут (20 метр) |
| IR LED | 36шт 850нм |
| Суу өткөрбөйт рейтинги | IP66 |
| Сактагыч | Micro SD картасы (128 ГБ чейин, 32 ГБ кошо алганда) |
| Power Source | 8x AA Batteries (included) or DC 6V/2.0A external power supply (not included) |
| Өлчөмдөрү (L x W x Y) | 8.07 x 5.19 x 4 дюйм |
| Салмагы | 1.59 фунт |
Кепилдик жана колдоо
usogood is committed to providing high-quality products and excellent customer service. Your usogood TC30 Trail Camera comes with a warranty and dedicated after-sales support.
For any inquiries, technical assistance, or warranty claims, please contact our customer service team. We aim to resolve any issues within 48 hours.
Кардарларды тейлөө электрондук почтасы: support@usogood.co

Figure 12: Customer Support Contact Information.


