Introduction
This manual provides essential information for the setup, operation, and maintenance of your Bambu Lab P1S + AMS (Combo) 3D Printer. Please read this manual thoroughly before operating the device to ensure safe and optimal performance.
Негизги өзгөчөлүктөрү
- Fully enclosed body for enhanced printing performance with advanced filaments. Designed for high-temperature printing.
- Ready-to-use performance: The printer is designed for immediate operation, featuring automatic bed leveling and vibration compensation.
- Multi-color printing capability: The AMS (Automatic Material System) combo enables multi-color printing, supporting up to 16 colors with multiple AMS units.
- Fast printing with exceptional quality: Utilizes advanced control algorithms, including vibration compensation and pressure advance, for high-speed printing without compromising quality.
- Maximum extruder speed: 500 mm/s.
- Maximum extruder acceleration: 20 m/s².
Орнотуу колдонмосу
The Bambu Lab P1S + AMS (Combo) is designed for ease of setup. Follow these general steps for initial preparation:
- Кутудан чыгаруу жана жайгаштыруу: Carefully remove the printer and AMS unit from its packaging. Place the printer on a stable, level surface with adequate space around it for ventilation and access.
- Кубат туташуу: Connect the power cable to the printer and a suitable power outlet. The printer supports 100-240 VAC, 50/60 Hz. Note that the power plug standard may vary by region; an adapter or alternative cable might be required for some national standards.
- AMS Connection: Connect the AMS unit to the printer according to the included quick start guide. Ensure all filament tubes are properly seated.
- Баштапкы күйгүзүү: Power on the printer. The system will perform initial self-checks and calibrations, including automatic bed leveling and vibration compensation.
- Filament жүктөө: Load your desired filament into the AMS unit. The printer supports 1.75 mm filament diameter and is ideal for PLA, PETG, TPU, PVA, PET, ABS, ASA.
- Программалык камсыздоону орнотуу: Install the Bambu Studio slicing software on your computer (Windows, macOS, Linux) or the Bambu Handy app on your mobile device (Android, iOS) for remote control and monitoring.
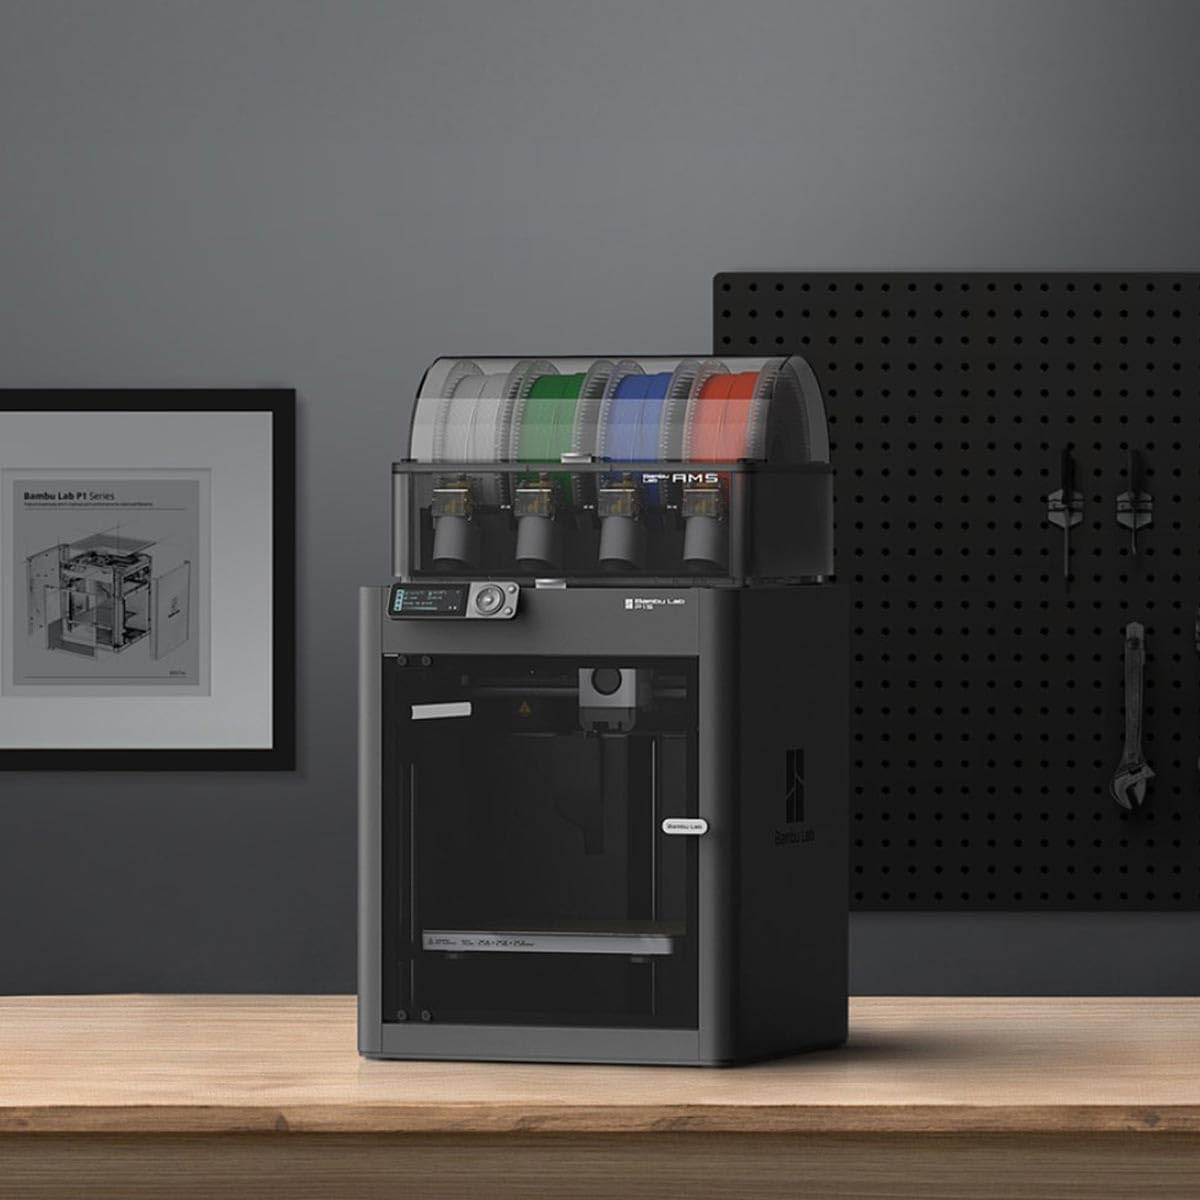
Image: The Bambu Lab P1S 3D printer with the AMS unit positioned on top, ready for operation on a workspace.
Иштөө нускамалары
Operating the Bambu Lab P1S + AMS (Combo) involves preparing your 3D model, sending it to the printer, and monitoring the print process.
- Моделди даярдоо: Use Bambu Studio to import your 3D model (e.g., STL, OBJ). Configure print settings such as layer height, infill, and supports. For multi-color prints, assign different filaments to parts of your model using the AMS features in the software.
- Кесүү: Slice the model in Bambu Studio. The software will generate the G-code instructions for the printer.
- Sending to Printer: Send the sliced G-code to your P1S printer via Wi-Fi or SD card.
- Starting Print: On the printer's interface, select the desired print job and confirm. The printer will initiate the pre-print sequence, including heating the hotend and build plate, and performing any necessary calibrations.
- Мониторинг: Monitor the print progress through the printer's display, Bambu Handy app, or Bambu Studio. The printer's enclosed design helps maintain a stable printing environment.
- Басып чыгарууну аяктоо: Once the print is complete, allow the build plate to cool before carefully removing the printed object.
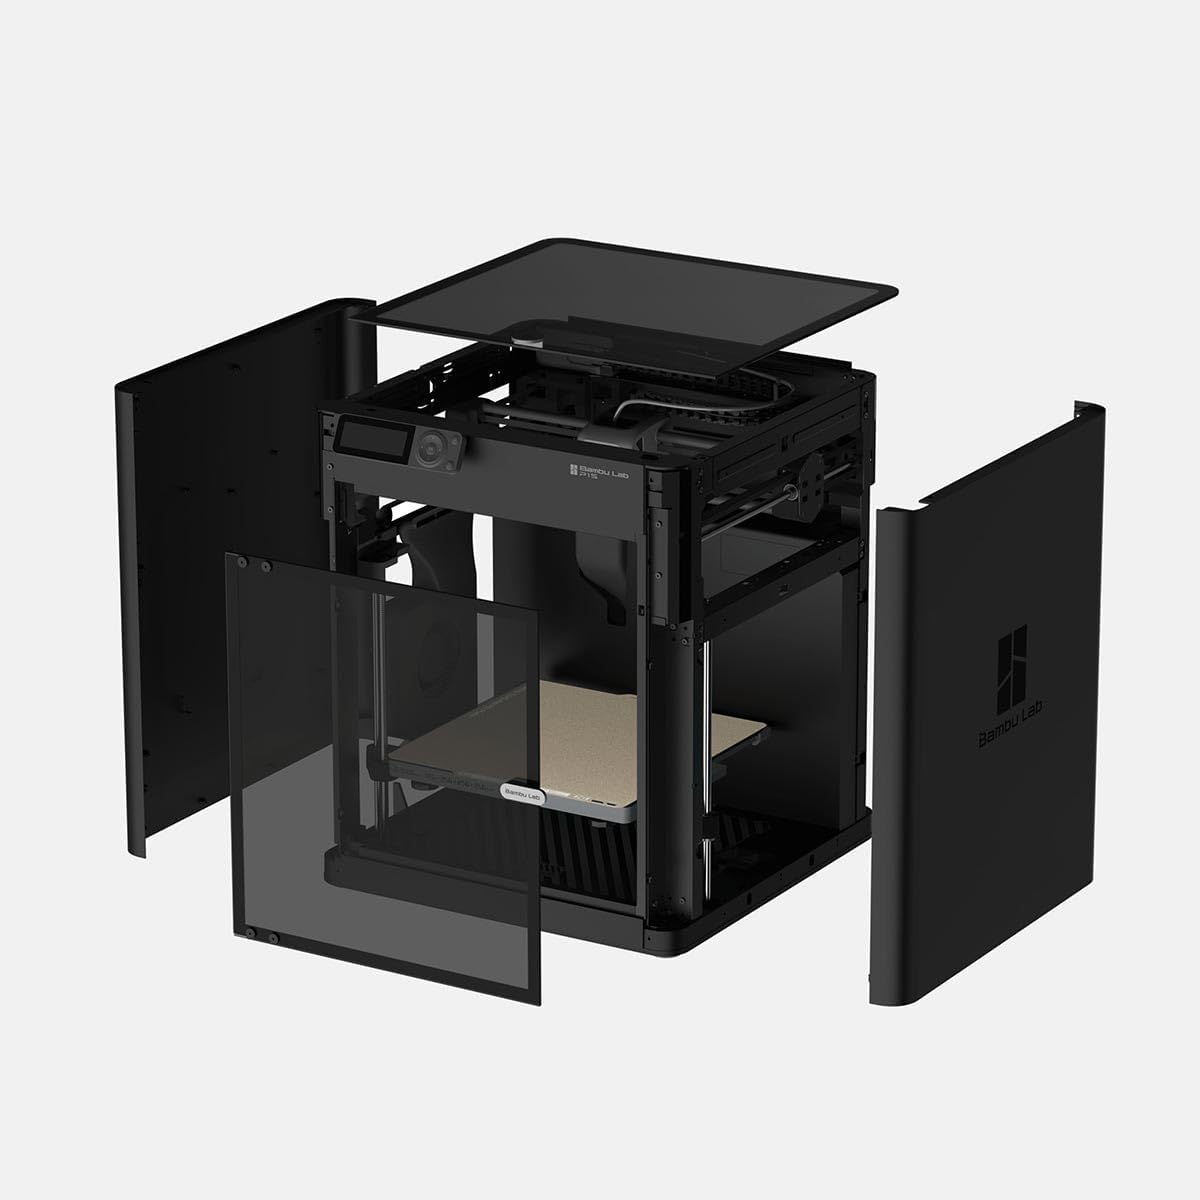
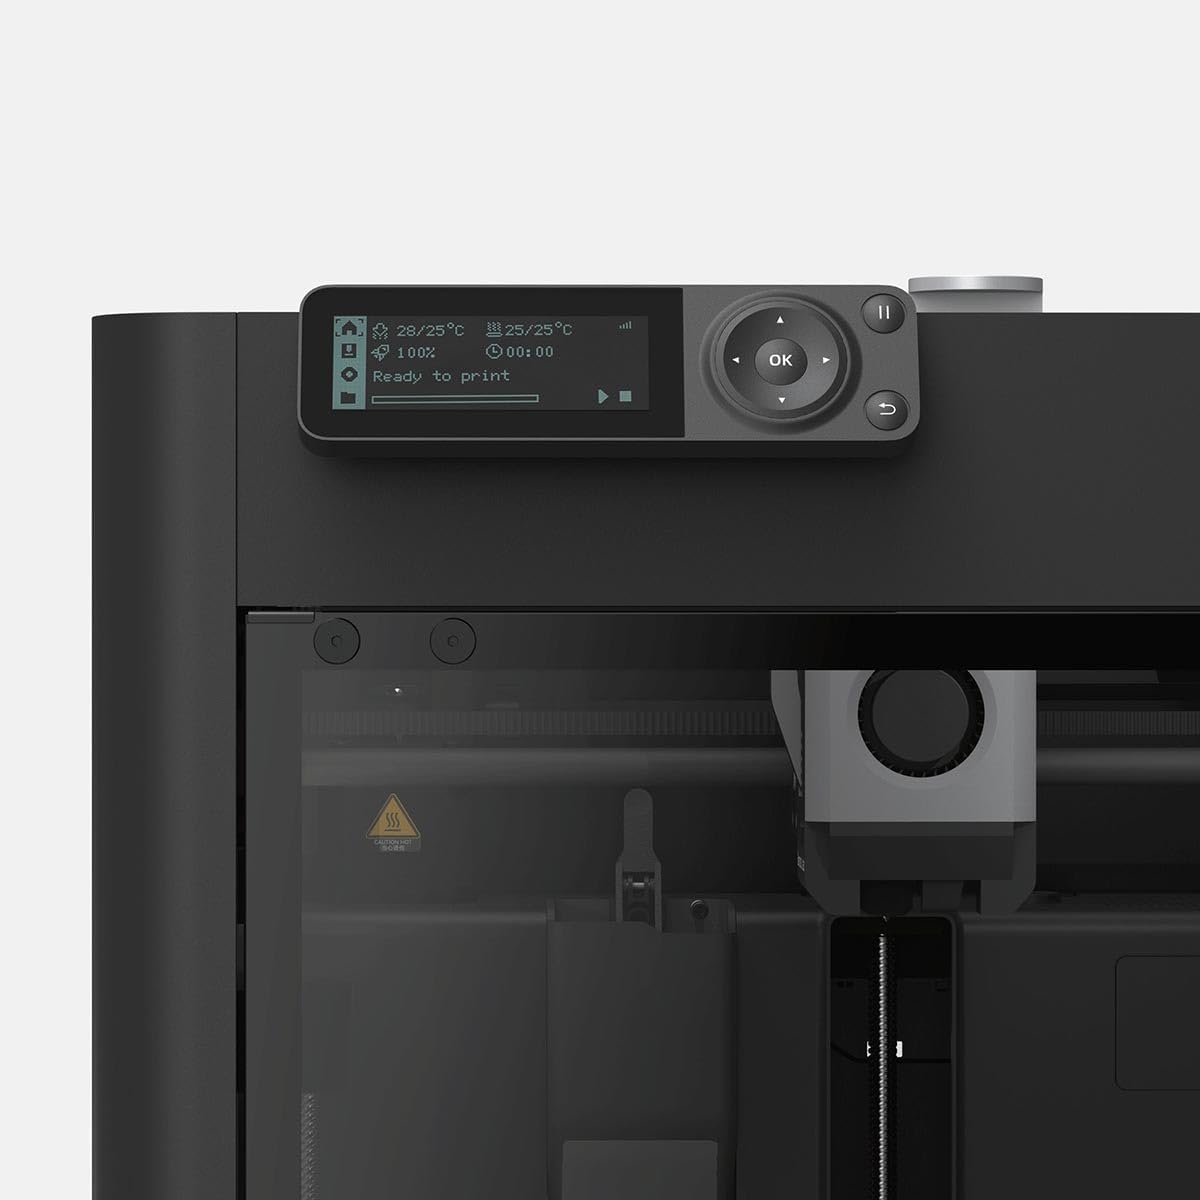
Сүрөт: алдыңкы view of the Bambu Lab P1S 3D printer, showcasing its enclosed build volume and user interface.
Сүрөт: каптал view of the Bambu Lab P1S 3D printer, highlighting its robust enclosed structure.
Техникалык тейлөө
Regular maintenance ensures the longevity and consistent performance of your 3D printer.
- Build Plate Cleaning: Clean the textured PEI build plate after each print with isopropyl alcohol to ensure good adhesion for subsequent prints.
- Соплолорду текшерүү: Periodically inspect the 0.4 mm stainless steel nozzle for wear or clogs. Replace if necessary.
- Hotend Maintenance: The all-metal hotend is designed for durability. Ensure it is free from filament residue. The maximum hotend temperature is 300°C.
- Motion System Lubrication: Refer to the official Bambu Lab guides for recommended lubrication schedules for the linear rails and lead screws.
- AMS Maintenance: Keep the AMS unit clean and free of dust. Ensure filament paths are clear and the internal sensors are functioning correctly.
- Программалык камсыздоонун жаңыртуулары: Regularly check for and install firmware updates to ensure optimal performance and access to new features.

Сүрөт: Арткы view of the Bambu Lab P1S 3D printer, showing the power input and other connections, important for maintenance access.
Проблемаларды чечүү
This section addresses common issues you might encounter with your Bambu Lab P1S + AMS (Combo).
- Басып чыгаруунун адгезия маселелери:
- Ensure the build plate is clean and free of oils.
- Verify the bed temperature is appropriate for the filament type (max 100°C).
- Check for proper first layer calibration.
- Жипчелердин бүтөлүшү:
- Ensure the hotend temperature is correct for the filament.
- Соргучта же ысык түтүктө таштандылардын бар-жогун текшериңиз.
- Verify the filament path from the AMS to the hotend is clear.
- Катмарды которуу:
- Check belt tension and ensure no obstructions in the print path.
- Reduce print speed if necessary, especially for complex geometries.
- AMS Filament Loading Issues:
- Ensure filament spools are not tangled.
- Check that the filament is properly inserted into the AMS slots.
- Clean any dust or debris from the AMS internal mechanisms.
- Туташуу көйгөйлөрү:
- Принтер Wi-Fi тармагыңызга туташып турганын текшериңиз.
- Принтерди жана роутерди өчүрүп күйгүзүңүз.
- Verify firewall settings on your computer are not blocking communication with Bambu Studio or the printer.
Техникалык шарттар
| Өзгөчөлүк | Деталь |
|---|---|
| Бренд | Бамбу лабораториясы |
| Модел | P1S Combo |
| Курулуш көлөмү (У×К×Б) | 256 x 256 x 256 мм |
| Сопло диаметри | 0.4 мм Дат баспас болот |
| Хоттенд түрү | All-Metal |
| Максималдуу ысык температура | 300 °C |
| Filament диаметри | 1.75 мм |
| Колдоого алынган жипчелер | PLA, PETG, TPU, PVA, PET, ABS, ASA |
| Курулуш плитасынын бети | Бамбук текстуралуу PEI плитасы (кошулган) |
| Max Build Plate Температурасы | 100 °C |
| Экструдердин максималдуу ылдамдыгы | 500 мм/с |
| Максималдуу экструдердин ылдамдануусу | 20 м/с² |
| Физикалык өлчөмдөр (P1S) | 389 x 389 x 458 мм³ |
| Таза Салмак | 12.95 kg (P1S), 21.60 kg (P1S Combo with AMS) |
| Электрдик талаптар | 100-240 VAC, 50/60 Hz, 1000 W (at 220V), 350 W (at 110V) |
| Операциялык системанын шайкештиги | Windows, macOS, Linux, Android, iOS |
| Материал | Carbon Steel |
Кепилдик маалымат
Bambu Lab products typically come with a standard manufacturer's warranty covering defects in materials and workmanship. For specific warranty terms, duration, and conditions, please refer to the official Bambu Lab website or the warranty card included with your product. Extended warranty options may also be available for purchase separately.
Колдоо
For technical assistance, troubleshooting beyond this manual, or general inquiries, please contact Bambu Lab customer support through their official website. Online resources, including FAQs, forums, and detailed guides, are also available to assist you.
Официалдуу Webсайт: bambulab.com


