1. Киришүү
This manual provides essential instructions for the safe and efficient operation of your RadioShack Home Projector. Please read this manual thoroughly before using the device and retain it for future reference.
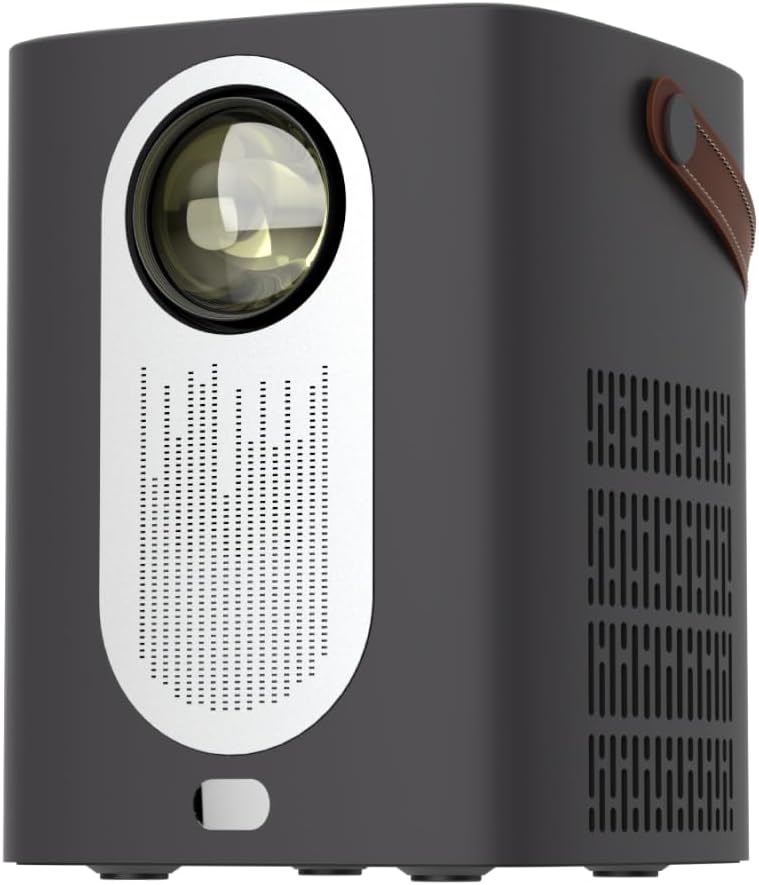
Сүрөт 1.1: Алдыңкы view of the RadioShack Home Projector, showcasing its lens and speaker grille.
2. Пакеттин мазмуну
Пакетте бардык буюмдар бар экенин текшериңиз:
- 1 x RadioShack Home Projector
- 1 x Алыстан башкаруу
- 1 x Кубат кабели
- 1 х Колдонуучунун колдонмосу (бул документ)

Image 2.1: Illustration of the package contents, including the projector, remote control, power cable, and user manual.
3. Продукт бүтүп калдыview
3.1. Негизги өзгөчөлүктөрү
- Жогорку чечим дисплей: Supports full HD resolution for clear and detailed images.
- Bright and Long-Lasting: Features impressive brightness and a durable light source.
- Ар тараптуу байланыш: Includes Bluetooth, WiFi, Android Miracast, and iOS Cast for streaming.
- Өркүндөтүлгөн Viewing: Digital focus and keystone correction for optimal image alignment.
- Компакт жана көчмө: Lightweight design with a handle for easy transport.
3.2. Порттор жана башкаруу элементтери
Familiarize yourself with the projector's input/output ports and controls.

Сүрөт 3.1: Арткы view of the projector showing USB input for media playback, AV input for DVD players, and HDMI input for various devices like video game consoles, streaming sticks, cell phones, tablets, and laptops.

Сүрөт 3.2: Каптал view illustrating the compact dimensions (approximately 7 inches tall, 5.3 inches wide) and the integrated leather handle for portability.
4. Орнотуу колдонмосу
4.1. Баштапкы күйгүзүү
- Кубат кабелин проекторго жана тиешелүү розеткага туташтырыңыз.
- Press the power button located on the top of the projector or on the remote control to turn on the device. The indicator light will illuminate.
- The RadioShack logo will appear on the projection surface, indicating successful power-on.
Video 4.1: A short demonstration showing the unboxing, connecting the power cable, powering on the projector, and the initial display of the RadioShack logo.
4.2. Жайгаштыруу жана көңүл буруу
- Place the projector on a stable, flat surface, ensuring the lens is unobstructed.
- Adjust the distance from the projection surface (wall or screen) to achieve the desired image size.
- Use the digital focus adjustment (refer to the remote control or on-screen menu) to sharpen the image.
- Utilize keystone correction if the image appears trapezoidal, to achieve a rectangular projection.
5. Иштөө нускамалары
5.1. Түзмөктөрдү туташтыруу
Проектор бир нече киргизүү булактарын колдойт:
- HDMI: Connect devices such as laptops, gaming consoles, streaming boxes, or Blu-ray players using an HDMI cable. Select HDMI as the input source from the projector's menu.
- USB: Insert a USB drive to play compatible video or audio files. Select USB as the input source.
- OF: Connect older devices like DVD players using an AV cable. Select AV as the input source.
- Bluetooth: Pair with Bluetooth audio devices for wireless sound output.
- WiFi / Casting: Connect to a Wi-Fi network to enable Android Miracast or iOS Cast for screen mirroring from compatible smartphones and tablets.

Image 5.1: A couple enjoying content projected by the RadioShack Home Projector, demonstrating its use in a home cinema setting.
5.2. Алыстан башкаруу функциялары
The included remote control allows for convenient operation:
- Күч: Проекторду күйгүзүңүз/өчүңүз.
- Булак: Select input sources (HDMI, USB, AV, etc.).
- Навигация: Arrow keys to navigate menus, OK button to confirm.
- Көлөмү: Аудио чыгаруу деңгээлин тууралаңыз.
- Фокус/негизги таш: Access digital focus and keystone correction settings.

Image 5.2: The RadioShack Home Projector placed on a table next to its remote control, ready for use.
6. Техникалык тейлөө
- Линзаны тазалоо: Проектордун линзасын акырын сүртүү үчүн атайын оптикалык линзалар үчүн жасалган жумшак, түксүз кездемени колдонуңуз. Абразивдүү материалдардан же катуу химиялык заттардан алыс болуңуз.
- Тышкы тазалоо: Проектордун сыртын жумшак, кургак чүпүрөк менен сүртүңүз. Суюк тазалагычтарды түз эле аппаратта колдонбоңуз.
- Вентиляция: Проектордун желдетүү тешиктери чаңдан жана тоскоолдуктардан тазаланып, ысып кетүүдөн сактаныңыз.
- Сактагыч: Узак мөөнөткө пайдаланылбаганда, проекторду салкын, кургак жерде, тике күн нурунан жана экстремалдык температурадан алыс сактаңыз.
7. Кыйынчылыктарды
| Көйгөй | Мүмкүн себеп | Чечим |
|---|---|---|
| Сүрөт көрсөтүлгөн жок | Power cable disconnected; incorrect input source selected; lens cap on. | Check power connection; select correct input source (HDMI, USB, AV); remove lens cap. |
| Сүрөт бүдөмүк | Фокус туураланган эмес; проектор экранга өтө жакын/алыс. | Adjust digital focus; reposition projector for optimal distance. |
| Үн жок | Volume too low; external audio device not connected/paired; incorrect audio output selected. | Increase volume; ensure Bluetooth device is paired or wired audio is connected; check audio output settings. |
| Пульт иштебей жатат | Batteries depleted; obstruction between remote and projector. | Replace remote control batteries; ensure clear line of sight to the projector's IR receiver. |
8. Техникалык шарттар
- Бренд: RadioShack
- Модел: Home Projector (ASIN: B0DP1GFG9L)
- Дисплейдин чечилиши: 1280 x 720 (Supports Full HD)
- Байланыш технологиясы: AV, HDMI, USB, Bluetooth, WiFi (Android Miracast, iOS Cast)
- Өзгөчөлүктөр: Portable, Digital Focus, Keystone Correction
- Сунушталган колдонуу: Үй кинотеатры
- Продукциянын өлчөмдөрү: 5.31 x 5.31 x 7.09 дюйм
- Элемент Салмагы: 3.91 фунт

Image 8.1: The projector displaying content, highlighting its support for full HD resolution and high-quality sound.
9. Кепилдик жана колдоо
For warranty information and technical support, please refer to the official RadioShack webсайтка же кардарларды тейлөөгө кайрылыңыз. Сатып алганыңыздын далили катары сатып алуу дүмүрчөгүңүздү сактаңыз.
Онлайн колдоо: www.radioshack.com


