Introduction
This manual provides comprehensive instructions for setting up, operating, maintaining, and troubleshooting your KanDao QooCam Ego 3D VR Camera. Please read this manual carefully before using the device to ensure optimal performance and longevity.

The KanDao QooCam Ego 3D VR Camera, featuring its main body and the detachable screen module displaying a vibrant image of a dog.
Кутуда эмне бар
Кутудан чыгаргандан кийин, төмөнкү компоненттердин бардыгы бар экенин текшериңиз:
- KanDao QooCam Ego Camera Body
- Заряддалуучу батарея
- USB кабели (заряддоо жана маалыматтарды өткөрүү үчүн)
- Selfie Mirror
- Hand Strap
- Сактоочу баштык
- Оптикалык кездеме
Орнотуу колдонмосу
1. Батареяны заряддоо
Before first use, fully charge the camera's battery. Insert the provided battery into the camera's battery compartment. Connect the USB cable to the camera's USB-C port and the other end to a compatible USB power adapter (not included) or a computer's USB port. The charging indicator light will show the charging status.
2. Micro SD картаны салуу
The KanDao QooCam Ego requires a Micro SD card (not included) for storing photos and videos. Locate the Micro SD card slot, typically near the battery compartment. Insert the card with the gold contacts facing down until it clicks into place. Ensure the card is formatted within the camera settings before first use.
3. Күйгүзүү / Өчүрүү
To power on the camera, press and hold the power button located on the top or side of the device until the screen illuminates. To power off, press and hold the power button again until the shutdown prompt appears, then confirm.
Камераны иштетүү
Негизги башкаруу элементтери жана интерфейс
The QooCam Ego features a user-friendly interface accessible via its integrated screen. Navigate through menus using the physical buttons or touch controls if available. The 1000-nit screen brightness ensures clear visibility even in bright outdoor conditions, allowing for accurate framing and previewing of shots.

The camera's bright 1000-nit display, showing a clear image of a bicycle in an outdoor setting, demonstrating its visibility under sunlight.

A visual comparison illustrating the superior brightness and vivid colors of the QooCam Ego's 1000-nit display compared to a standard 100-nit display.
Capturing 3D Photos
The QooCam Ego captures exquisite 24MP 3D photos, supporting both JPG for quick sharing and DNG (RAW) for professional post-processing. The dual-lens system is designed to mimic human eye vision, providing natural depth and realism.

Мурункуample of a 24MP 3D photo, highlighting the clarity and stunning details captured by the QooCam Ego.
Recording 3D Videos
Record smooth 4K at 60 frames per second (4K/60fps) 3D videos. The dual-sensor synchronization technology ensures zero blur or jitter, capturing dynamic moments with exceptional clarity and stability.

A visual comparison demonstrating the superior smoothness of 4K 60fps video recording with the QooCam Ego, minimizing blur and jitter compared to other cameras.
Dual-Lens Human-Eye Design
The QooCam Ego features a unique 65mm dual-lens design, precisely matching the average human inter-pupillary distance. This design delivers immersive 3D realism that feels natural to human vision.

An illustration highlighting the 65mm dual-lens configuration of the QooCam Ego, designed to replicate human eye perception for natural 3D capture.
Versatile 3D Playback and Integration
Your captured 3D content can be enjoyed across various platforms, offering a truly immersive experience. The QooCam Ego is compatible with VR headsets, AR glasses, and projectors, allowing you to step into your scenes rather than just watching them.
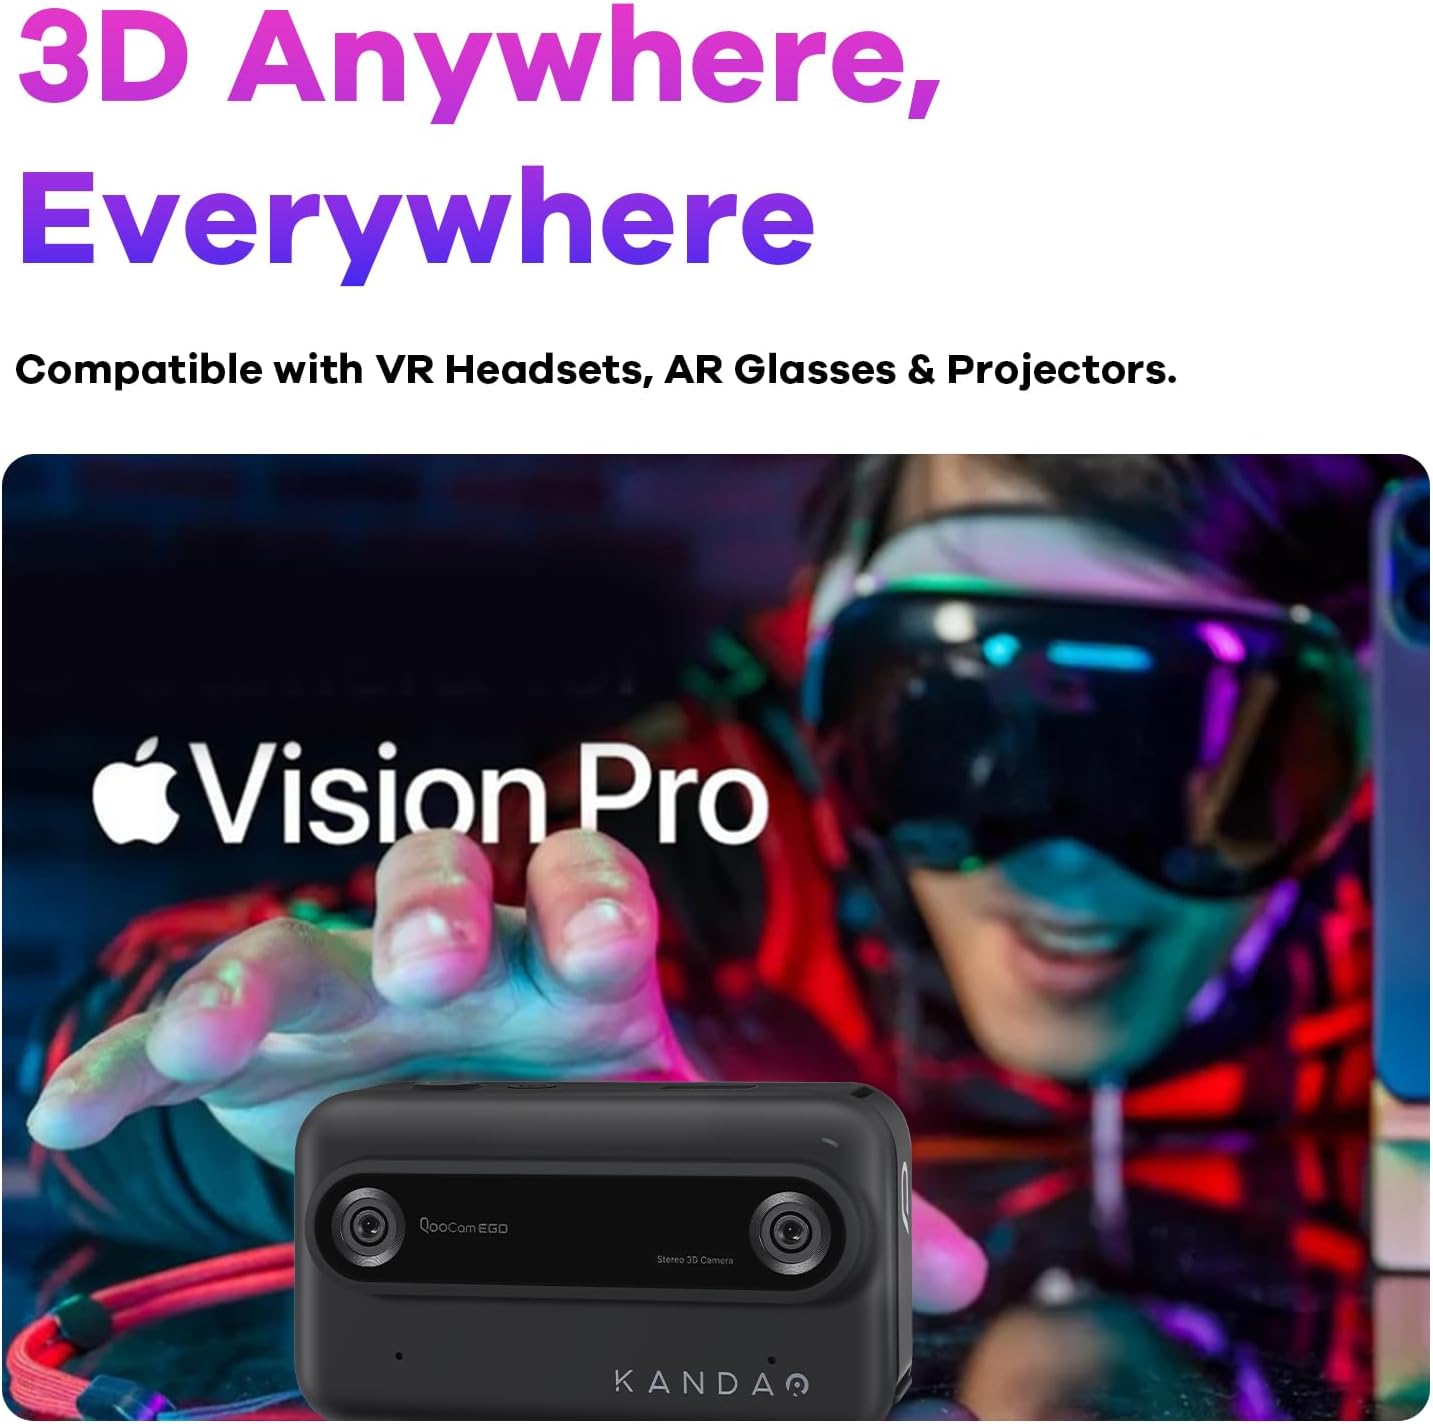
The QooCam Ego camera shown alongside a person wearing a VR headset, emphasizing its compatibility for immersive 3D content viewing.

A visual comparison demonstrating the difference between immersive 3D content captured by the QooCam Ego and traditional 2D viewing.
Portability
Weighing less than 160g, the KanDao QooCam Ego is designed for ultimate portability, allowing you to capture stunning 3D content anywhere, anytime, with ease.

The compact and lightweight design of the QooCam Ego, shown being held comfortably in one hand, highlighting its portability.
Техникалык тейлөө
Тазалоо
- Линзалар: Use the provided lens cloth or a soft, lint-free microfiber cloth specifically designed for optical surfaces. Gently wipe the lenses in a circular motion. Avoid using harsh chemicals or abrasive materials.
- Экран: Wipe the screen with a clean, soft cloth. For stubborn smudges, slightly dampчүпүрөктү суу менен.
- Камеранын корпусу: Use a dry, soft cloth to wipe the camera body.
Батареяга кам көрүү
- Батареянын иштөө мөөнөтүн узартуу үчүн, бат-баттан батарейканы толук зарядсыздандырбаңыз.
- Store the camera and battery in a cool, dry place when not in use for extended periods.
- If the camera will not be used for a long time, charge the battery to about 50% before storage.
Сактагыч
Store the camera in its provided storage bag to protect it from dust and scratches. Keep it away from extreme temperatures, high humidity, and strong magnetic fields.
Проблемаларды чечүү
| Көйгөй | Мүмкүн болгон себеп / Чечим |
|---|---|
| Камера күйбөйт. | Battery may be depleted. Charge the battery fully. Ensure the battery is correctly inserted. |
| Slow startup time. | This can be normal for some devices. Ensure firmware is up to date. |
| Photos/Videos are blurry. | Ensure lenses are clean. Check focus settings (if applicable). Hold the camera steady during capture. Ensure sufficient lighting. |
| Батареянын иштөө мөөнөтү кыска. | Battery performance can vary. Reduce screen brightness, disable unnecessary features, or carry a spare battery. Ensure the battery is fully charged before use. |
| Difficulty opening battery access panel. | Refer to the quick start guide or online tutorials for the correct method to open the battery compartment. Avoid using excessive force. |
| Которуу мүмкүн эмес fileс компьютерге. | Ensure the USB cable is securely connected. Try a different USB port or cable. The camera should appear as an external drive. If using an app, ensure proper connection. |
Техникалык шарттар
| Өзгөчөлүк | Деталь |
|---|---|
| Модель аты | QooCam EGO |
| Бренд | KanDao |
| Максималдуу Webcam Image Resolution | 24 депутат |
| Максималдуу диафрагма | 1.8 f |
| Максималдуу фокус узундугу | 28 миллиметр |
| Image Stabilization | Санарип |
| Колдоого алынган File Формат | MP4 / JPG / DNG |
| Фото сенсор технологиясы | CMOS |
| Аспект катышы | 3:2 |
| Шайкеш орнотуулар | Micro Four Thirds |
| Элемент Салмагы | 11.3 унция |
| Пакеттин өлчөмдөрү | 4.49 x 2.91 x 2.83 дюйм |
| Батареялар талап кылынат | 1 LR44 батарейка (кошулган) |
Эскертүү: Техникалык мүнөздөмөлөр алдын ала эскертүүсүз өзгөртүлүшү мүмкүн.
Кепилдик жана колдоо
KanDao provides a 12-month / 1-year warranty for the QooCam Ego camera from the date of purchase. This warranty covers manufacturing defects under normal use. Please retain your proof of purchase for warranty claims.
Техникалык колдоо
For technical assistance, firmware optimization, or any inquiries regarding your KanDao QooCam Ego, please visit the official KanDao support website or contact their customer service. KanDao is committed to providing quick responses and comprehensive technical support.
Көбүрөөк маалымат жана колдоо булактарын таба аласыз KanDao Official Store on Amazon.
Маанилүү коопсуздук маалыматы
- Do not expose the camera to water or moisture unless explicitly stated as waterproof.
- Камераны жерге түшүрүүдөн же катуу таасирлерге дуушар кылуудан качыңыз.
- Камераны бөлүктөргө бөлүүгө же өзгөртүүгө аракет кылбаңыз. Уруксатсыз өзгөртүүлөр кепилдикти жокко чыгарат.
- Keep the camera away from direct sunlight for prolonged periods to prevent overheating.
- Бекитилген аксессуарларды жана кубат адаптерин гана колдонуңуз.


