1. Киришүү
This manual provides detailed instructions for the ACEMIC AT-5 Acoustic Guitar Wireless Microphone System. This system is designed to provide high-fidelity audio transmission for plucked string instruments, offering freedom of movement and clear sound reproduction. It utilizes UHF frequency for stable wireless connectivity and features a flexible gooseneck microphone for precise sound capture.
2. Пакеттин мазмуну
Төмөндө тизмеленген нерселердин баары пакетиңизге камтылганын текшериңиз:
- 1 x ACEMIC AT-5 Wireless Microphone Transmitter (with gooseneck microphone)
- 1 x ACEMIC AT-5 Wireless Receiver (with 6.35mm jack and antenna)
- 1 х USB-C кубаттоо кабели
- 1 x 3.5mm Audio Jack Adapter
- 5 x Velcro Adhesive Attachments
- 1 x Spare Microphone Foam Cover
- 1 x User Manual
- 1 x Ташуу сумкасы
3. Продукт бүтүп калдыview
The ACEMIC AT-5 system consists of two main components: the Transmitter and the Receiver.
3.1. Transmitter (Microphone Unit)
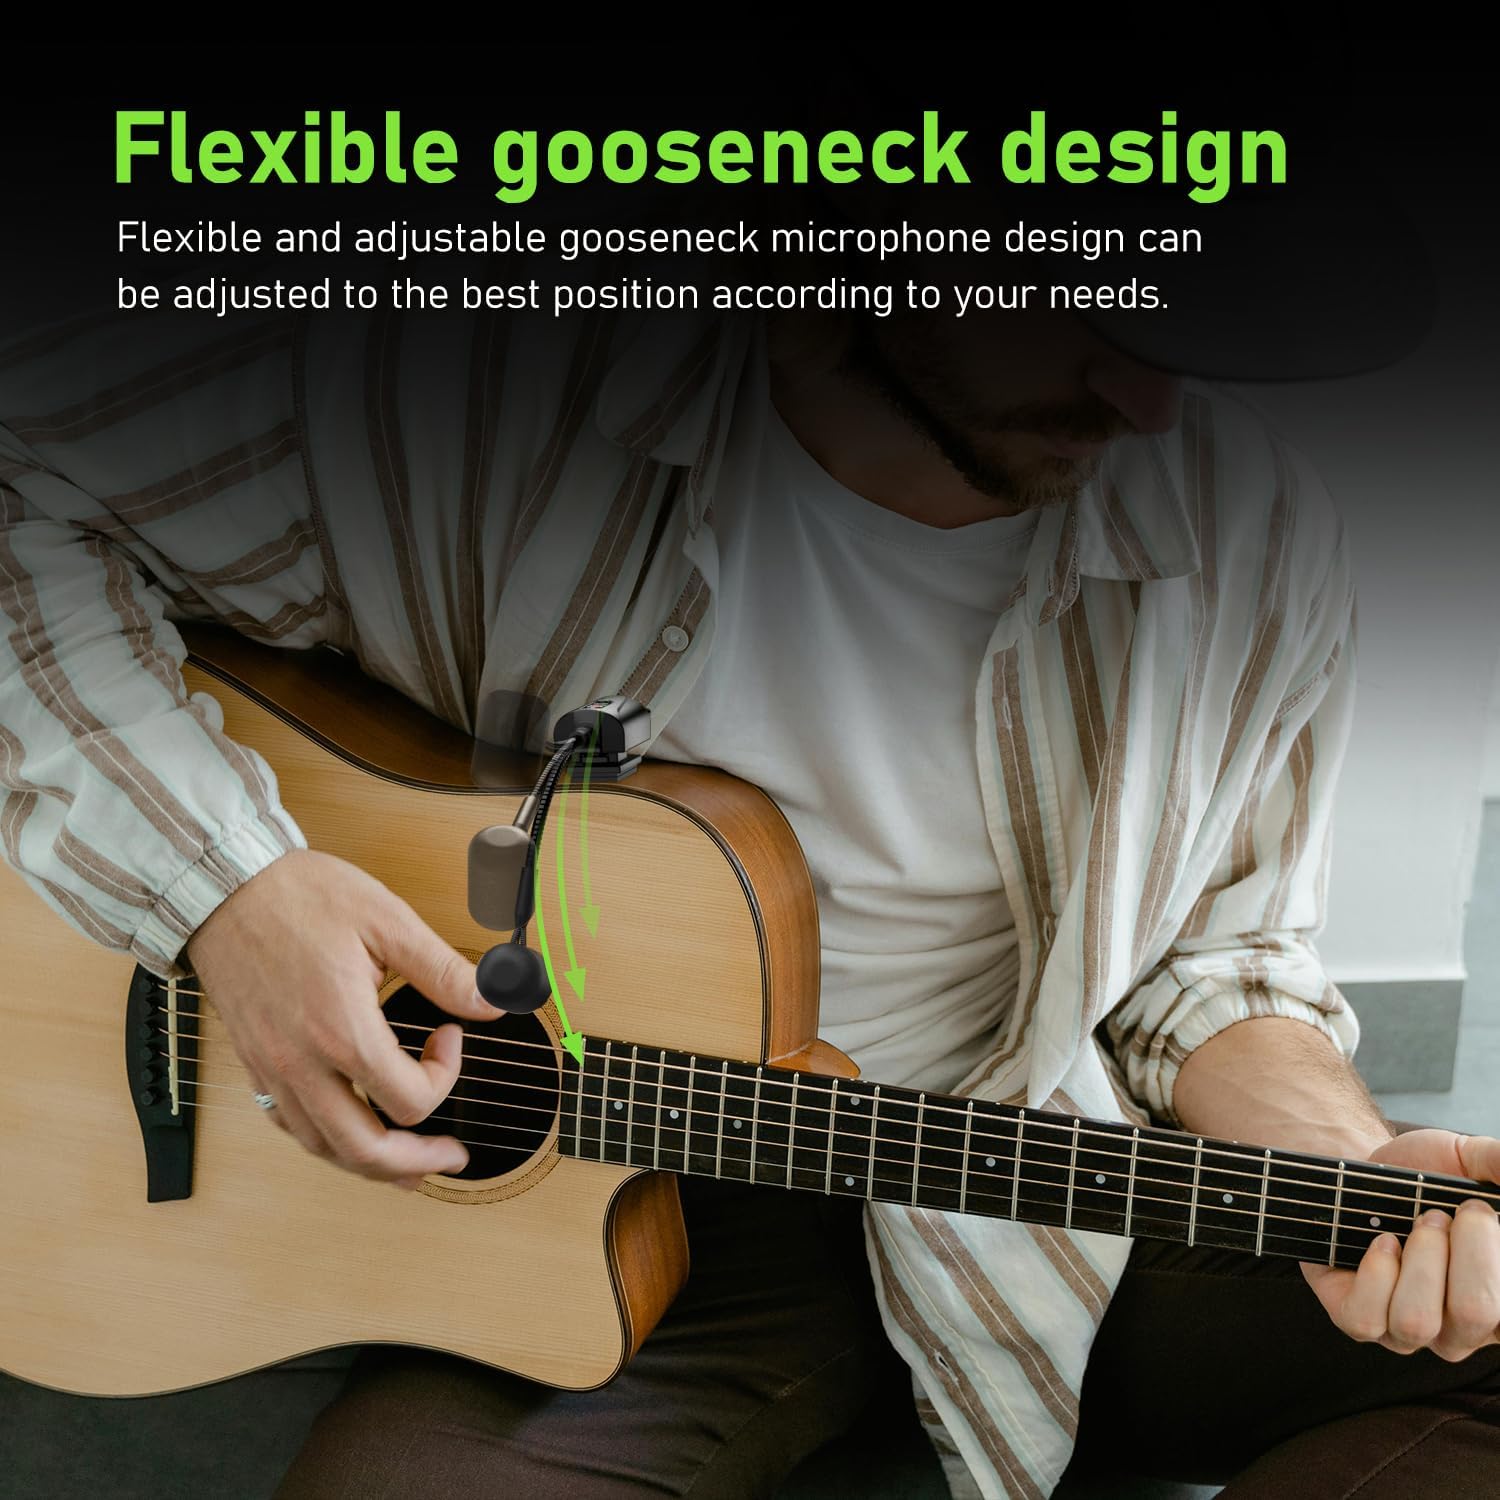
- Каз моюн микрофон: Flexible arm for precise positioning.
- Microphone Foam Cover: Шамалдын ызы-чуусун жана жарылуучу заттарды азайтат.
- Кубат баскычы: Түзмөктү күйгүзүү/өчүрүү үчүн.
- Заряддоо порту (USB-C): Ички батареяны кайра заряддоо үчүн.
- IR сенсор: For automatic pairing with the receiver.
3.2. Кабыл алуучу
- 6.35 мм аудио уячасы: Менен туташат ampкөтөргүчтөр, аралаштыргычтар же PA системалары.
- Антенна: For stable signal reception.
- Кубат баскычы: Түзмөктү күйгүзүү/өчүрүү үчүн.
- Заряддоо порту (USB-C): Ички батареяны кайра заряддоо үчүн.
- Дисплей: Канал маалыматын көрсөтөт.
- Каналды которуу баскычы: For manual channel selection.
- IR сенсор: For automatic pairing with the transmitter.

4. Орнотуу нускамалары
Follow these steps to set up your ACEMIC AT-5 wireless microphone system:
4.1. Агрегаттарды заряддоо
- Connect the USB-C charging cable to the charging ports on both the transmitter and receiver units.
- Кабелдин экинчи учун USB кубат адаптерине (кошулмада жок) же кубаттуу USB портуна сайыңыз.
- The charging indicator will illuminate. A full charge typically takes 2.5 to 3 hours.
- Once fully charged, the indicator light will change or turn off, depending on the unit.

4.2. Attaching the Transmitter to Your Instrument
- Select a suitable location on your acoustic guitar, typically near the sound hole, where the transmitter can be securely attached without obstructing your playing.
- Peel the backing from one of the Velcro adhesive attachments.
- Apply the adhesive side firmly to the chosen spot on your guitar.
- Attach the transmitter unit to the Velcro. Ensure it is secure.
- Adjust the flexible gooseneck microphone to point towards the sound hole or strings for optimal sound capture.

4.3. Ресиверди туташтыруу
- Ensure the antenna on the receiver is correctly installed and extended.
- Plug the 6.35mm audio jack of the receiver directly into the input of your amplifier, PA system, or audio mixer.
- If your device requires a 3.5mm input, use the provided 3.5mm audio jack adapter.
4.4. Бирдиктерди жупташтыруу
The ACEMIC AT-5 system features automatic infrared pairing:
- Power on both the transmitter and the receiver units.
- Place the IR sensors of the transmitter and receiver close to each other (within a few inches).
- The units will automatically pair. A successful connection is usually indicated by a stable light on both units.

5. Операция
5.1. Күйгүзүү / Өчүрүү
Press and hold the power button on each unit to turn it on or off.
5.2. Канал тандоо
The system offers 16 preset groups of adjustable channels to mitigate potential interference. If you experience interference, you can manually switch channels on the receiver using the channel switch button. Ensure that the transmitter and receiver are on the same channel for proper operation.

5.3. Микрофонду жайгаштыруу
Adjust the flexible gooseneck microphone to achieve the desired sound. Experiment with different angles and distances from the sound hole or strings to find the optimal position for your instrument and playing style. The built-in high-sensitivity condenser microphone is designed to capture clear and realistic audio.

5.4. Зымсыз берүү
The ACEMIC AT-5 system uses UHF frequency for stable transmission up to 130 feet (approximately 40 meters) in open areas. Performance may vary depending on environmental factors and obstacles.

6. Техникалык тейлөө
6.1. Тазалоо
Wipe the units with a soft, dry cloth. Do not use liquid cleaners or solvents, as they may damage the finish or internal components.
6.2. Сактоо
When not in use, store the ACEMIC AT-5 system in its carrying bag in a cool, dry place, away from direct sunlight and extreme temperatures. Ensure the units are turned off before storage.
6.3. Батареяга кам көрүү
To prolong battery life, avoid completely discharging the units regularly. Recharge them periodically, even if not in frequent use.
7. Кыйынчылыктарды
If you encounter issues with your ACEMIC AT-5 system, refer to the following common problems and solutions:
| Көйгөй | Мүмкүн себеп | Чечим |
|---|---|---|
| Үн чыгышы жок | Электр кубаты күйбөгөн түзмөктөр Жупташпаган бирдиктер Receiver not connected to audio input Receiver antenna not installed/extended Батарея аз | Өткөргүч жана кабыл алгыч күйгүзүлгөнүн текшериңиз. Re-pair the units using the infrared sensors. Verify the receiver is securely plugged into your ampкөтөргүч/микшер. Ensure the receiver antenna is properly installed and extended. Эки түзмөктү тең толук заряддаңыз. |
| Интервенция же статикалык ызы-чуу | Жакын жердеги электрондук шаймандар Other wireless signals Бөлүмдөрдүн ортосундагы тоскоолдуктар | Потенциалдуу тоскоолдук булактарынан алыс болуңуз. Change the operating channel on the receiver. Ensure a clear line of sight between the transmitter and receiver. |
| Poor sound quality (e.g., muffled, weak) | Микрофондун туура эмес жайгашуусу Микрофон үн булагынан өтө алыс Батарея аз | Adjust the gooseneck microphone closer to the sound hole or strings. Ensure units are fully charged. |
| Кыска берүү диапазону | Тоскоолдуктар сигналы Экологиялык факторлор Батарея аз | Minimize obstacles between transmitter and receiver. Ensure units are fully charged. |
| Transmitter not attaching securely | Velcro adhesive worn out | Use a fresh Velcro adhesive attachment. (5 spare pieces are included). |
8. Техникалык шарттар
| Өзгөчөлүк | Деталь |
|---|---|
| Модель аты | AT-5 |
| Бренд | ACEMIC |
| Байланыш технологиясы | UHF |
| Микрофон форма фактору | Gooseck |
| Каналдардын саны | 16 |
| Power Source | Батарея менен иштейт (2 литий полимер батарейкасы керек) |
| Иштөө убактысы | 6 саат |
| Заряддоо убактысы | 2.5 - 3 саат |
| Берүүнүн диапазону | Up to 130 feet (approx. 40 meters) in open areas |
| Sampling Rate | 48кГц |
| Кечигип калуу | <6 мс |
| Элемент Салмагы | 0.46 килограмм (1.01 фунт) |
| Полярдык үлгү | Бир багыттуу |
| Туташтыргыч түрү | 6.35mm Jack (with 3.5mm adapter included) |
| UPC | 797417770397 |
9. Кепилдик жана колдоо
For warranty information and technical support, please refer to the documentation provided with your purchase or contact the seller/manufacturer directly. Specific warranty terms may vary by region and retailer.


