1. Киришүү
This manual provides detailed instructions for the installation, operation, and maintenance of your Lian Li CG237 RGB ATX Mid-Tower PC Case. Please read this manual thoroughly before beginning assembly to ensure proper setup and to maximize the lifespan of your components.
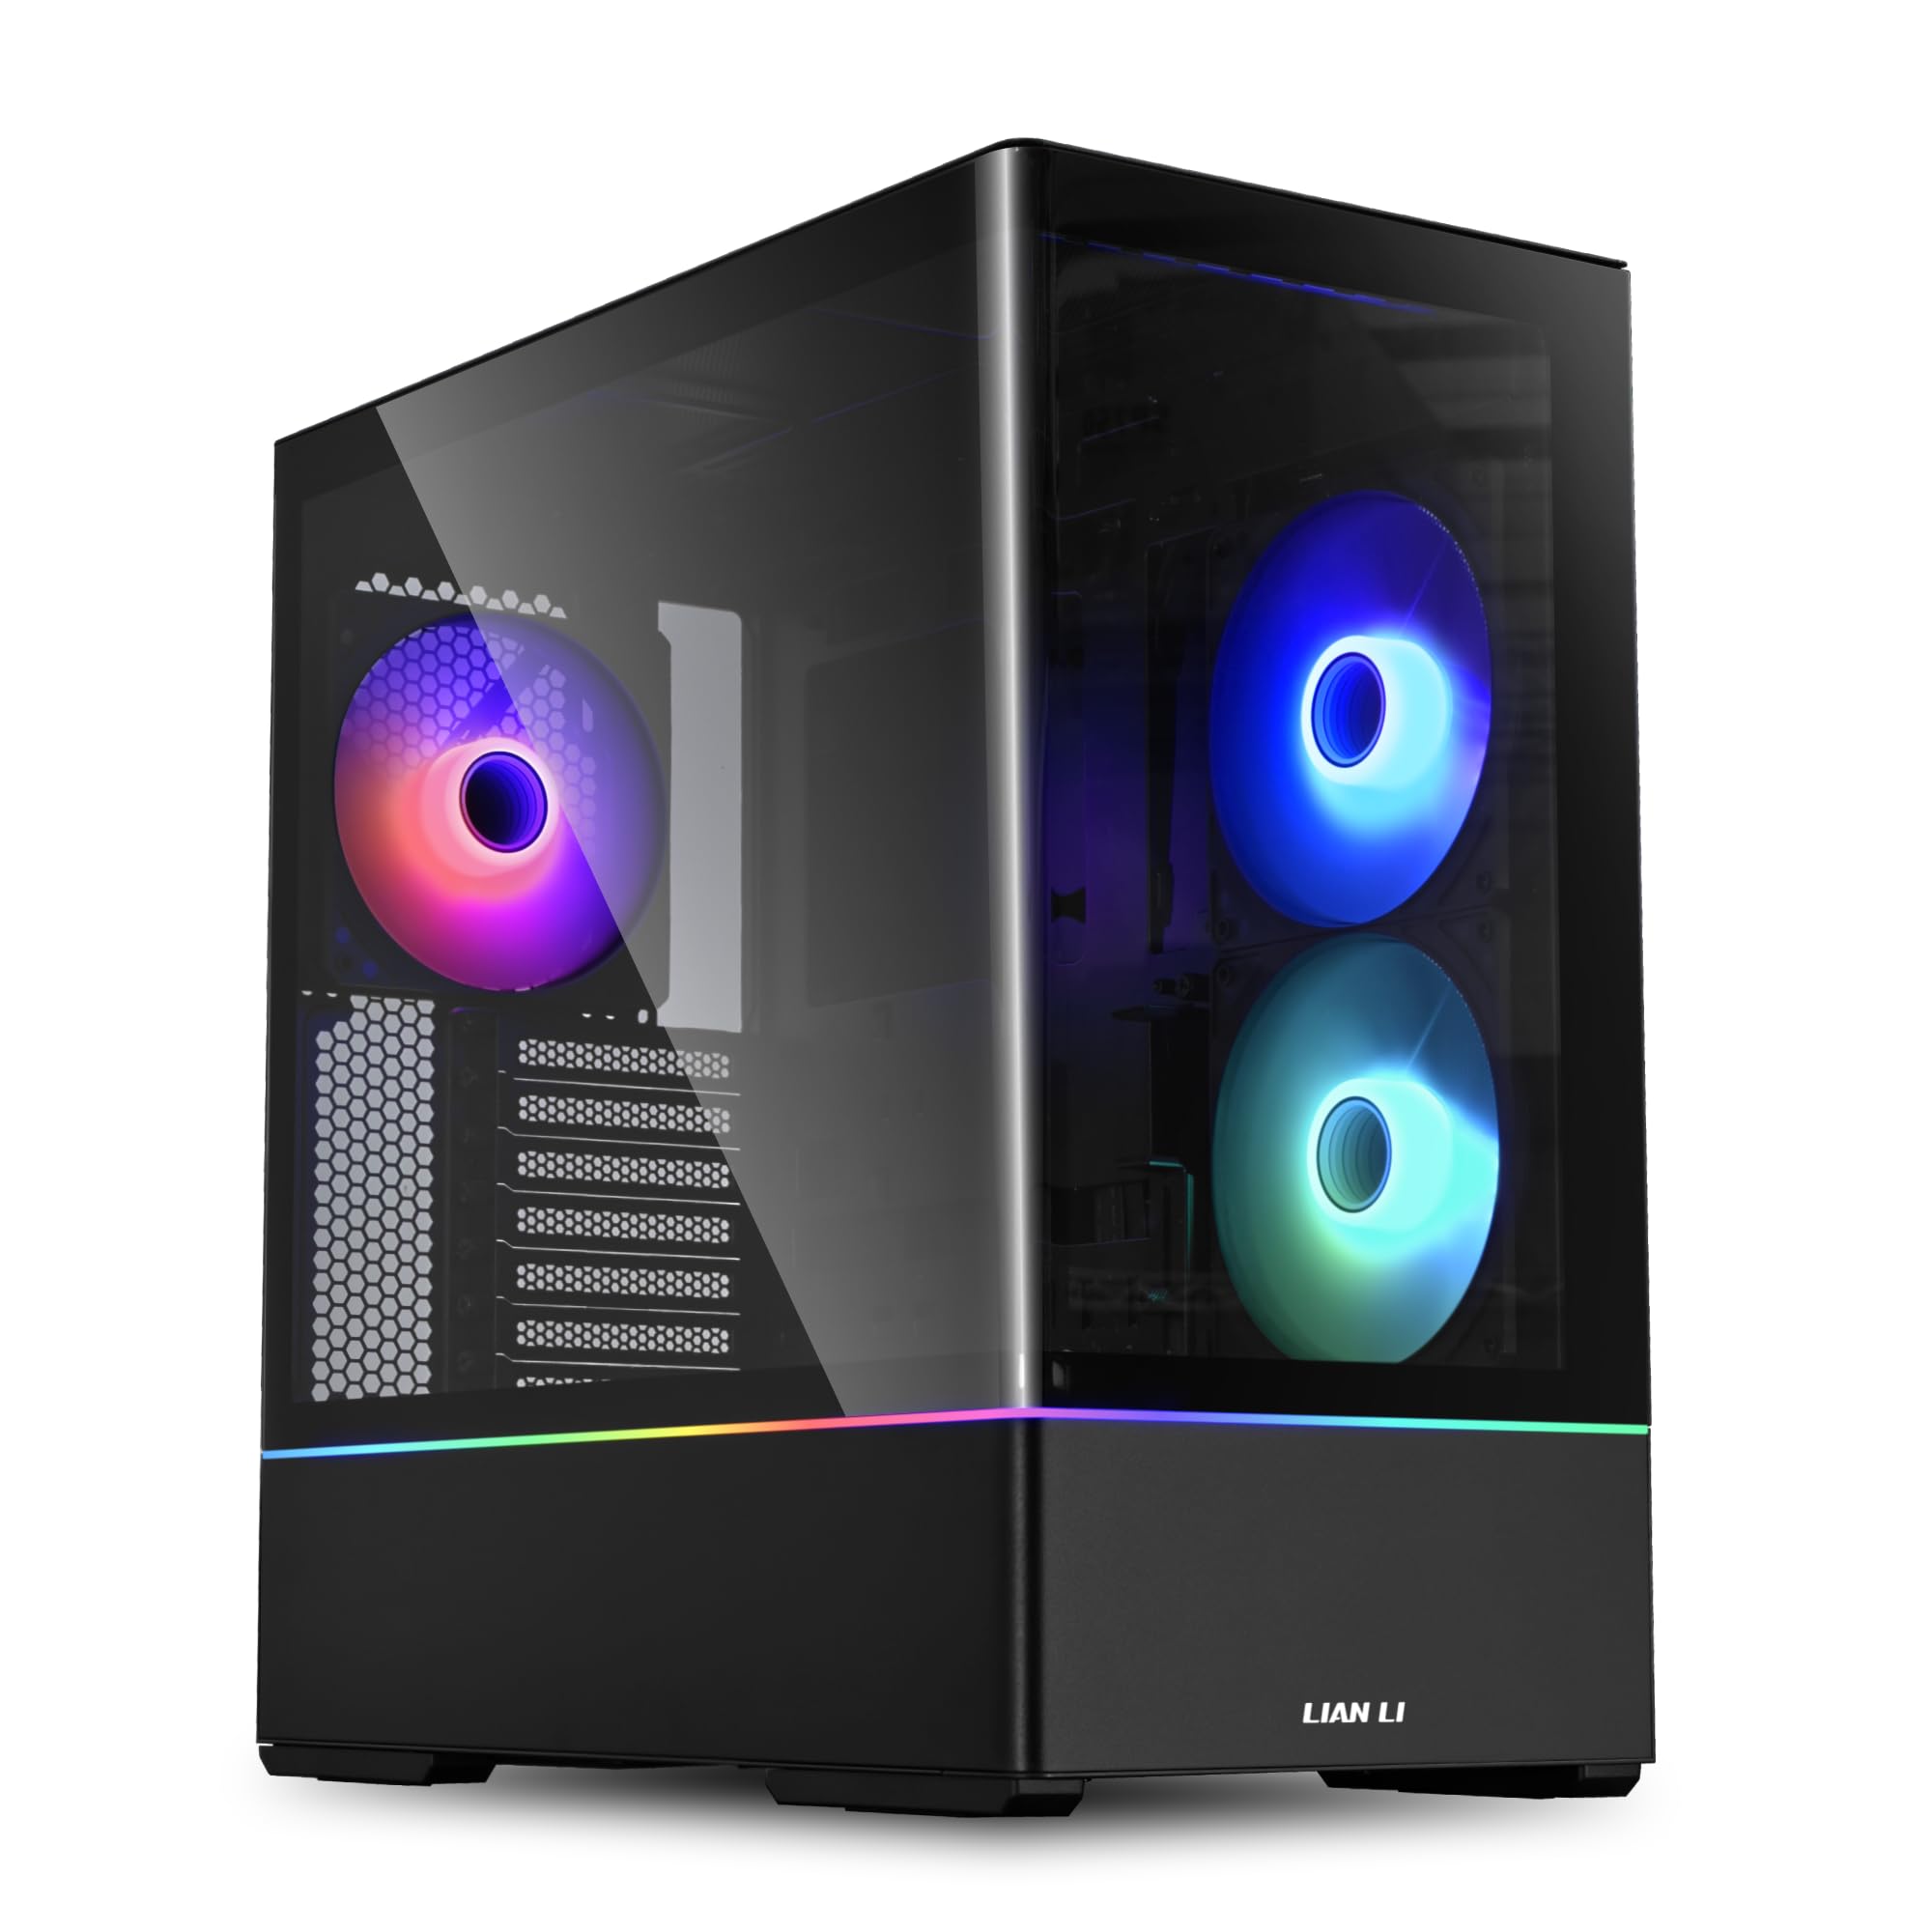
Figure 1.1: Lian Li CG237 RGB ATX Mid-Tower PC Case (Black)
2. Коопсуздук маалыматы
Ар дайым төмөнкү коопсуздук чараларын сактаңыз:
- Disconnect all power sources before opening the PC case or performing any installation.
- Handle tempered glass panels with care to prevent breakage.
- Электростатикалык разряддын (ЭСР) алдын алуу үчүн электрондук компоненттерге түз тийүүдөн алыс болуңуз. Мүмкүн болсо, антистатикалык билек боону колдонуңуз.
- Майда тетиктерди жана бурамаларды балдардан алыс кармаңыз.
- Ашыкча ысып кетүүнүн алдын алуу үчүн корпустун айланасында туура желдетүүнү камсыз кылыңыз.
3. Пакеттин мазмуну
Пакетте бардык компоненттер бар экенин текшериңиз:
- Lian Li CG237 RGB ATX Mid-Tower PC Case
- 3 x 140mm ARGB PWM Fans (2 side, 1 rear pre-installed)
- Accessory Box (screws, cable ties, standoffs, user manual)
4. Техникалык шарттар
| Өзгөчөлүк | Description |
|---|---|
| Иштин түрү | Ара Tower |
| Өлчөмдөрү (LxWxH) | 17.56" x 9.27" x 18.54" (44.6см x 23.5см x 47.1см) |
| Материал | Дат баспас болоттон жасалган, чыңдалган айнек |
| Motherboard Support | ATX, Micro ATX (mATX), Mini-ITX |
| Камтылган күйөрмандар | 3 x 140mm ARGB PWM Fans (2 side, 1 rear) |
| Drive Bays | 2 x 3.5" HDD (Internal), 5 x 2.5" SSD (Internal) |
| Кеңейтүү уячалары | 7 |
| Өзгөчөлүктөр | Built-In Fan, Dust Filter, LED Control Button, RGB Lighting, Liquid Cooling Ready |
5. Орнотуу жана орнотуу
5.1 Каптал панелдерди алып салуу
Carefully remove the tempered glass side panels. Typically, these are secured with thumbscrews at the rear of the case. Once screws are removed, slide the panel backward and lift it off.

5.1-сүрөт: Ички view каптал панели алынып салынган
5.2 Motherboard орнотуу
- Install the necessary standoffs for your motherboard form factor (ATX, Micro ATX, Mini-ITX) onto the motherboard tray.
- I/O калканын корпустун арткы тешигине коюңуз.
- Энелик платаңызды тирөөчтөр жана киргизүү/чыгаруу калканы менен кылдаттык менен тегиздеңиз, андан кийин аны бурама менен бекитиңиз.

Figure 5.2: Motherboard size compatibility
5.3 Drive Installation (3.5" HDD / 2.5" SSD)
The case features dedicated bays for 3.5" HDDs and removable brackets for 2.5" SSDs.
- 3.5 дюймдук катуу диск: Locate the drive cage at the bottom of the case. Slide your 3.5" drives into the bays and secure them with screws.
- 2.5 дюймдук SSD: The case includes removable SSD mounting brackets, typically located behind the motherboard tray. Secure your 2.5" SSDs to these brackets and then reattach the brackets to the case.

Figure 5.3: Removable 2.5" SSD mounting brackets
5.4 Желдеткичти жана Радиаторду орнотуу
The CG237 comes with three 140mm ARGB PWM fans pre-installed. Additional fans or liquid cooling radiators can be installed in various locations.
- Жогорку: The top panel supports radiators or fans. The swappable top fan brackets allow for easier installation.
- тарап: Two 140mm reverse blade ARGB fans are pre-installed.
- Арткы: One 140mm ARGB fan is pre-installed.
- Төмөнкү: Additional fans can be mounted at the bottom for improved airflow.

Figure 5.4: Bottom fan bracket detail

Figure 5.5: Top fan bracket for radiator/fan mounting
5.5 Электр менен камсыздоо блогун (PSU) орнотуу
The PSU bay is located at the bottom rear of the case. Slide your PSU into the designated area and secure it with screws from the rear of the case.
5.6 Кабелди башкаруу
The CG237 case offers ample space and routing options behind the motherboard tray for clean cable management. Utilize the included cable ties to bundle and secure cables, ensuring optimal airflow and a tidy build appearance.

Figure 5.6: Cable management area
6. Иштөө нускамалары
6.1 Күйгүзүү
After completing all component installations and connecting external peripherals, press the power button located on the front I/O panel to start your system.
6.2 ARGB Жарыкты башкаруу
The pre-installed ARGB fans can be controlled via the motherboard's ARGB header (if compatible) or through a dedicated LED control button on the case's front I/O panel. Refer to your motherboard manual for software-based ARGB control or use the case button to cycle through pre-set lighting effects.
Figure 6.1: Integrated RGB lighting
7. Техникалык тейлөө
- Чаң чыпкалары: Regularly clean the removable dust filters (located at the top, front, and bottom) to maintain optimal airflow and prevent dust buildup inside the case.
- Тышкы тазалоо: жумшак колдонуу, damp cloth to clean the exterior surfaces and tempered glass panels. Avoid abrasive cleaners.
- Ички тазалоо: Periodically use compressed air to remove dust from internal components and fans. Ensure the system is powered off and unplugged before cleaning.
8. Кыйынчылыктарды
- Кубат жок: Ensure all power cables (PSU to wall, PSU to motherboard, CPU, GPU) are securely connected. Check the power switch on the PSU.
- Күйөрмандар Айланбайт/RGB жок: Verify fan power connections to the motherboard or fan controller. Check ARGB connections for lighting. Ensure drivers are installed for software control.
- Ашыкча ысып кетүү: Ensure all fans are functioning correctly and installed in the correct orientation for airflow. Clean dust filters. Verify CPU cooler and GPU cooler are properly seated.
- Бош компоненттер: If experiencing intermittent issues, power down the system and re-seat all components (RAM, GPU, power cables) to ensure secure connections.
9. Кепилдик жана колдоо
Lian Li products are manufactured to high-quality standards. For warranty information, please refer to the warranty card included with your product or visit the official Lian Li website. For technical support, please contact Lian Li customer service through their official channels.


