Introduction
This manual provides detailed instructions for the installation, operation, and maintenance of your JBL CLUB-A758 8-Channel Amplifier. The Club A758 amplifier is designed to deliver powerful audio performance to your vehicle's sound system, offering 75 Watts RMS per channel to eight speakers or configurable for bridged operation to drive subwoofers. Please read this manual thoroughly before attempting installation or operation to ensure proper use and to maximize the performance of your ampөмүрлүү.

Сүрөттүн сүрөттөлүшү: A top-front angled view of the JBL CLUB-A758 8-Channel Ampөмүрлүү. The amplifier is black with a glossy finish on top, featuring the red JBL logo prominently in the center. The front and side panels show ventilation grilles.
Коопсуздук маалыматы
Always observe the following safety precautions when installing or operating the JBL CLUB-A758 ampөмүр берүүчү:
- Disconnect the vehicle's negative battery terminal before starting any installation.
- Зымдардын бузулушуна же кыска туташууларга жол бербөө үчүн бардык зымдар туура жолго коюлганын жана бекемделгенин текшериңиз.
- Use appropriate gauge power and ground wires as recommended in this manual.
- монтаждоо amplifier securely in a location that allows for adequate ventilation and is protected from moisture.
- Орнотуудан качыңыз amplifier in areas exposed to direct sunlight or excessive heat.
- Орнотуу процессинин кандайдыр бир бөлүгүнө ишенбесеңиз, квалификациялуу адиске кайрылыңыз.
Пакеттин мазмуну
Пакетте бардык буюмдар бар экенин текшериңиз:
- 1x JBL CLUB-A758 8-Channel Ampөмүрлүү
- Колдонуучунун колдонмосу (бул документ)
- Mounting Hardware (screws, etc. - specific items may vary)
Продукт өзгөчөлүктөрү
The JBL CLUB-A758 amplifier incorporates several design features for optimal performance and integration:
- Компакт өлчөмү: Төмөн профессионалдуу өзгөчөлүктөрү барfile chassis and small footprint for versatile installation in various vehicles.
- High and Low-Level Inputs: Compatible with both aftermarket and factory car stereo systems, allowing flexible integration.
- Өзгөрмө кроссовер: Equipped with variable electronic crossovers for precise system tuning and audio performance optimization.
- Low Noise and Distortion: Engineered with Balanced Differential Inputs to minimize noise and distortion, even at high output levels, and reduce engine noise susceptibility.
- Киргизүү деңгээлин көзөмөлдөө: Adjustable input sensitivity (200mVrms to 5Vrms for low-level, 1Vrms to 25Vrms for high-level inputs) for proper gain matching.
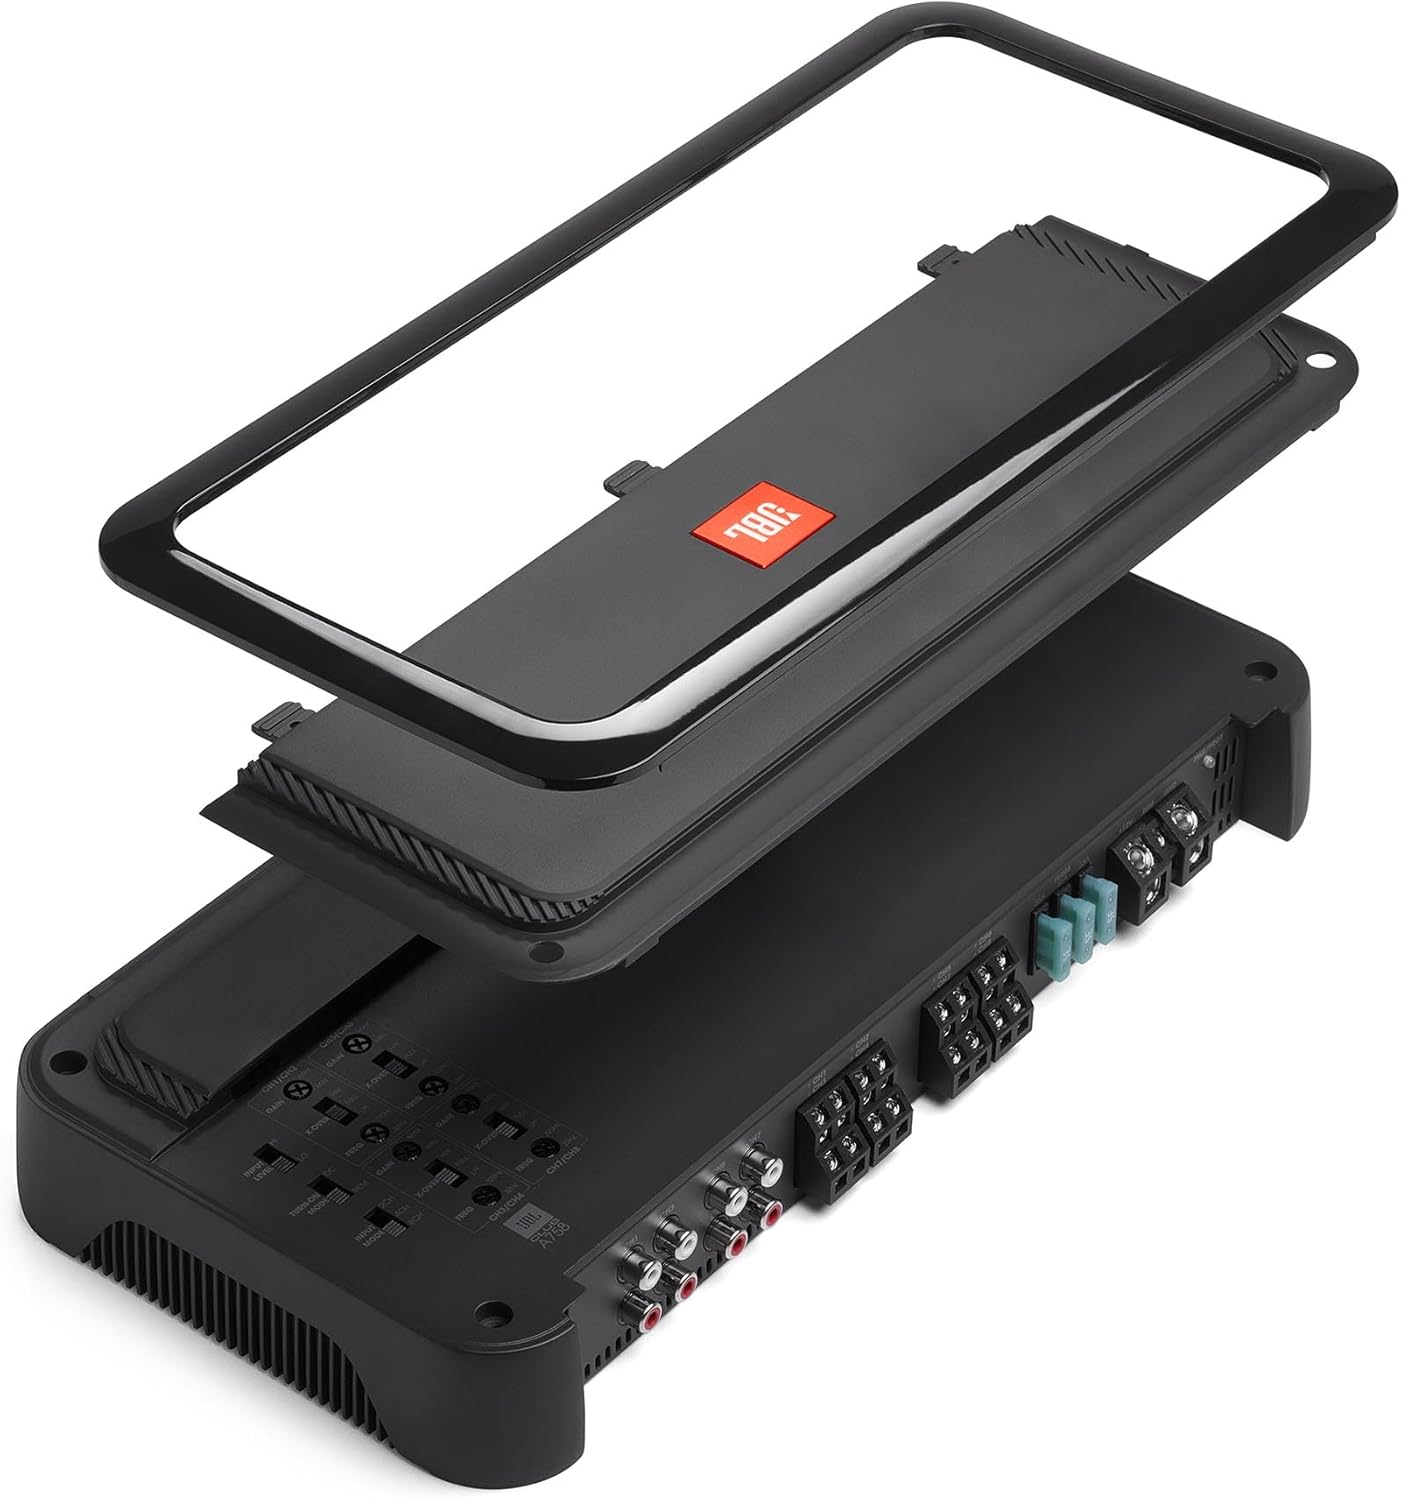
Сүрөттүн сүрөттөлүшү: А жарылды view of the JBL CLUB-A758 amplifier, showing the top cover separated from the main chassis, revealing the internal components and the control panel. This illustrates the compact design and internal layout.
Орнотуу жана орнотуу
Туура орнотуу сиздин иштөө жана узак иштөө үчүн абдан маанилүү болуп саналат amplifier. If you are not confident in your ability to perform the installation, seek professional assistance.
1. Монтаждоо орду
Choose a mounting location that is dry, well-ventilated, and protected from direct sunlight or excessive heat. Common locations include under a seat, in the trunk, or behind a panel. Ensure there is sufficient space around the ampаба айлануу үчүн көтөргүч.
2. Power Wiring
- Күч (B+): Connect a 4-gauge power wire (not included) directly from the positive terminal of the vehicle's battery to the amplifier's B+ terminal. Install an appropriate fuse holder (105A recommended) within 18 inches (45 cm) of the battery.
- Жер (GND): Connect a 4-gauge ground wire (not included) from the amplifier's GND terminal to a clean, unpainted metal surface of the vehicle's chassis. Ensure a solid electrical connection. The ground wire should be as short as possible, ideally less than 3 feet (1 meter).
- Алыстан (REM): Баш блогуңуздун алыскы чыгышынан алыстан күйгүзүүчү зымды туташтырыңыз ampкөтөргүчтүн REM терминалы. Бул зым сигнал берет ampбаш бирдиги менен күйгүзүү жана өчүрүү үчүн көтөргүч.

Сүрөттүн сүрөттөлүшү: Арткы view of the JBL CLUB-A758 amplifier, highlighting the various connection terminals. On the right, the power, ground, and remote terminals are visible, along with the fuse block. On the left, the RCA input jacks are shown. Speaker output terminals are located in the center.
3. Signal Input
- Төмөн деңгээл киргизүү (RCA): Эгерде сиздин башкы блокто RCA алдын ала чыгаруулары болсо, аларды туташтырыңыз amplifier's RCA input jacks using high-quality RCA cables.
- High-Level Input (Speaker Level): If your head unit does not have RCA pre-outs, connect the speaker outputs from your head unit directly to the amplifier's high-level input terminals. The amplifier will automatically detect the signal and turn on.
4. Speaker Output
Динамиктерге туташтырыңыз amplifier's speaker output terminals. Ensure correct polarity (+ to + and – to –) for each speaker. The CLUB-A758 supports 8-channel operation or can be bridged for higher power output to fewer channels (e.g., 4-channel bridged for subwoofers). Refer to the wiring diagrams below for specific configurations.
5. Электр схемасы
Below are common wiring configurations for the JBL CLUB-A758 amplifier. Always ensure speaker impedance matches the amplifier's capabilities (e.g., 4 ohms in bridged mode).
- 8-Channel Full Range: Connect eight speakers, one to each channel output.
- 4-Channel Bridged: Bridge channels in pairs (e.g., CH1+CH2, CH3+CH4, etc.) to drive four speakers or subwoofers at higher power.
- Mixed Configuration: Combine full-range and bridged channels (e.g., 4 channels for front/rear speakers, 2 channels bridged for a subwoofer).
Note: Specific wiring diagrams are typically provided in a separate installation guide or on the amplifier itself. Always consult those for precise connections.
Иштөө нускамалары
Бир жолу amplifier is installed, follow these steps to configure and operate it.
1. Control Panel Overview

Сүрөттүн сүрөттөлүшү: Жакын план view of the control panel on the JBL CLUB-A758 amplifier. It shows multiple rotary knobs and switches for adjusting settings such as GAIN, X-OVER (crossover frequency), and INPUT MODE. Labels for channels (CH1/CH2, CH3/CH4, etc.) are also visible.
The control panel features adjustments for each channel pair (CH1/CH2, CH3/CH4, CH5/CH6, CH7/CH8).
- УТУШ: Adjusts the input sensitivity. This should be set to match the output voltage of your head unit. Start with the gain at minimum and slowly increase it until the sound is clear and distortion-free at your desired maximum volume.
- X-OVER (Crossover): Selects the type of filter (HPF, LPF, FULL) and adjusts the crossover frequency (32-320 Hz, 12 dB/octave).
- HPF (Жогорку өткөрүүчү чыпка): Allows frequencies above the set point to pass, blocking lower frequencies. Use for full-range speakers.
- LPF (төмөн өткөрүүчү чыпка): Allows frequencies below the set point to pass, blocking higher frequencies. Use for subwoofers.
- ТОЛУК: Allows all frequencies to pass.
- КИРГИЗҮҮ РЕЖИМИ: Selects the input configuration for the ampкөтөргүч. карагыла amplifier's specific input mode settings for details on how to route signals across channels.
2. Initial Setup and Tuning
- Баарын коюу ampминимумга чейин көтөргүч пайда контролдоо.
- Set all crossover switches to "FULL" initially.
- Turn on your head unit and set its volume to about 75% of maximum.
- Slowly increase the gain control on the amplifier for one channel pair until you hear slight distortion, then back it off slightly. Repeat for all active channels.
- Adjust the crossover settings for each channel pair according to the speakers connected:
- For full-range speakers, set to HPF and adjust the frequency to protect smaller speakers from low bass.
- For subwoofers, set to LPF and adjust the frequency to blend with your main speakers.
- Fine-tune all settings for optimal sound quality and balance.
Техникалык тейлөө
The JBL CLUB-A758 amplifier requires minimal maintenance.
- Тазалоо: Мезгил-мезгили менен сүртүп туруңуз ampliifier сыртын жумшак, кургак чүпүрөк менен. Катуу химиялык заттарды же абразивдүү тазалагычтарды колдонуудан алыс болуңуз.
- Вентиляция: камсыз кылуу amplifier's ventilation grilles are not obstructed. Blocked grilles can lead to overheating and reduced performance.
- Байланыштары: Occasionally check all power, ground, remote, and speaker connections to ensure they are secure and free from corrosion.
Проблемаларды чечүү
Эгер сиз менен көйгөйлөр пайда болсо amplifier, consult the following troubleshooting guide before seeking service.
| Көйгөй | Мүмкүн себеп | Чечим |
|---|---|---|
| Кубат жок / Ampкөтөргүч күйбөйт |
|
|
| Үн чыгышы жок |
|
|
| Distorted Sound |
|
|
| Ampliifier Overheating |
|
|
Техникалык шарттар
Detailed technical specifications for the JBL CLUB-A758 ampөмүр берүүчү:
| Өзгөчөлүк | Спецификация |
|---|---|
| Ampжашоочу түрү | 8-Channel Car Ampөмүрлүү |
| RMS кубаттуулук чыгышы (4 Ом) | 75 ватт RMS x 8 канал |
| RMS кубаттуулук чыгышы (2 Ом) | 125 ватт RMS x 8 канал |
| RMS Power Output (Bridged, 4 ohms) | 250 ватт RMS x 4 канал |
| Crossover Filters | Variable High-Pass and Low-Pass (32-320 Hz, 12 dB/octave) |
| Fuse рейтинги | 105A |
| Recommended Power/Ground Wire | 4-gauge (not included) |
| Input Level Control (Low-Level) | 200mVrms - 5Vrms |
| Input Level Control (High-Level) | 1Vrms - 25Vrms |
| Элемент Салмагы | Болжол менен 10 фунт |
| Пакеттин өлчөмдөрү | 18 x 14 x 8 дюйм |
| Модель номери | CLUB-A758 |
| Өндүрүүчү | JBL |
Кепилдик маалымат
The JBL CLUB-A758 amplifier is covered by a 1-Year Manufacturer Warranty. This warranty typically covers defects in materials and workmanship under normal use. Please retain your proof of purchase for warranty claims. For specific terms and conditions, refer to the warranty card included with your product or visit the official JBL webсайт.
Колдоо
For further assistance, technical support, or service inquiries regarding your JBL CLUB-A758 amplifier, please contact JBL customer support or visit their official webсайт:
- JBL расмий Webсайт: www.jbl.com
- Кардарларды тейлөө: Refer to the JBL webаймактык байланыш маалыматы үчүн сайт.
When contacting support, please have your product model number (CLUB-A758) and serial number ready. The serial number is located on the bottom of the ampөмүрлүү.

Сүрөттүн сүрөттөлүшү: А түбү view of the JBL CLUB-A758 amplifier, clearly showing the product label. The label contains model information, input voltage, and a blank space for the serial number, which is typically affixed here.


