1. Introduction and Overview
The Dell Pro 27 Plus QHD USB-C Hub Monitor P2725DE is a 27-inch LED monitor designed for productivity and visual clarity. It features a QHD (2560 x 1440) resolution at 100Hz, an IPS panel for wide viewing angles, and a built-in USB-C hub for streamlined connectivity. This manual provides essential information to help you set up, operate, and maintain your monitor effectively.
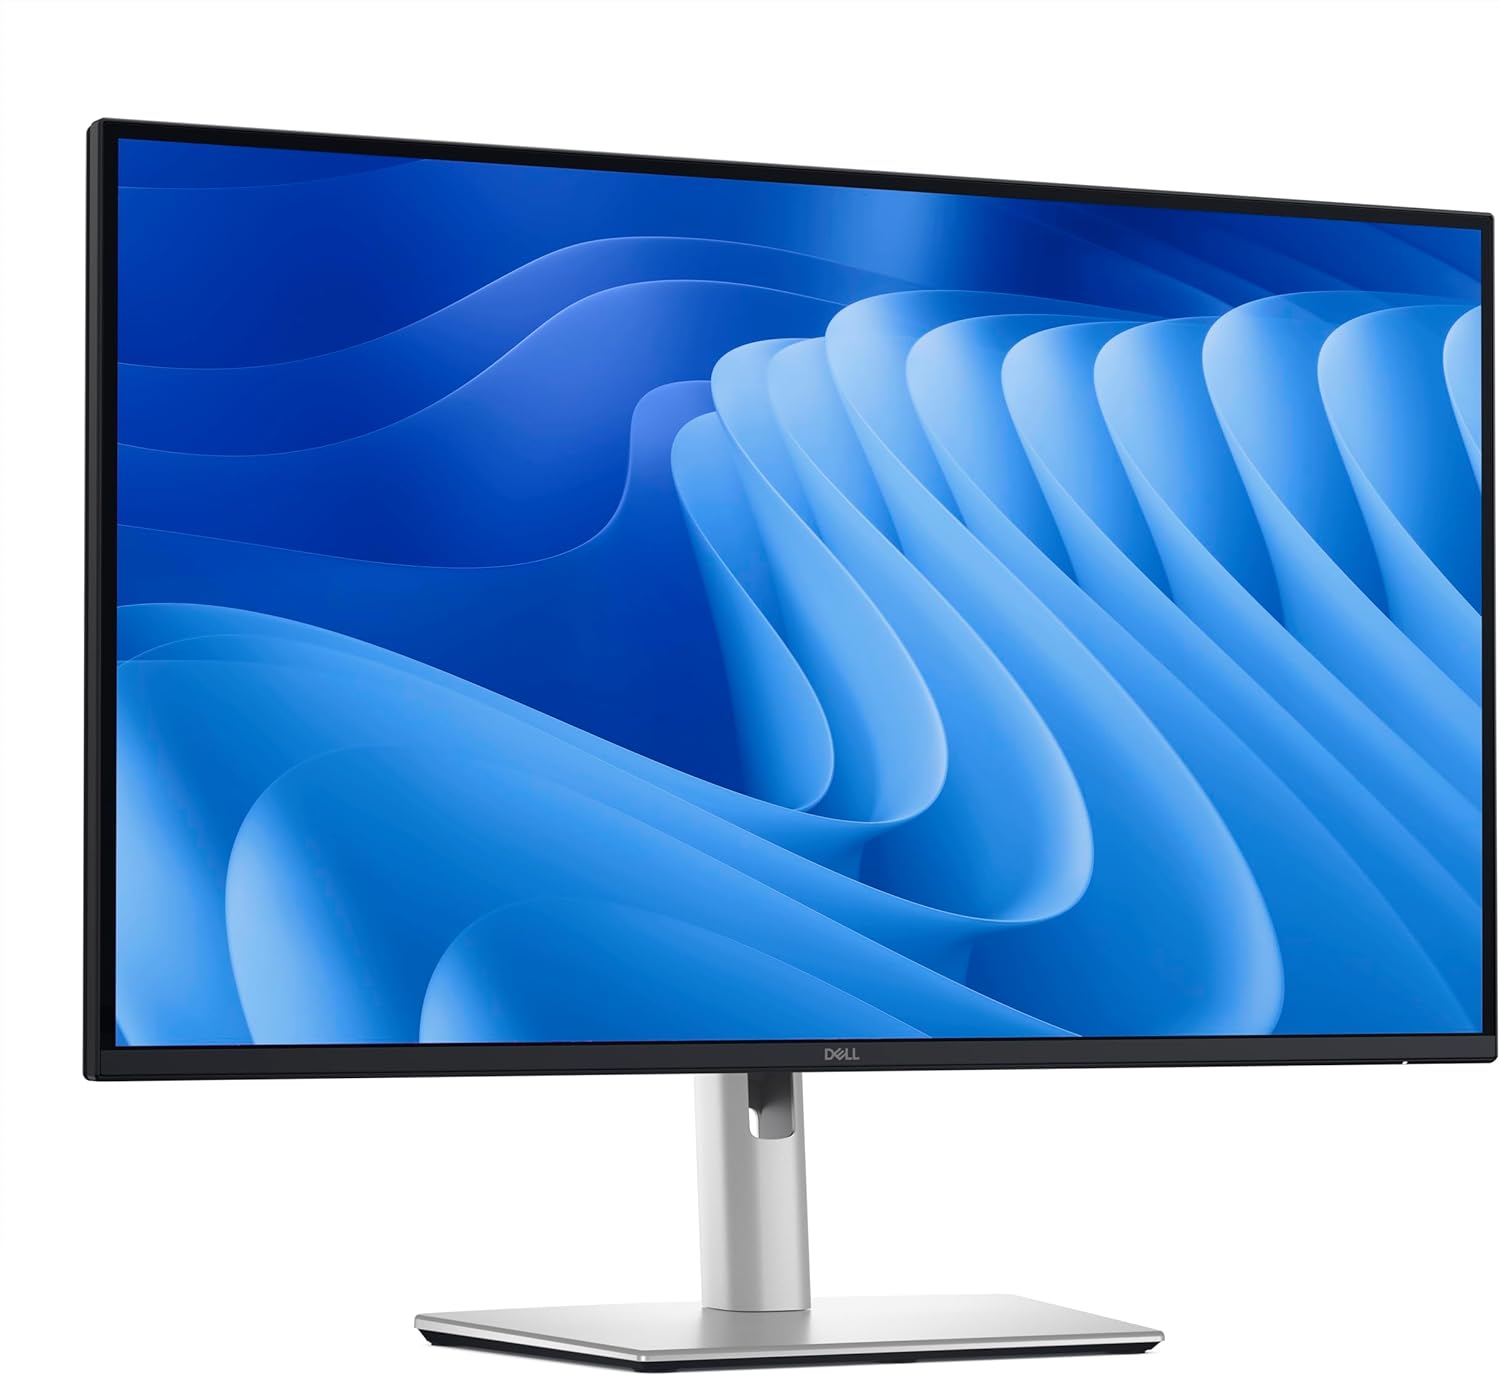
Сүрөт 1.1: Алдыңкы view of the Dell Pro 27 Plus QHD USB-C Hub Monitor P2725DE.
2. Орнотуу
2.1 Мониторду таңгактан чыгаруу
Carefully remove all components from the packaging. Ensure that all parts listed in the packing slip are present. Retain the packaging materials for future transport or service needs.
2.2 Стендди чогултуу
- Чийилип калбашы үчүн, монитордун панелин жумшак, таза чүпүрөккө бети менен ылдый каратып коюңуз.
- Тирөөчтү монитор панелине ал ордуна чыкылдаган үн чыкканга чейин бекитиңиз.
- Attach the stand base to the stand riser and tighten the captive screw at the bottom of the base.
2.3 Туташтыруучу кабельдер
Connect the necessary cables to the monitor and your computer. The monitor supports HDMI, DisplayPort, and USB-C video inputs.
- Кубат кабели: Кубат кабелин монитордун кубат портуна, андан кийин дубалдагы розеткага туташтырыңыз.
- Видео кабель: Connect one end of the HDMI, DisplayPort, or USB-C cable to the corresponding port on your monitor and the other end to your computer's video output port. For USB-C functionality, use a USB-C to USB-C cable.
- USB-C Upstream Cable (for Hub functionality): If using USB-C for video, this single cable also enables the integrated USB hub. If using HDMI or DisplayPort for video, connect a USB-A to USB-C cable from your computer to the monitor's USB-C upstream port to enable the USB hub.

2.1-сүрөт: Арткы view Монитордун ар кандай киргизүү жана чыгаруу портторун көрсөтөт.
2.4 Баштапкы күйгүзүү
Press the power button located on the bottom right side of the monitor. The power indicator will illuminate, and the display will turn on. Your computer should automatically detect the monitor. If not, adjust display settings in your operating system.
3. Мониторду иштетүү
3.1 Күйгүзүү/өчүрүү
Press the power button to turn the monitor on or off. The power LED indicates the monitor's status: solid white for on, amber for standby.
3.2 Экрандагы дисплей (OSD) менюсу
The OSD menu allows you to adjust various monitor settings. Use the control buttons located on the bottom right of the monitor to navigate the menu.
- Press any control button to activate the OSD menu.
- Меню параметрлери аркылуу жылуу үчүн навигация баскычтарын колдонуңуз.
- Тандоону ырастоо же кошумча менюга кирүү үчүн тандоо баскычын басыңыз.
- Press the back button to return to the previous menu or exit the OSD.
3.3 Киргизүү булагын тандоо
To switch between video inputs (HDMI, DisplayPort, USB-C), access the OSD menu and navigate to the 'Input Source' section. Select your desired input.
3.4 Дисплей орнотууларын тууралоо
OSD менюсунда сиз төмөнкүдөй орнотууларды тууралай аласыз:
- Жарыктык/Контраст: Жарык жана караңгы аймактардын жалпы жарыктыгын жана айырмасын тууралаңыз.
- Түс жөндөөлөрү: Түс температурасын, гамма жана жеке RGB деңгээлин өзгөртүү.
- Picture-in-Picture (PIP)/Picture-by-Picture (PBP): If supported, configure multiple input sources to display simultaneously.
- Жооп убактысы: Adjust for faster pixel transitions.
3.5 Эргономикалык жөндөөлөр
Монитор стендиңизди оптималдаштыруу үчүн ар кандай тууралоолорду жүргүзүүгө мүмкүндүк берет viewсооронуч:
- Бийиктигин тууралоо: Мониторду көз деңгээлине чейин көтөрүңүз же түшүрүңүз.
- Россия: Экран бурчун алдыга же артка тууралаңыз.
- Айлануучу: Мониторду туурасынан солго же оңго айлантыңыз.
- Пивот: Rotate the monitor vertically (portrait mode).

3.1-сүрөт: Каптал view illustrating the monitor's ergonomic stand adjustments.
4. Техникалык тейлөө
4.1 Мониторду тазалоо
To clean the monitor screen, gently wipe it with a soft, lint-free cloth lightly dampened with water or a non-ammonia, non-alcohol based screen cleaner. Avoid using abrasive cleaners or spraying liquid directly onto the screen.
Монитор үчүн casing, use a soft, dry cloth. Do not use any liquid cleaners on the casing.
4.2 Коопсуздук чаралары
- Желдетүүчү тешиктерди жаппаңыз.
- Мониторду жамгырга же нымдуулукка дуушар кылбаңыз.
- Мониторду күн тийген жерге же жылуулук булактарынын жанына коюудан алыс болуңуз.
- Only use the power adapter provided with the monitor.
5. Кыйынчылыктарды
Бул бөлүмдө мониторуңузда кездешүүсү мүмкүн болгон жалпы маселелер каралат.
5.1 Дисплей жок же кара экран
- Кубат кабели мониторго да, розеткага да бекем туташтырылганын текшериңиз.
- Verify that the video cable (HDMI, DisplayPort, or USB-C) is firmly connected to both the monitor and your computer.
- OSD менюсунда туура киргизүү булагы тандалганын текшериңиз.
- Компьютериңизди өчүрүп күйгүзүңүз.
5.2 Flickering or Unstable Image
- Видео кабелин бузулган же бош байланыштары бар-жогун текшериңиз. Мүмкүн болсо, башка кабелди колдонуп көрүңүз.
- Ensure your computer's graphics driver is up to date.
- Компьютериңиздин дисплей жөндөөлөрүнөн жаңыртуу жыштыгын тууралаңыз.
5.3 USB Hub Not Functioning
- If using HDMI or DisplayPort for video, ensure the USB-C upstream cable is connected from your computer to the monitor.
- If using USB-C for video, ensure the USB-C cable supports data transfer.
- Try connecting the USB device to a different port on the monitor.
5.4 Power LED is Off
- Verify the power cable is connected and the power outlet is functional.
- Кубат баскычын бекем басыңыз.
6. Техникалык шарттар
Below are the technical specifications for the Dell Pro 27 Plus QHD USB-C Hub Monitor P2725DE.
| Өзгөчөлүк | Спецификация |
|---|---|
| Модель номери | P2725DE |
| Screen Size | 27 дюйм (диагоналы 68.47 см) |
| Панел түрү | IPS |
| Резолюция | 2560 x 1440 (QHD) |
| Жаңыртуу ылдамдыгы | 100Hz |
| Аспект катышы | 16:9 |
| Жарыктык | 350 кд/м² |
| Контраст катышы | 1500:1 |
| Жооп убактысы | 5 мс (Боздан бозго чейин) |
| Video Inputs | HDMI, DisplayPort, USB-C |
| USB порттору | 5 (USB-C Hub functionality) |
| Screen Surface | Мт |
| Power Voltage | 240 вольт (AC) |
| Элемент Салмагы | 10.12 фунт (4.59 кг) |
| Продукциянын өлчөмдөрү (пакет) | 32.68 x 17.72 x 5.91 дюйм |
7. Кепилдик жана колдоо
Your Dell monitor is covered by a limited hardware warranty. For specific warranty details, please refer to the documentation included with your product or visit the official Dell support webсайт.
For technical assistance, troubleshooting, or to contact Dell support, please visit www.dell.com/support. Have your monitor's service tag or express service code ready for faster assistance.