1. Киришүү
Thank you for choosing the GAMEMAX Starlight 2 AB Mid Tower ATX PC Case. This manual provides essential information for the proper installation, operation, and maintenance of your new PC case. Please read this manual thoroughly before beginning the assembly process to ensure optimal performance and longevity of your system components.
2. Коопсуздук маалыматы
- Компоненттерди орнотуудан же алып салуудан мурун ар дайым кубат менен жабдууну розеткадан ажыратыңыз.
- Handle all components with care to prevent damage.
- Сезимтал компоненттердин электростатикалык разряддан (ЭСД) жабыркашын алдын алуу үчүн антистатикалык билек боону тагыныңыз.
- Keep the case away from direct sunlight, high temperatures, and moisture.
- Ашыкча ысып кетүүнүн алдын алуу үчүн корпустун айланасында туура желдетүүнү камсыз кылыңыз.
- Do not attempt to modify the case or its components, as this may void your warranty and pose a safety risk.
3. Пакеттин мазмуну
Пакетиңизде бардык буюмдар бар экенин текшериңиз:
- GAMEMAX Starlight 2 AB Mid Tower ATX PC Case
- Кошумча кутуча (бурамаларды, тирөөчтөрдү, кабель байлагычтарды ж.б. камтыйт)
- Колдонуучунун Колдонмосу (бул документ)
4. Продукт бүтүп калдыview
The GAMEMAX Starlight 2 AB is a Mid Tower ATX PC case designed for efficient cooling and versatile configurations. It features a tempered glass side panel, pre-installed ARGB fans, and comprehensive hardware compatibility.
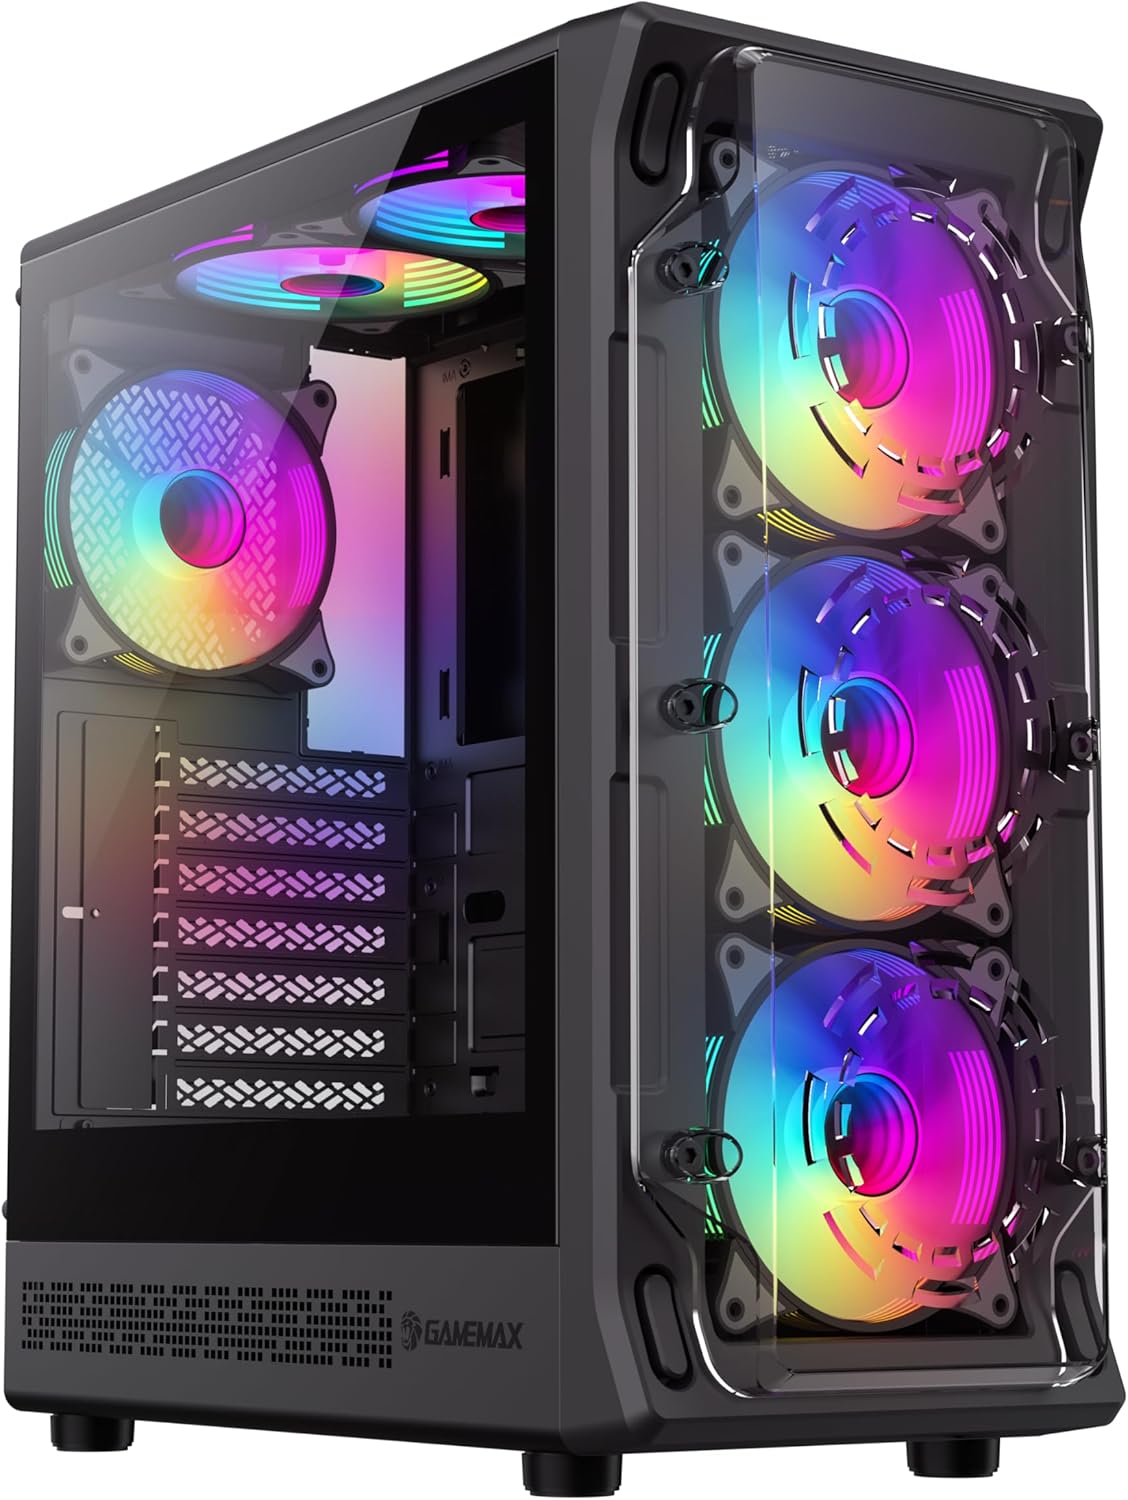
4.1-сүрөт: Алдыңкы-сол view of the GAMEMAX Starlight 2 AB PC Case, showcasing the tempered glass side panel and the vibrant ARGB lighting of the pre-installed fans.

4.2-сүрөт: Түз алдыңкы бет view highlighting the three 120mm ARGB fans, visible through the clear front panel, designed for optimal airflow.
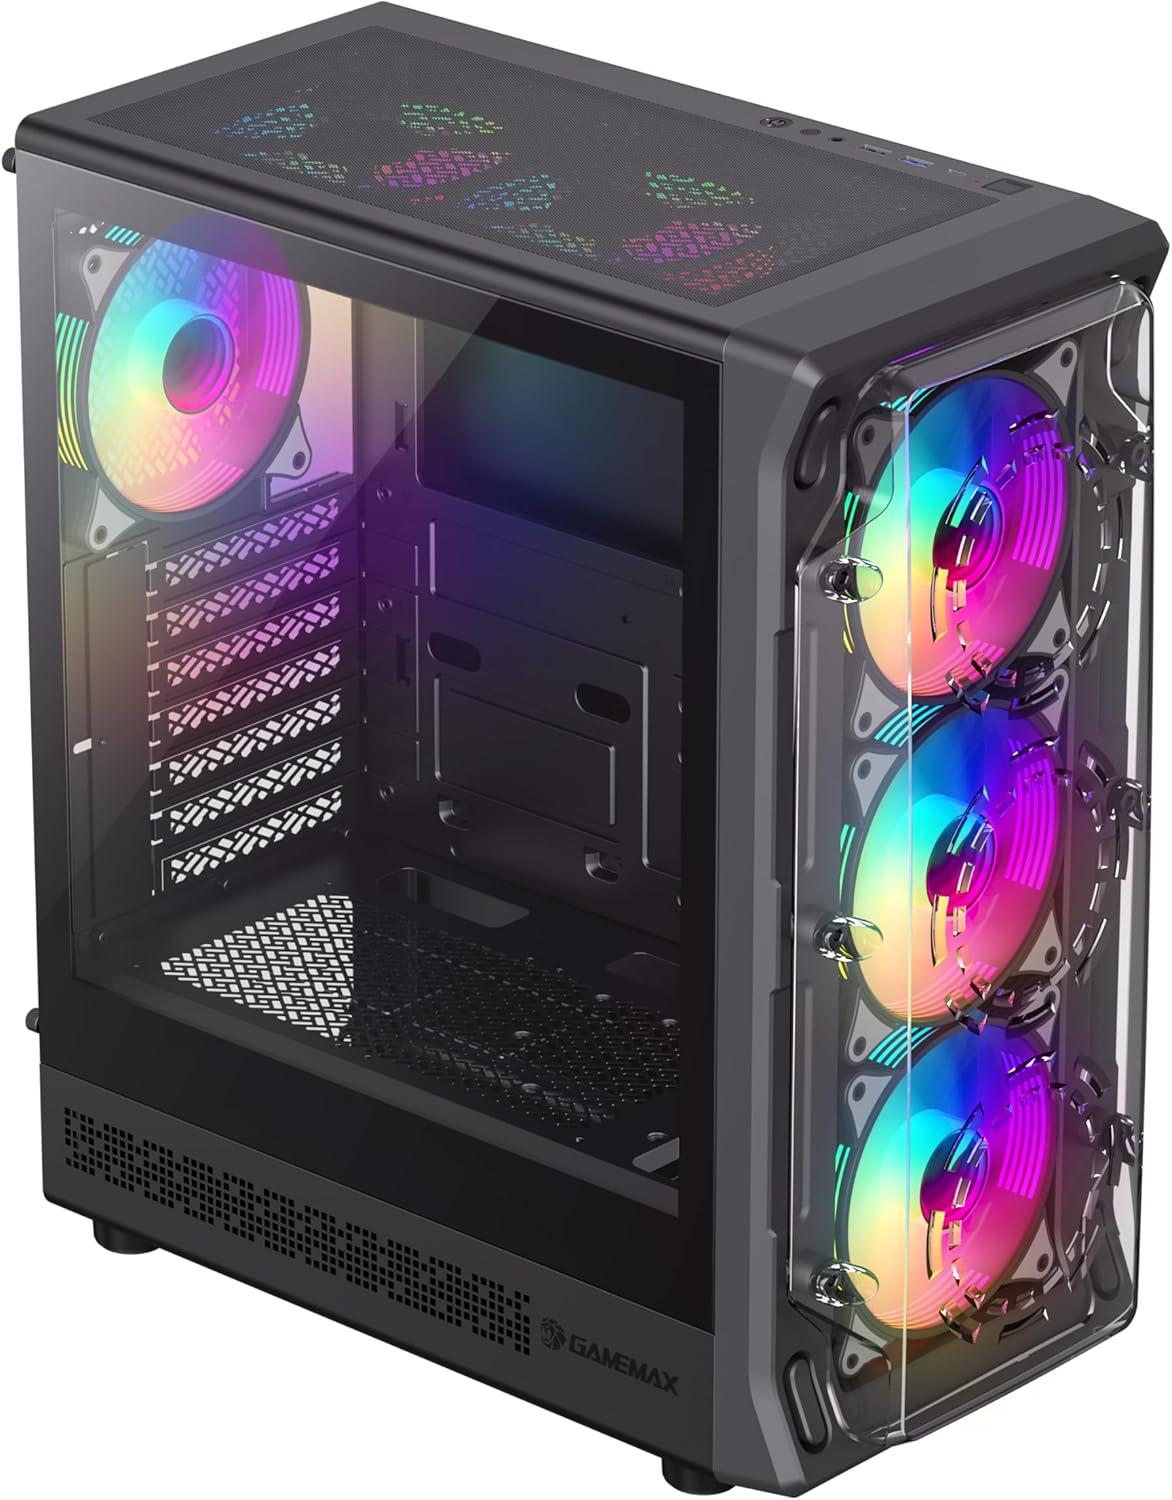
4.3-сүрөт: Top-front perspective showing the top-mounted I/O panel, including USB ports and audio jacks, along with the mesh top panel for additional cooling.

4.4-сүрөт: Арткы view of the PC case, illustrating the rear exhaust fan, expansion slots, and the power supply mounting area at the bottom.

4.5-сүрөт: Интерьер view of the main chamber, showing the motherboard tray, fan mounts, and ampКомпоненттерди орнотуу үчүн жетиштүү орун бар.
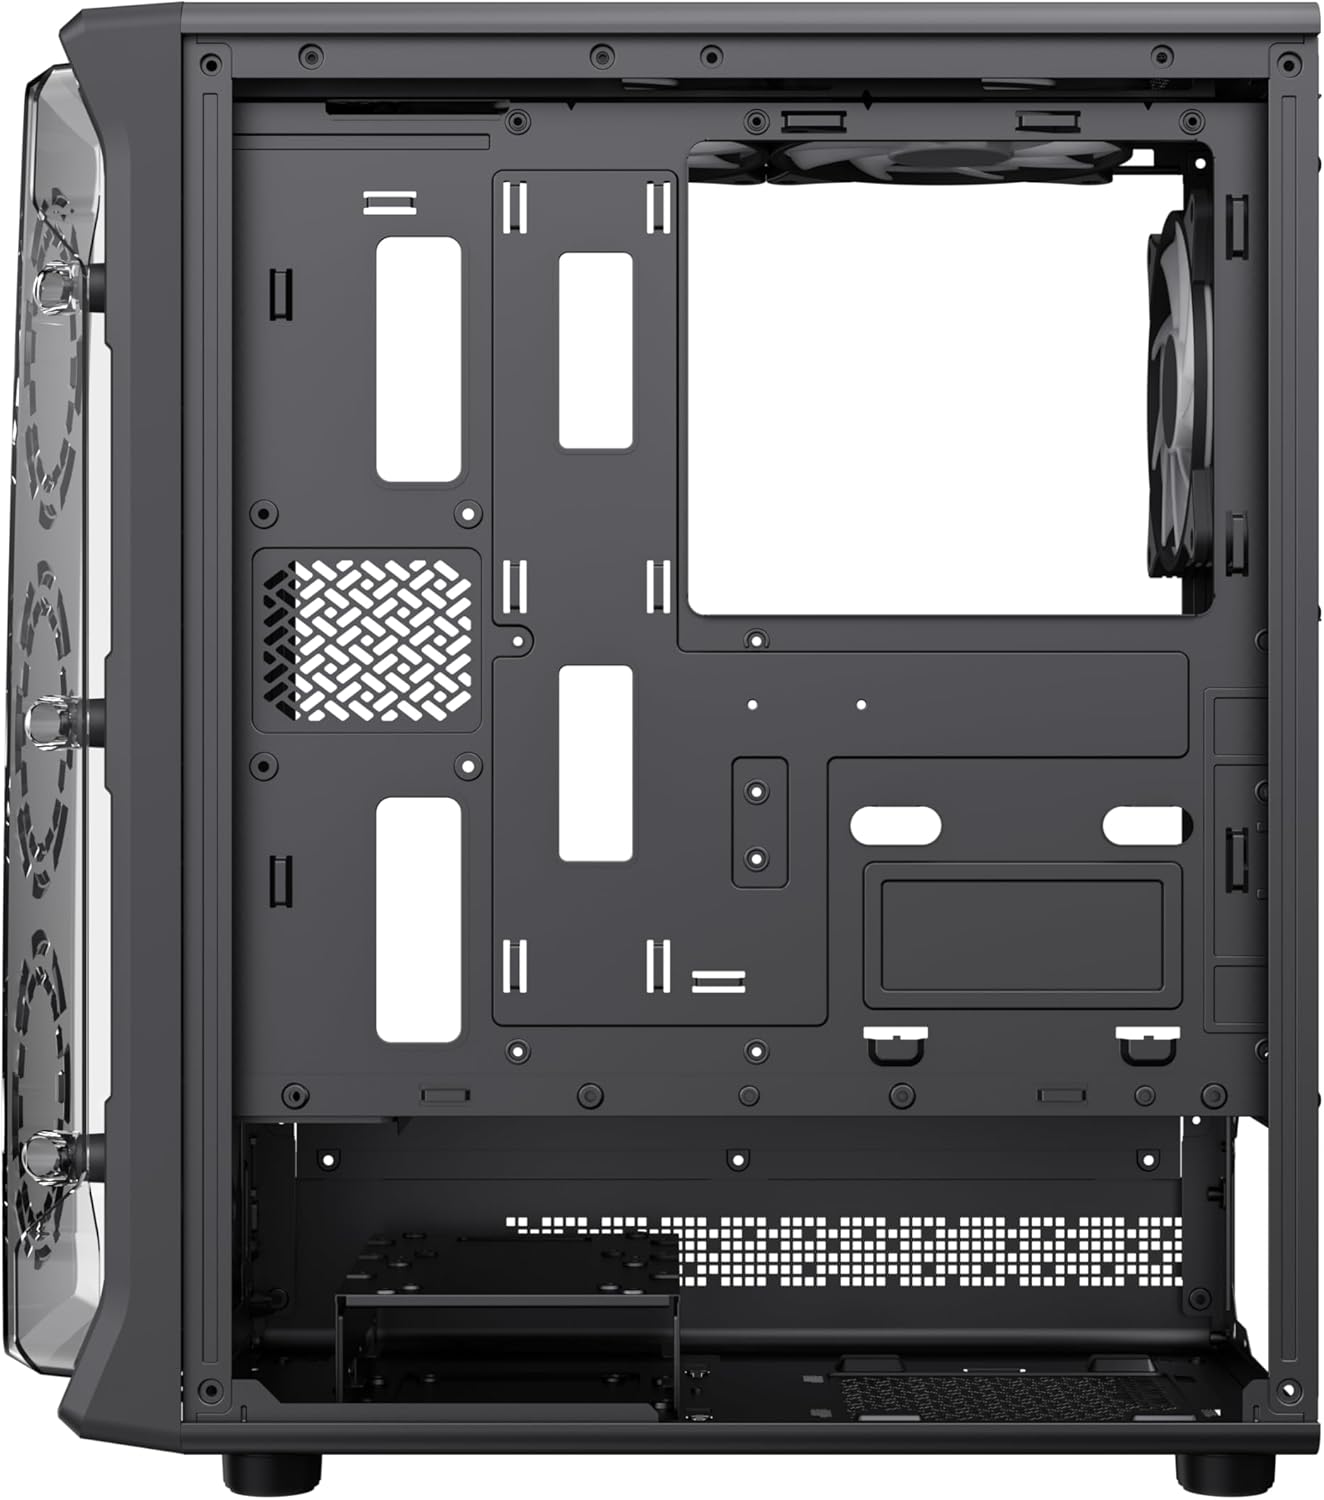
4.6-сүрөт: View behind the motherboard tray, revealing cable routing cutouts and mounting points for storage drives, facilitating clean cable management.
5. Техникалык шарттар
| Өзгөчөлүк | Description |
|---|---|
| Модел | Starlight 2 AB |
| Иштин түрү | Ара Tower |
| Motherboard шайкештиги | ATX, Микро ATX, Мини ITX |
| Өлчөмдөрү (L x W x Y) | 34 x 20 x 43.6 см |
| Салмагы | 4.55 кг |
| Материал | Металл, чыңдалган айнек |
| Алдын ала орнотулган күйөрмандар | 6 x 120mm ARGB Fans (3 front, 2 top, 1 rear) |
| Радиатор колдоо | 120мм, 240мм, 360мм |
| GPU тазалоо | 330 мм чейин |
| CPU муздаткычтын бийиктиги | 155 мм чейин |
| I/O порттору | USB 3.0, USB 2.0, Type-C, Audio |
| Өзгөчөлүктөр | Built-In Fan, Dust Filter, RGB Lighting |
6. Орнотуу жана орнотуу
6.1 Ишти даярдоо
- Корпусту тегиз, туруктуу бетке коюңуз.
- Carefully remove the tempered glass side panel by unscrewing the thumb screws and sliding it open. Set it aside in a safe place.
- Remove the solid right side panel to access the cable management area.
6.2 Motherboard орнотуу
- Киргизүү/чыгаруу калканчын корпустун арткы тешигине орнотуңуз.
- Align your motherboard with the standoffs inside the case. Ensure the standoffs match your motherboard's form factor (ATX, Micro ATX, Mini ITX).
- Берилген бурамалар менен энелик тактаны бекитиңиз.
6.3 Электр менен камсыздоо блогун (PSU) орнотуу
- PSUну корпустун ылдыйкы артындагы атайын бөлүмгө орнотуңуз.
- PSUну корпустун артындагы бурамалар менен бекитиңиз.
6.4 Storage Device Installation (HDD/SSD)
- Locate the drive bays or mounting points for 3.5" HDDs and 2.5" SSDs.
- Install your storage devices using the appropriate screws.
6.5 Видеокартаны (GPU) жана Кеңейтүү Картасын Орнотуу
- Корпустун артындагы керектүү кеңейтүү уячасынын капкактарын алып салыңыз.
- Графикалык картаңызды же башка кеңейтүү карталарыңызды энелик платаңыздагы PCIe уячаларына салыңыз.
- Карталарды бурамалар менен бекитиңиз.
6.6 Алдыңкы киргизүү/чыгаруу кабелдерин туташтыруу
Connect the following cables from the case's front I/O panel to the corresponding headers on your motherboard:
- USB 3.0 аталышы
- USB 2.0 аталышы
- Type-C Header (if applicable)
- HD аудио темасы
- Power Switch, Reset Switch, Power LED, HDD LED headers
6.7 Кабелди башкаруу
Кабелдерди иретке келтирүү жана бекитүү үчүн энелик плата лотогунун артындагы кабелдерди өткөрүү кесиктерин жана бекитүүчү чекиттерди колдонуңуз. Бул аба агымын жана эстетиканы жакшыртат.
7. Иштөө нускамалары
7.1 Күйгүзүү
After all components are installed and cables are connected, replace both side panels. Connect your power cable to the PSU and a wall outlet, then press the power button on the case's front I/O panel to start your system.
7.2 ARGB Fan Control
The pre-installed ARGB fans can be controlled via your motherboard's ARGB software (e.g., ASUS Aura Sync, MSI Mystic Light Sync, Gigabyte RGB Fusion, ASRock Polychrome Sync) if your motherboard supports a 3-pin 5V ARGB header. Connect the ARGB cable from the case's fan hub to the motherboard's ARGB header. Refer to your motherboard manual for specific instructions on ARGB software usage.
8. Техникалык тейлөө
8.1 Чаң чыпкаларын тазалоо
The case includes integrated removable dust filters. Regularly clean these filters to maintain optimal airflow and prevent dust buildup inside your system. Gently slide out the filters, clean them with a soft brush or rinse with water (ensure they are completely dry before reinstallation), and then reinsert them.
8.2 General Case Cleaning
жумшак колдонуу, damp cloth to wipe down the exterior surfaces of the case. For the tempered glass panel, use a glass cleaner and a microfiber cloth to avoid streaks. Avoid using harsh chemicals or abrasive materials.
9. Кыйынчылыктарды
- Система күйбөйт: Ensure all power cables (24-pin ATX, 8-pin CPU, GPU power) are securely connected. Verify the PSU switch is in the 'ON' position. Check front panel power switch connection to the motherboard.
- Fans are not spinning or ARGB not working: Check fan power connections to the motherboard or fan hub. Ensure ARGB cables are correctly connected to a 3-pin 5V ARGB header on the motherboard. Verify ARGB software settings.
- Дисплейде чыгаруу жок: Confirm the graphics card is properly seated in its PCIe slot and power cables are connected. Ensure the monitor cable is connected to the graphics card, not the motherboard's integrated graphics port (unless using integrated graphics).
- Ашыкча ысып кетүү: Ensure all fans are spinning correctly and are oriented for proper airflow (intake/exhaust). Clean dust filters regularly. Verify CPU cooler installation.
10. Кепилдик жана колдоо
For warranty information or technical support, please refer to the GAMEMAX official webсайтына кириңиз же жергиликтүү сатуучуңузга кайрылыңыз. Кепилдик талаптары үчүн сатып алганыңызды тастыктаган документти сактап коюңуз.
11. Жок кылуу маалыматы
Please dispose of this product in accordance with local environmental regulations. Do not dispose of electronic waste with general household waste.


