1. Киришүү
The SINGER M1000 Mending Machine is a compact, lightweight, and portable sewing machine designed for light to medium weight fabrics and various mending and repair tasks. It features 32 stitch applications, an LED light, and user-friendly controls, making it suitable for both beginners and experienced sewists.
This manual provides essential information for setting up, operating, and maintaining your SINGER M1000 machine to ensure optimal performance and longevity.
2. Коопсуздук нускамалары
- Always unplug the machine from the electrical outlet immediately after using and before cleaning, removing covers, or performing any user servicing adjustments.
- Бармактарды кыймылдуу бөлүктөрдөн алыс кармаңыз. Тигүүчү машинанын ийнесинин айланасында өзгөчө кылдаттык талап кылынат.
- Ушул колдонмодо көрсөтүлгөн өндүрүүчү тарабынан сунушталган аксессуарларды гана колдонуңуз.
- Эгерде машинанын шнуру же сайгычы бузулган болсо, ал туура иштебей жатса, же түшүп кетсе же бузулуп калса, аны эч качан иштетпеңиз.
- Аэрозоль (спрей) продуктулары колдонулган же кычкылтек берилип жаткан жерде иштебеңиз.
3. Машинанын тетиктери
Familiarize yourself with the main parts of your SINGER M1000 Mending Machine:

- Spool Pin: Holds the spool of thread.
- Bobbin Winder Spindle: Жипти катушкага ороо үчүн колдонулат.
- Жиптин тартылуу дөңгөлөгү: Үстүнкү жиптин тартылуусун жөнгө салат.
- Тигүү тандоо дөңгөлөгү: Used to choose from the 32 available stitch applications.
- Тескери тигүү рычагы: Engages reverse stitching to secure seams.
- Needle Clamp Буралма: Ийнени ордунда бекитет.
- Басуучу бут: Кездемени тоют берүүчү иттерге бекем кармайт.
- Иттерди багуучу: Move the fabric under the needle.
- LED жарык: Тигүү аймагын жарыктандырат.
- Эркин кол: Allows for easy sewing of tubular items like cuffs and sleeves.
4. Орнотуу
4.1. Таңгактан чыгаруу жана алгачкы текшерүү
Carefully remove the machine from its packaging. Ensure all included accessories are present:
- Көп максаттуу бут
- Кошумча ийне
- Bobbins: Class 15 (transparent)
- Кол менен ийне сайгыч
- Электр кабели

4.2. Power Connection
Connect the power cord to the machine and then to a suitable electrical outlet. Plug the foot pedal into its designated port on the machine.
4.3. Бобин орогусу
- Спулдун төөнөгүчтүн үстүнө жиптин катушкасын коюңуз.
- Жипти үстүнкү жиптин багыттоочусу аркылуу жана катушка оромунун тарткыч дискинин айланасынан өткөрүңүз.
- Бобин орогучтун шпинделине бош бобинди коюңуз.
- Жипти катушканын айланасына бир нече жолу саат жебеси боюнча ороп коюңуз.
- Орап оруучу шпиндельди оңго түртүңүз.
- Ороону баштоо үчүн бут педалын басыңыз. Катушка толгондо токтотуңуз.
- Жипти кесип, бобин орогучтун шпинделди кайра солго түртүңүз.
4.4. Катушканы салуу
The SINGER M1000 features a convenient top drop-in bobbin system:
- Open the transparent bobbin cover plate.
- Жиптин туура багытта (көбүнчө саат жебесине каршы) жайылышын камсыз кылуу менен, оролгон бобинди бобин кутусуна киргизиңиз.
- Follow the indicated threading path on the machine for the bobbin thread.
- Бобин капкагын алмаштырыңыз.

4.5. Үстүнкү жипти жип менен өткөрүү
Follow the numbered threading guides on the machine for proper upper thread tension and needle threading:
- Басуу бутунун рычагын көтөрүңүз.
- Жиптин спулун катушка төөнөгүчкө коюңуз.
- Guide the thread through the upper thread guide (1).
- Bring the thread down through the right thread channel (2).
- Loop the thread up and around the take-up lever (3) from right to left.
- Bring the thread down through the left thread channel (4).
- Pass the thread behind the needle bar thread guide (5).
- Thread the needle from front to back. Use the manual needle threader if desired.

4.6. Ийне орнотуу
To install or change the needle:
- Turn the handwheel towards you to raise the needle to its highest position.
- Ийне клинасын бошотуңузamp бурама.
- Эски ийнени алып салыңыз (эгер бар болсо).
- Жаңы ийнени жалпак тарабын машинанын арткы бетине каратып, мүмкүн болушунча өйдө түртүп киргизиңиз.
- Ийне clamp коопсуз бураңыз.
5. Операция
5.1. Тигүүнү тандоо
The SINGER M1000 offers 32 stitch applications. Turn the Stitch Selector Dial to choose the desired stitch. The machine has preset stitch length and width for ease of use.

5.2. Adjustable Thread Tension
The thread tension dial allows you to customize the stitch appearance based on the fabric and thread type. Adjust the dial to achieve balanced tension for neat, professional-looking results. Refer to the manual for recommended tension settings for different stitches and fabrics.
5.3. Тескери тигүү
To reinforce seams at the beginning and end, use the reverse stitch lever. Press and hold the lever while sewing to stitch backward. Release the lever to resume forward stitching. This prevents stitches from unraveling.
5.4. Free Arm Functionality
The machine features a built-in free arm. To access it, slide off the removable accessory storage compartment. The free arm is ideal for sewing tubular or hard-to-reach fabric areas such as cuffs, sleeves, and pant hems.
5.5. LED жарык
The integrated LED light illuminates the sewing area, providing clear visibility for detailed work and reducing eye strain, especially in low-light conditions.
5.6. Basic Sewing Applications
The M1000 is versatile for various tasks:
- Mending: Repair tears, holes, and worn areas on clothing.
- Хемминг: Create neat and durable hems on garments.
- Жамоо: Apply patches to strengthen or decorate fabric.
- Embellishments: Add decorative stitches or appliques to personalize items.

6. Техникалык тейлөө
6.1. Тазалоо
Үзгүлтүксүз тазалоо машинаңыздын иштешин сактоого жардам берет:
- Тазалоодон мурун ар дайым машинаны розеткадан ажыратыңыз.
- Ийненин пластинасын жана катушка кутучасын алып салыңыз.
- Кичинекей щетканы колдонуп, тоют берүүчү иттердин жана катушканын аймагынан жүн менен чаңды кетириңиз.
- Машинанын сыртын жумшак, кургак чүпүрөк менен сүртүңүз.
6.2. Сактоо
When not in use, store your SINGER M1000 in a dry, dust-free environment. Using a dust cover is recommended to protect the machine from dust and debris.
7. Кыйынчылыктарды
If you encounter issues with your SINGER M1000, consider the following common solutions:
- Өткөрүлүп жиберилген тигүү: Ийненин туура сайылганын, ийилген эместигин жана кездемеңизге ылайыктуу түрүн текшериңиз. Жипти машинадан толугу менен кайра өткөрүңүз.
- Жиптин үзүлүшү: Check for proper threading, correct thread tension, and ensure the needle is not dull or bent. Use good quality thread.
- Машинанын тыгыны: Remove any tangled threads from the bobbin area. Ensure the bobbin is correctly inserted and wound.
- Тегиз эмес тигиштер: Adjust the thread tension. Ensure the fabric is fed evenly without pulling or pushing excessively.
For more detailed troubleshooting guides and tutorials, refer to the SINGER Creativate App or the official SINGER support webсайт.
8. Техникалык шарттар
| Өзгөчөлүк | Деталь |
|---|---|
| Модель номери | M1000 |
| Бренд | ЫРЧЫ |
| Продукциянын өлчөмдөрү | 11.4 x 5.1 x 9.4 дюйм (28.96 x 12.95 x 23.88 см) |
| Элемент Салмагы | 5.5 фунт (2.49 кг) |
| Тигүү колдонмолору | 32 |
| Камтылган компоненттер | All-Purpose Foot, Extra Needle, Bobbins: Class 15 (transparent), Manual Needle Threader, Power Cord |
| Түс | Кара |
| UPC | 840163309608 |
9. Кепилдик жана колдоо
Кепилдик жөнүндө маалымат алуу, продуктуну каттоо жана кошумча колдоо алуу үчүн, расмий SINGER сайтына кириңиз website or utilize the SINGER Creativate App.
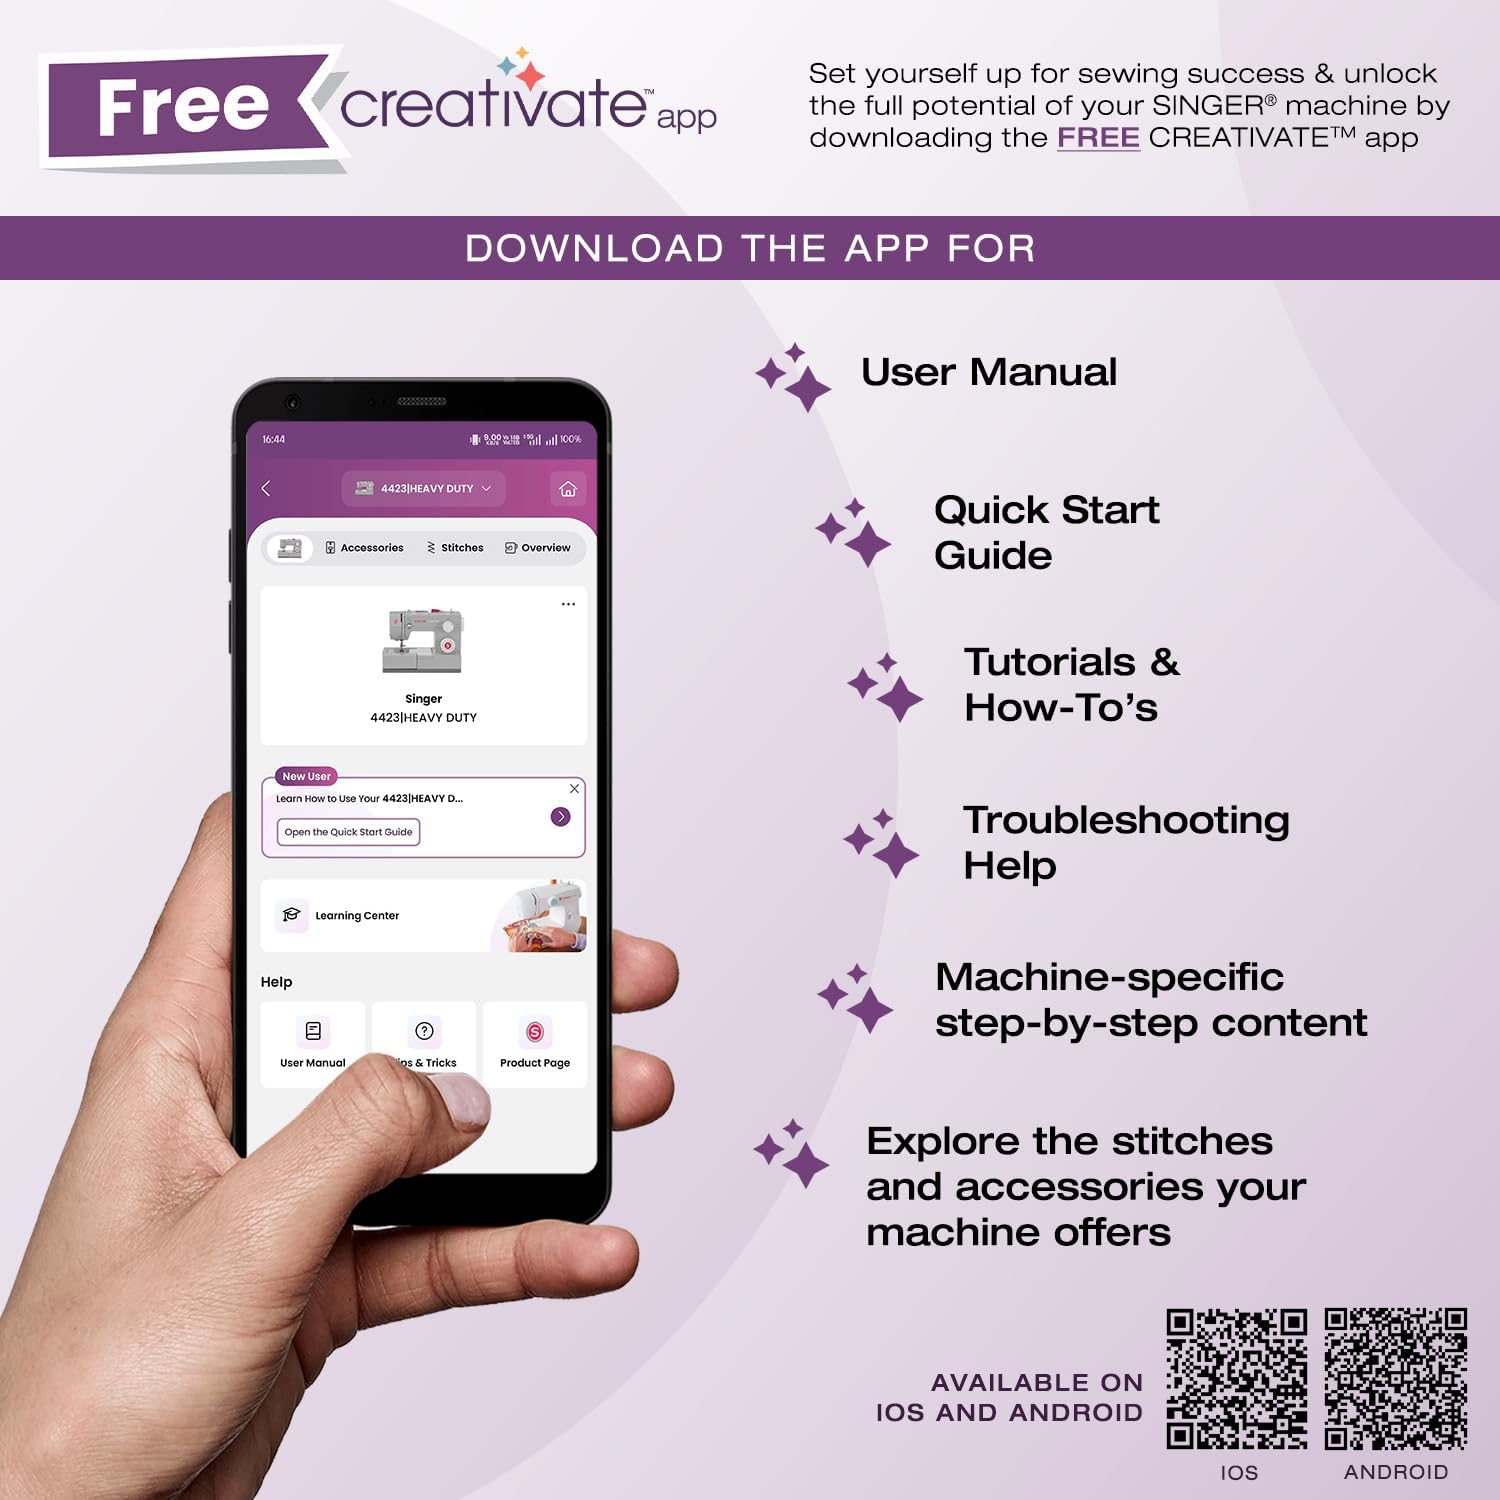
The SINGER Creativate App is your sewing support hub, offering access to your machine's manual, quick start guides, tutorials, troubleshooting tips, and information on accessories. Download the app to enhance your sewing experience.

Колдонмону жүктөп алыңыз:
For direct support, visit the SINGER support page: singer.com/support


