1. Киришүү
This manual provides comprehensive instructions for setting up, operating, and maintaining your ATTACK SHARK X11 Ultra-Light Triple Mode Gaming Mouse. Please read this manual carefully before use to ensure optimal performance and longevity of your device.
2. Пакеттин мазмуну
Пакетиңизде бардык буюмдар бар экенин текшериңиз:
- ATTACK SHARK X11 Gaming Mouse
- Магниттик заряддоо док
- USB-C - USB-A кабели
- 2.4GHz USB кабылдагычы
- Колдонуучунун Колдонмосу (бул документ)
3. Продукт бүтүп калдыview
Familiarize yourself with the components of your X11 gaming mouse.

Image 3.1: The ATTACK SHARK X11 Gaming Mouse with its magnetic charging dock.

Image 3.2: Exploded diagram showing internal components like the lightweight material case, engineering curved keys, PCB, lithium battery, TTC encoder, Huano switches, PAW3311 sensor, and mouse bottom case.
Mouse Components:
- Сол/оң баскычтары: Equipped with Huano micro switches for tactile feedback.
- Жылдыруу дөңгөлөгү: For navigation and additional programmable function.
- Side Buttons (x2): Programmable for various functions.
- DPI баскычы: Located on the underside for adjusting sensitivity.
- Режим которуу: Located on the underside to select connectivity mode (Wired, 2.4GHz, Bluetooth).
- USB-C порту: Зымдуу туташуу жана кубаттоо үчүн.
- Оптикалык сенсор: PAW3311 sensor for precise tracking.
Магниттик заряддоо док:
- Magnetic Charging Pins: For effortless wireless charging.
- RGB жарыктандыруу: Ыңгайлаштырылуучу жарык эффекттери.
- USB-A порту: To store the 2.4GHz USB receiver.
4. Орнотуу колдонмосу
4.1 Чычканды заряддоо
The X11 mouse can be charged using the magnetic charging dock or directly via the USB-C cable.
- Using the Magnetic Charging Dock:
- Connect the USB-C cable to the charging dock and then to a power source (e.g., computer USB port, USB wall adapter).
- Place the mouse onto the charging dock. The magnetic connection will secure it, and charging will begin automatically.
- The dock features touch-sensitive RGB lighting control. Tap the dock to cycle through lighting effects or turn them off.
- Түз USB-C заряддоо:
- Connect the USB-C cable directly to the mouse's USB-C port and then to a power source.
- The mouse can be used in wired mode while charging.

Image 4.1: The X11 mouse charging on its magnetic dock, showcasing the RGB lighting.
A full charge provides approximately 65 hours of usage. Charging time is typically 2-3 hours.
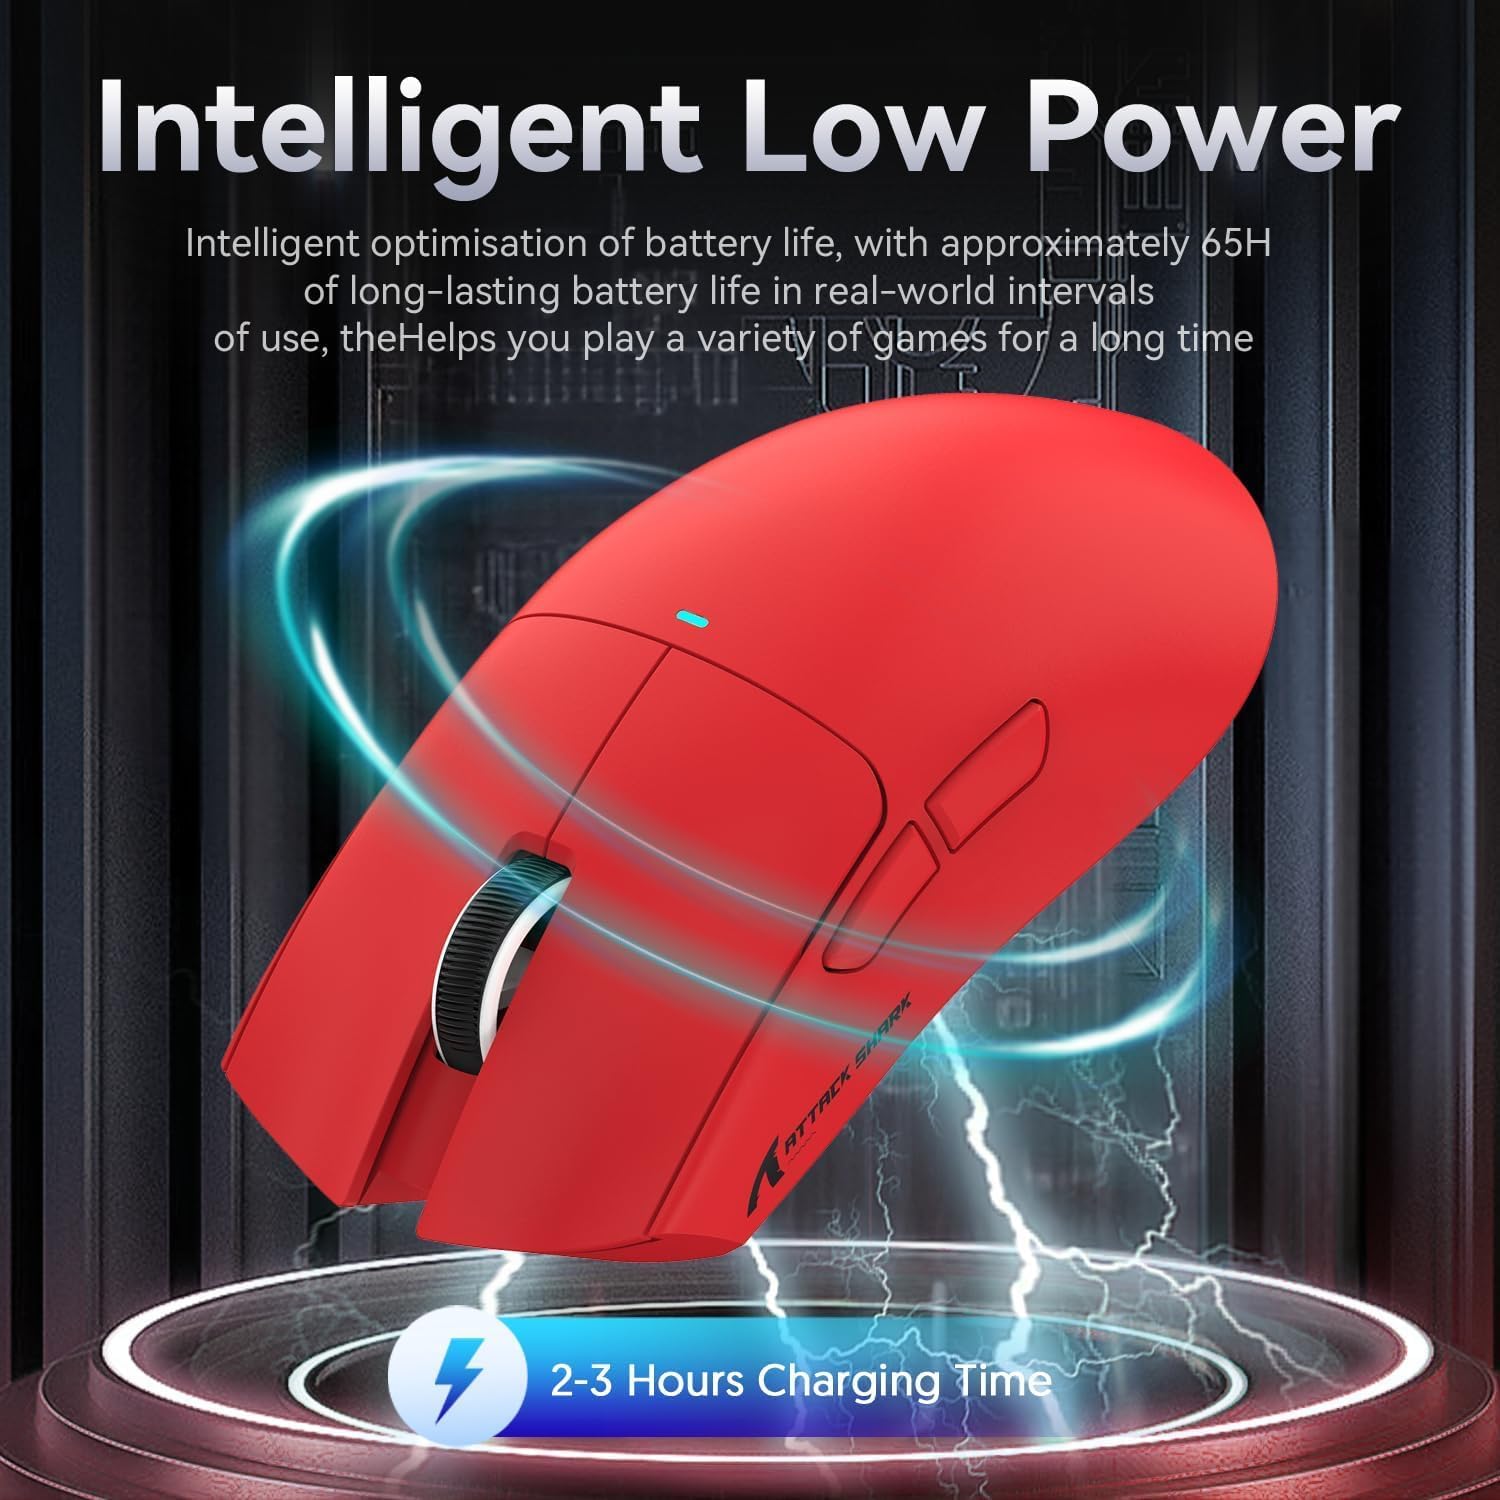
Image 4.2: Visual representation of the X11 mouse's intelligent low power consumption, offering 65 hours of use and a 2-3 hour charging time.
4.2 Connecting the Mouse (Triple Mode Connectivity)
The X11 mouse supports three connection modes: 2.4GHz Wireless, Bluetooth 5.0, and Wired USB-C.

Image 4.3: Illustration of the X11 mouse's triple-mode connectivity options.
- 2.4 ГГц зымсыз режими:
- Locate the 2.4GHz USB receiver, typically stored in the magnetic charging dock's USB-A port or in a compartment on the mouse's underside.
- USB ресиверди компьютериңиздеги жеткиликтүү USB-A портуна сайыңыз.
- Switch the mode selector on the underside of the mouse to "2.4G".
- Чычкан автоматтык түрдө туташышы керек.
- Bluetooth 5.0 режими:
- Switch the mode selector on the underside of the mouse to "BT".
- Press and hold the Bluetooth toggle button (usually near the mode switch) for 3 seconds to enter pairing mode. The mouse's indicator light will flash.
- Компьютериңизден же түзмөгүңүздөн Bluetooth жөндөөлөрүнө өтүп, жаңы түзмөктөрдү издеңиз.
- Select "ATTACK SHARK X11" (or similar) from the list to pair.
- The mouse supports up to three Bluetooth channels (BT1/BT2/BT3). Short press the Bluetooth key to switch between channels.
- Зымдуу USB-C режими:
- Connect the USB-C cable to the mouse's USB-C port and the other end to your computer's USB-A or USB-C port.
- Чычкан автоматтык түрдө зымдуу режимге өтүп, заряддоону баштайт.
4.3 Driver Installation (Optional)
For advanced customization, including programmable buttons, DPI settings, and macro functions, download the official ATTACK SHARK X11 driver software from the ATTACK SHARK official webсайт or store page.

Image 4.4: The X11 driver software allows for comprehensive customization of mouse settings.
5. Иштөө нускамалары
5.1 DPI жөндөө
The X11 mouse features a PixArt 3311 sensor with up to 22,000 DPI and 6 adjustable levels. The DPI button is located on the underside of the mouse.
- Press the DPI button to cycle through the preset DPI levels.
- Customize DPI levels and assign them to specific buttons using the driver software.

Image 5.1: Details of the PixArt PAW3311 sensor, highlighting its precision and adjustable DPI.
5.2 Программалануучу баскычтар
The X11 mouse has 5 programmable buttons (left, right, scroll click, and two side buttons). Use the driver software to assign custom functions, macros, or keybinds to these buttons.
5.3 RGB жарыкты башкаруу
The magnetic charging dock and the mouse itself feature customizable RGB lighting. Use the driver software to adjust lighting effects, colors, and brightness. The dock's lighting can also be controlled by tapping its surface.
5.4 Angle Snap Feature
The Angle Snap feature helps to smooth out diagonal mouse movements, which can be useful for certain tasks requiring straight lines. This feature can be toggled On or Off via the driver software.
Video 5.1: Demonstration of the Angle Snap feature, showing how it can be toggled on and off in the software to affect mouse movement precision.
6. Техникалык тейлөө
6.1 Тазалоо
- Use a soft, dry cloth to wipe the mouse and charging dock.
- өжөр кир үчүн, бир аз гampчүпүрөктү суу же жумшак тазалоо эритмеси менен жууп салыңыз. Катуу химиялык заттардан алыс болуңуз.
- Do not immerse the mouse or dock in water.
6.2 Батареяга кам көрүү
- Батареянын иштөө мөөнөтүн узартуу үчүн бат-баттан толук зарядсыздануудан качыңыз.
- Чычканды узак убакыт бою колдонбосо, салкын, кургак жерде сактаңыз.
7. Кыйынчылыктарды
| Көйгөй | Чечим |
|---|---|
| Чычкан зымсыз режимде жооп бербейт. |
|
| DPI not changing. |
|
| Magnetic charging dock RGB not working. |
|
| Mouse cursor erratic or lagging. |
|
8. Техникалык шарттар
| Өзгөчөлүк | Деталь |
|---|---|
| Модел | X11 |
| Сенсор | PixArt PAW3311 оптикалык сенсор |
| DPI | Up to 22,000 DPI (6 adjustable levels) |
| Байланыш | USB-C Wired, 2.4GHz Wireless, Bluetooth 5.0 |
| Салмагы | 63г (±3г) |
| Которгучтар | Huano Micro Switches (20 million click lifespan) |
| Батареянын иштөө мөөнөтү | Болжол менен 65 саат |
| Заряддоо | Magnetic Charging Dock, USB-C |
| Программалануучу баскычтар | 5 |
| Өлчөмдөр | 7.01 x 4.57 x 2.01 дюйм (Пакет) |
9. Кепилдик жана колдоо
Кепилдик маалыматы, техникалык колдоо же кошумча жардам алуу үчүн расмий сайтка кайрылыңыз ATTACK SHARK Store on Amazon же түздөн-түз кардарларды тейлөө менен байланышыңыз.
Кепилдик дооматтары үчүн сатып алганыңыздын далилин сактап коюңуз.


