1. Киришүү
This manual provides essential instructions for the safe operation and maintenance of your karuisrc K600GPS-7 GPS Drone. Please read this manual thoroughly before operating the drone to ensure proper usage and to prevent damage or injury. Retain this manual for future reference.
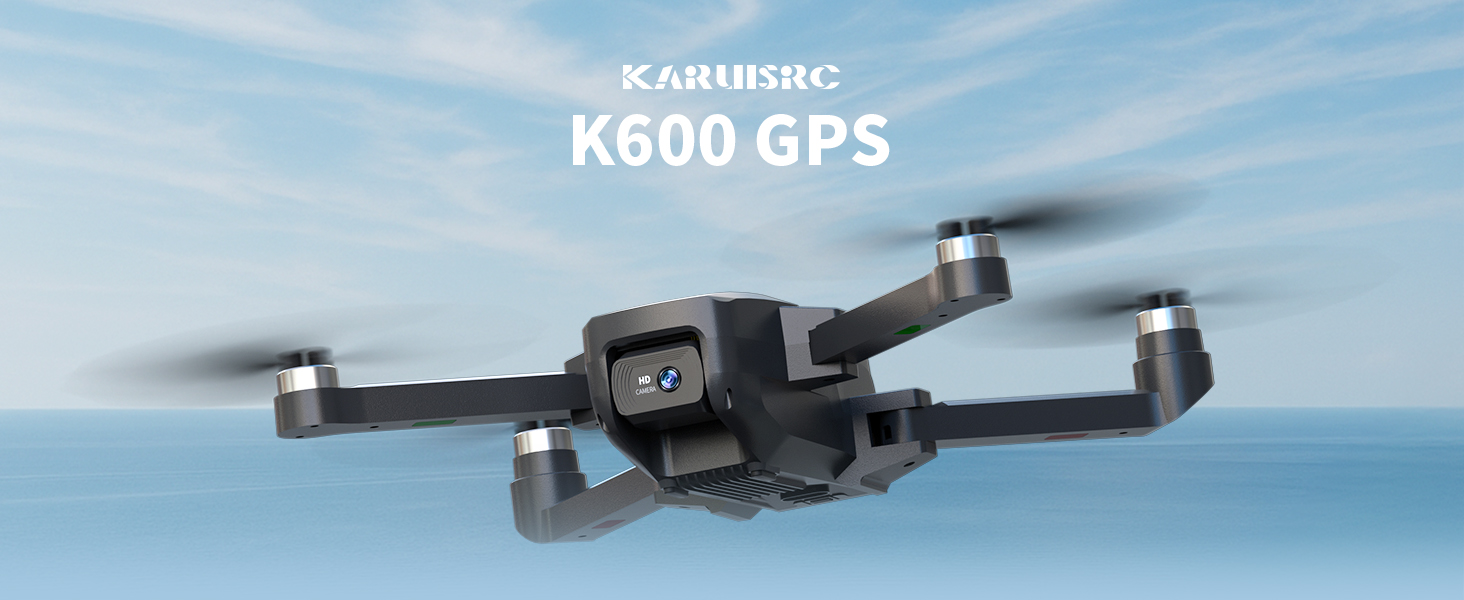
The karuisrc K600GPS-7 drone features a 110° FOV, 90° adjustable 1080P HD camera, 5G Wi-Fi connectivity, a 4.5-inch HD LCD screen on the remote, and a 1312 ft transmission range.
2. Коопсуздук боюнча көрсөтмөлөр
Adhering to these safety guidelines is crucial for safe drone operation and to prevent accidents or damage.
- Учуу алдында текшерүү: Always inspect the drone, remote control, and propellers for any damage before each flight. Ensure batteries are fully charged.
- Экологиялык шарттар: Do not fly in strong winds, rain, snow, or fog. Maintain clear line of sight with the drone.
- Учуу аймагы: Operate in open areas, away from people, animals, buildings, and power lines. Avoid flying over crowds or private property.
- Батареянын коопсуздугу: Use only the provided charger and batteries. Do not overcharge or puncture batteries. Discontinue use if batteries show signs of swelling or damage.
- Купуялыкты урматтоо: Be mindful of privacy laws when using the camera function.
- Жашы боюнча сунуш: This drone is intended for adults.
3. Пакеттин мазмуну
Пакетиңизде бардык буюмдар бар экенин текшериңиз:
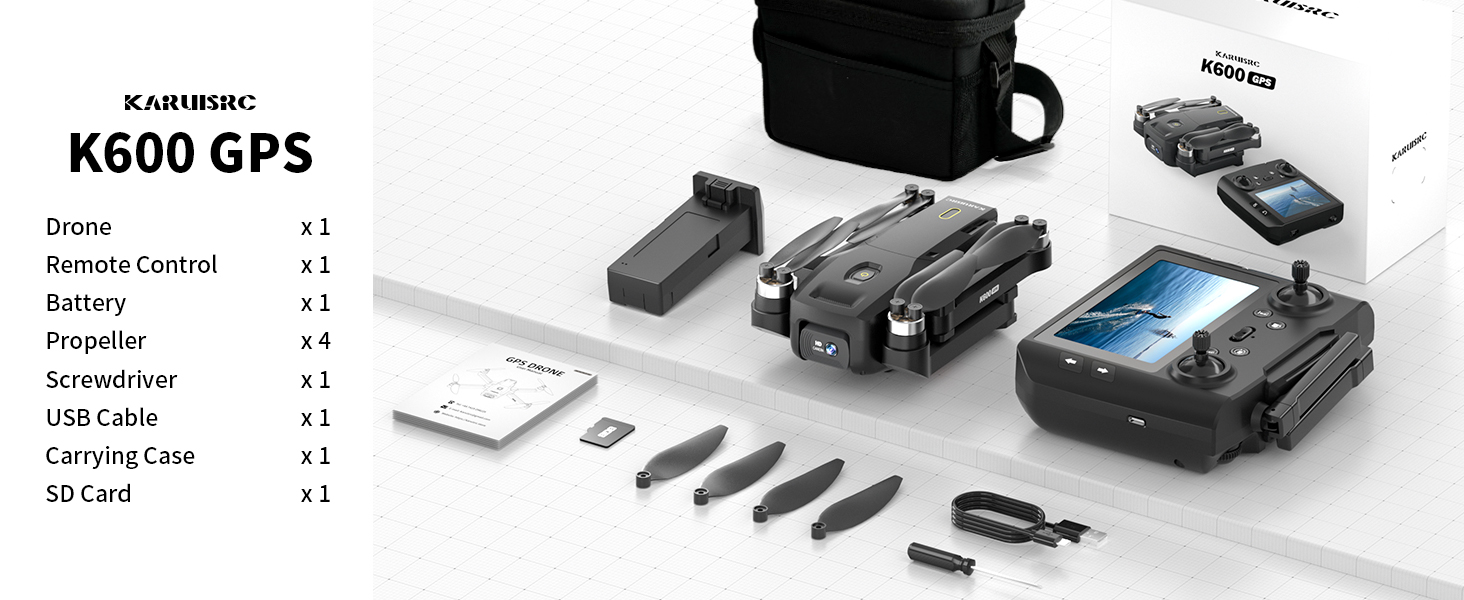
The karuisrc K600GPS-7 package includes the drone, remote control, battery, propellers, screwdriver, USB cable, carrying case, and an SD card.
- karuisrc K600GPS-7 Drone x 1
- Remote Control with 4.5-inch LCD Screen x 1
- Drone Battery (Lithium Ion) x 1
- Запастык пропеллерлер x 4
- X 1 бурагыч
- USB кубаттоо кабели x 1
- Көтөрмө кап x 1
- 32 ГБ SD карта x 1
- Колдонуучунун колдонмосу x 1
4. Продукт бүтүп калдыview
4.1 Дрондун компоненттери

The karuisrc K600GPS-7 drone features a foldable design for portability, equipped with a 1080p HD camera and GPS module.
- Бүктөлүүчү курал: Компакт сактоо жана ташуу үчүн.
- Пропеллер: Учуу үчүн төрт негизги пропеллер.
- HD камера: Front-facing 1080p camera with 90-degree adjustable angle.
- Bottom Camera: For optical flow positioning and landing assistance.
- GPS модулу: Enables precise positioning and intelligent flight functions.
- Батарея бөлүмү: Houses the removable Lithium Ion flight battery.
4.2 Алыстан башкаруу

The remote control for the karuisrc K600GPS-7 features an integrated 4.5-inch HD LCD screen for real-time video feed and flight data.
- 4.5-inch HD LCD Screen: Displays real-time video feed and flight parameters.
- Башкаруу таякчалары: Сол таякча дроссель/жаңылуу үчүн, ал эми оң таякча кадам/айлануу үчүн.
- Функция баскычтары: Dedicated buttons for one-key takeoff/landing, auto-return, photo/video capture, and speed modes.
- Антенналар: For stable signal transmission.
- Батарея бөлүмү: For remote control batteries (not included, typically AA).
5. Орнотуу колдонмосу
5.1 Батареяларды заряддоо
- Дрон Батарея: Connect the drone battery to the USB charging cable and plug it into a 5V/2A USB adapter (not included). The indicator light will show charging status and turn off when fully charged. Charging time is approximately 120-150 minutes.
- Алыстан башкаруунун батареясы: Insert 3 AA batteries (not included) into the remote control's battery compartment, ensuring correct polarity.
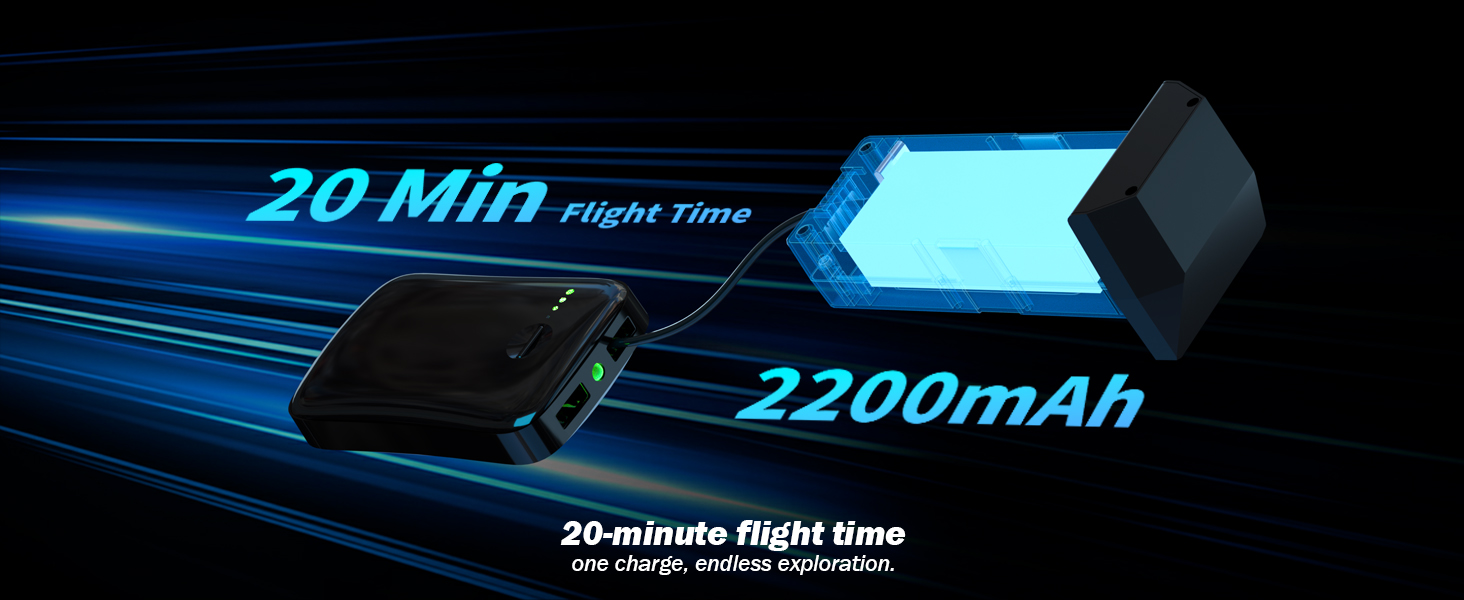
The karuisrc K600GPS-7 drone battery provides approximately 20 minutes of flight time with a 2200mAh capacity.
5.2 Пропеллерди орнотуу
Attach the propellers to the motor shafts according to the markings (A and B) on both the propellers and the drone arms. Use the provided screwdriver to secure them firmly.
5.3 SD картаны киргизүү
Insert the provided 32GB SD card into the drone's SD card slot. Ensure it is inserted correctly until it clicks into place. This card is used for storing photos and videos.

The karuisrc K600GPS-7 drone supports an SD card for media storage, with a 32GB card included.
5.4 Жупташтыруу жана калибрлөө
- Дронду тегиз, тегиз жерге орнотуңуз.
- Turn on the drone, then turn on the remote control. The remote will automatically search for the drone.
- Once paired, perform gyroscope calibration by moving both control sticks to the bottom-left or bottom-right corners simultaneously until the drone's indicator lights flash rapidly and then become solid.
- Perform GPS calibration by rotating the drone horizontally and then vertically as instructed by the remote control's screen or indicator lights. Wait for sufficient GPS satellites to be acquired (usually indicated by solid green lights).
6. Иштөө нускамалары
6.1 Учууну башкаруунун негизги каражаттары

Operating the karuisrc K600GPS-7 drone in an open environment allows for optimal flight experience.
- Учуу/конуу: Press the one-key takeoff/landing button or push both control sticks to the bottom-outward corners to start/stop motors, then push the left stick up to ascend.
- Өтүү/Төмөн: Push the left control stick up/down.
- Алдыга артка: Push the right control stick up/down.
- Left/Right Sideward Flight: Push the right control stick left/right.
- Солго/Оңго бурулуңуз (жөө): Push the left control stick left/right.
6.2 GPS Intelligent Flight Functions
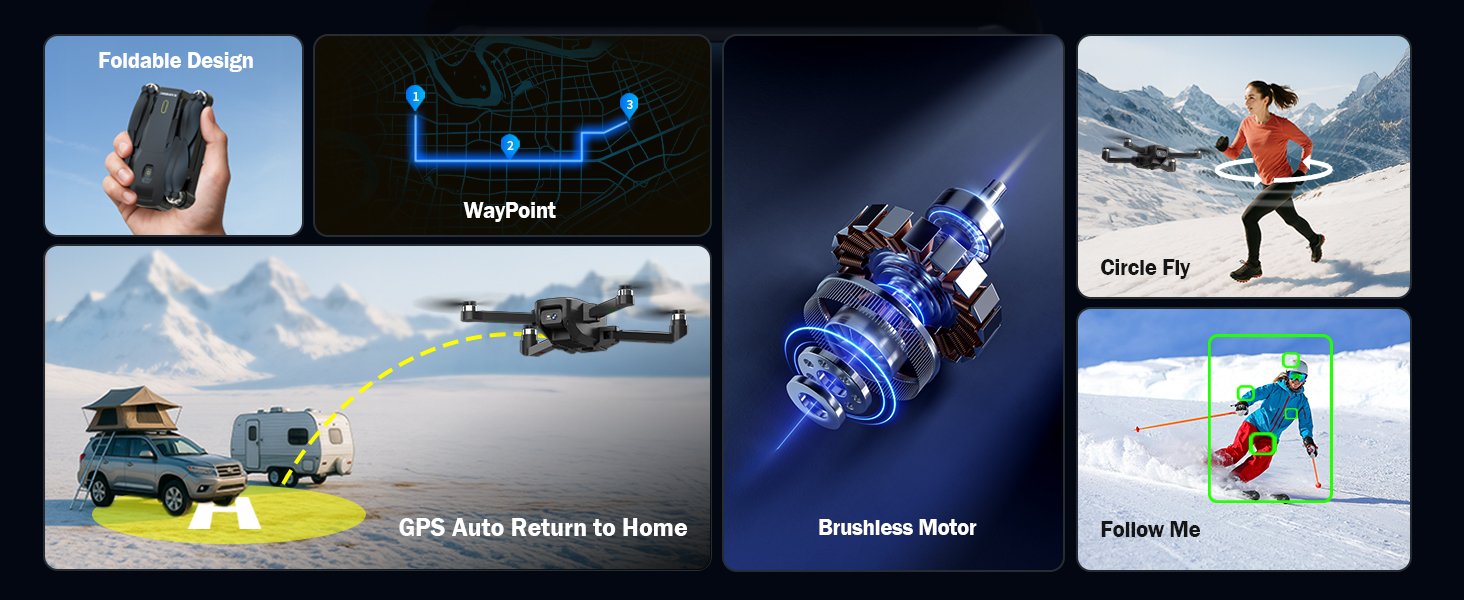
The karuisrc K600GPS-7 drone offers advanced features including WayPoint flight, Circle Fly, GPS Auto Return to Home, and Follow Me mode.
- GPS Auto Return to Home (RTH): The drone will automatically return to its takeoff point if the signal is lost, battery is low, or RTH is manually activated. Ensure sufficient GPS signal before flight.
- Мени ээрчүү режими: The drone will automatically follow the remote control (or connected smartphone) at a set distance (3-50 meters) and altitude, keeping the subject centered.
- Учуу пункту: Plan a custom flight path by tapping points on the map within the companion app. The drone will fly along the designated route.
- Circle Fly: The drone will orbit around a designated point or the remote control, capturing footagар кандай бурчтардан e.

The GPS auto-return function ensures the karuisrc K600GPS-7 drone safely returns to its starting point.
6.3 Камеранын иштеши

The karuisrc K600GPS-7 features a 1080p HD camera with 90-degree electric adjustment for versatile aerial photography and videography.
- Сүрөт тартуу: Press the dedicated photo button on the remote control to take a picture.
- Видео жаздыруу: Жазууну баштоо үчүн атайын видео баскычын басыңыз. Токтотуу үчүн кайра басыңыз.
- Камеранын бурчун жөндөө: Use the designated button or dial on the remote to adjust the camera's vertical angle (90-degree electric adjustment).
- Кош камералар: Switch between the front and bottom cameras via the remote or companion app for different perspectives.
6.4 LCD Screen Usage
The 4.5-inch HD LCD screen on the remote control provides a clear, real-time view from the drone's camera. It also displays important flight data such as altitude, distance, speed, and battery level. Monitor this information to ensure safe and controlled flight.
7. Техникалык тейлөө
Үзгүлтүксүз тейлөө сиздин дронуңуздун узак иштөөсүн жана оптималдуу иштешин камсыздайт.
- Тазалоо: Use a soft, dry cloth to clean the drone and remote control. Avoid using solvents or harsh chemicals.
- Пропеллер текшерүү: Пропеллерлерде жаракалар, ийилүү же бузулуулар бар-жогун үзгүлтүксүз текшерип туруңуз. Бузулган пропеллерлерди берилген запастык тетиктерди колдонуп, дароо алмаштырыңыз.
- Батареяга кам көрүү: Store batteries in a cool, dry place. Do not store fully charged or completely depleted batteries for extended periods. Charge them to about 50-60% for long-term storage.
- Моторду тейлөө: Keep motors free from dust and debris. Do not attempt to lubricate motors.
- Сактагыч: When not in use, store the drone and its accessories in the provided carrying case to protect them from dust and physical damage.
8. Кыйынчылыктарды
Жалпы маселелер жана алардын чечимдери үчүн бул бөлүмдү караңыз.
| Көйгөй | Мүмкүн себеп | Чечим |
|---|---|---|
| Дрон күйбөйт | Battery not charged or incorrectly inserted. | Ensure drone battery is fully charged and correctly inserted. |
| Remote control does not power on | AA batteries not inserted or depleted. | Insert fresh AA batteries with correct polarity. |
| Drone cannot pair with remote | Туура эмес жупташтыруу ырааттуулугу же кийлигишүү. | Ensure drone and remote are turned on in sequence. Move to an area with less interference. Repeat pairing steps. |
| Учуу учурунда учкучсуз учат | Gyroscope not calibrated or strong wind. | Perform gyroscope calibration on a flat surface. Avoid flying in strong winds. |
| GPS functions not working | Insufficient GPS signal or calibration not performed. | Fly in an open outdoor area. Perform GPS calibration. Wait for sufficient satellite acquisition. |
| Камерадагы сүрөттүн сапаты начар | Линза кир же жарыктандыруу начар. | Clean the camera lens. Ensure adequate lighting for recording. |
| SD карта катасы | SD card not inserted correctly or corrupted. | Reinsert the SD card. Try formatting the card (backup data first) or use a different compatible SD card. |
9. Техникалык шарттар
| Өзгөчөлүк | Деталь |
|---|---|
| Бренд | karuisrc |
| Модель аты | K600GPS-7 |
| Өзгөчөлүктөр | Auto Follow, Auto-Landing, GPS Auto Return |
| Түс | Кара |
| Видео тартуунун резолюциясы | 1080p |
| Байланыш технологиясы | Wi-Fi, Bluetooth |
| Skill Level | Баары |
| Элемент Салмагы | 150 грамм (5.3 унция) |
| Видео тартуу форматы | MP4 |
| Башкаруу түрү | Алыстан башкаруу |
| Материал | Пластик |
| Батарея клеткасынын курамы | Литий ион |
| Батареялар камтылган | Yes (1 Nonstandard Battery for drone) |
| Алыстан башкаруу камтылган | Ооба |
| Оптикалык сенсор технологиясы | CMOS, CCD |
| Продукциянын өлчөмдөрү | 7.09"L x 1.97"W x 8.66"H |
| Өндүрүүчү | karuisrc |
| Дата биринчи жеткиликтүү | 11-июнь, 2025-жыл |
10. Кепилдик жана колдоо
karuisrc is committed to providing quality products and customer satisfaction. For any questions, technical assistance, or warranty claims, please contact our support team.

karuisrc customer support is available Monday to Sunday, 24 hours a day.
- Электрондук почта: Karuisrc@gmail.com
- Телефон: +44 7419 298225
Please have your model number (K600GPS-7) and purchase information ready when contacting support.


