1. Киришүү
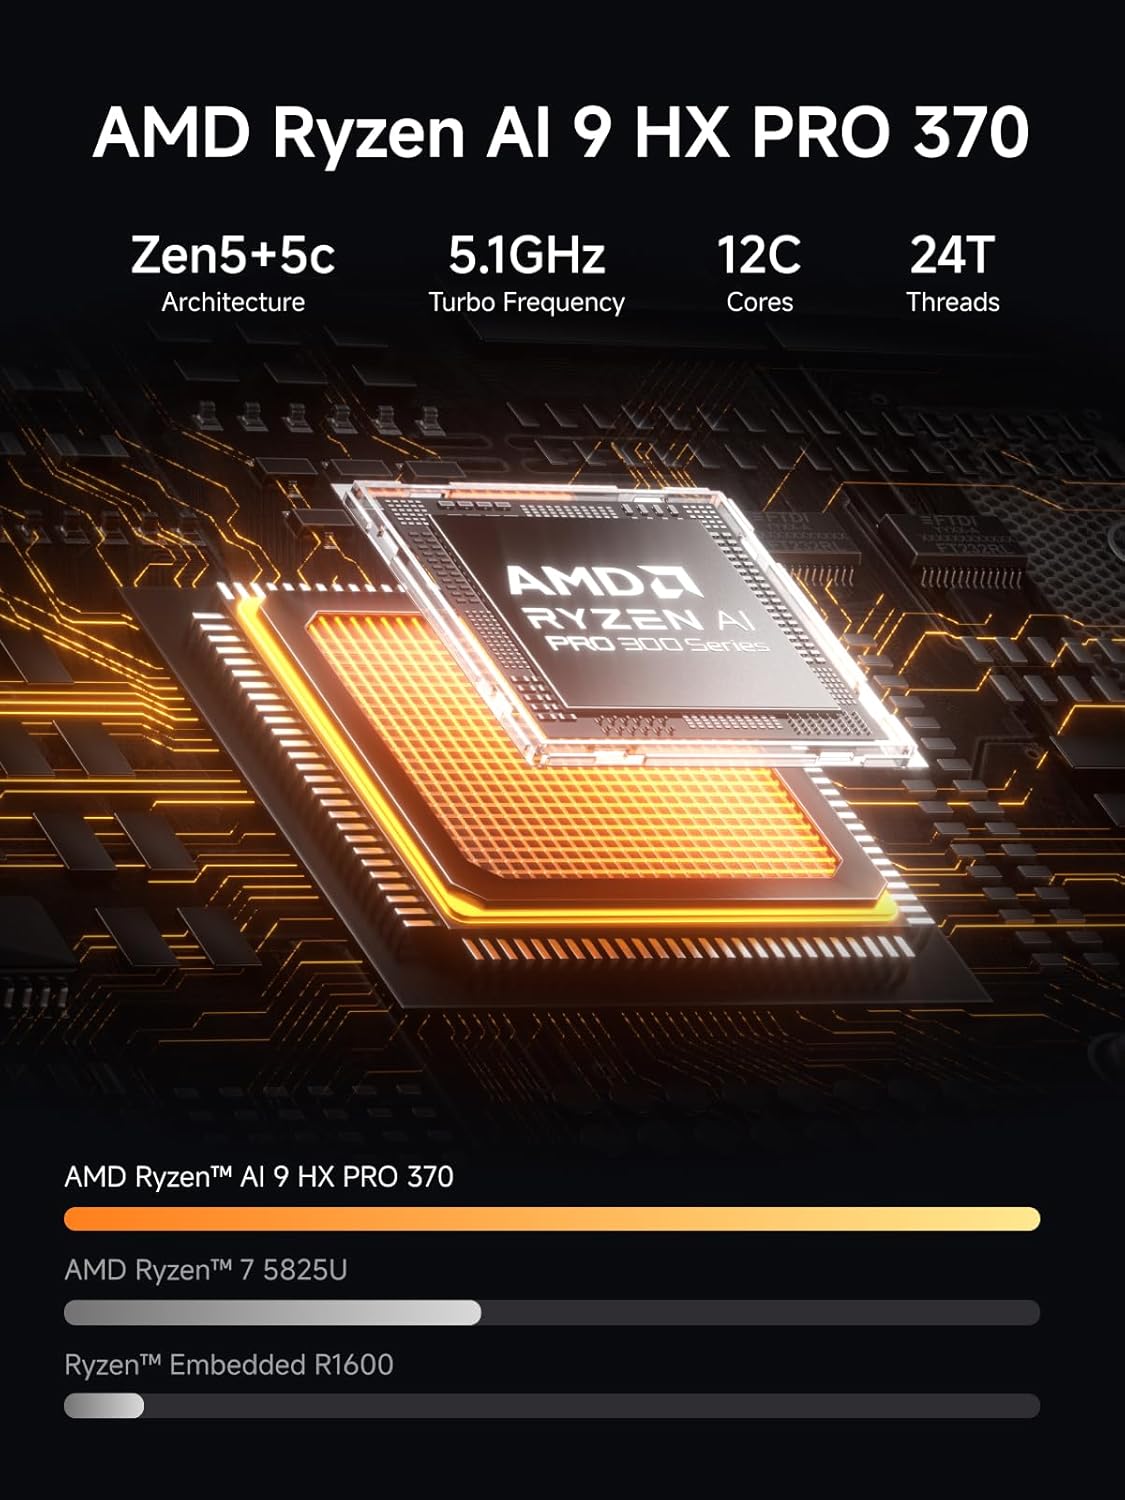
The MINISFORUM 5 Bay NAS N5 Pro P370 is a high-performance Network Attached Storage solution designed for centralized data management, automatic backup, and remote access. Powered by an AMD Ryzen AI 9 HX Pro 370 processor, it offers robust performance for various applications including AI-driven photo albums, music streaming, and home theater functionalities. This manual provides detailed instructions for setup, operation, and maintenance of your NAS device.


2. Орнотуу
This section guides you through the physical installation of components and initial setup of your MINISFORUM NAS N5 Pro P370.
2.1. Memory (DDR5 SO-DIMM) Installation
The NAS supports up to 96GB DDR5 SO-DIMM memory. Follow these steps to install or upgrade memory modules:
- Remove the front panel of the NAS unit.
- Turn the case upside down and unscrew the two screws located on the bottom.
- Slide out the motherboard tray from the front of the unit.
- Turn the motherboard upside down to access the components.
- Disconnect the CPU fan power cable.
- Unscrew the three screws securing the CPU fan and carefully remove it.
- Insert two DDR5 SO-DIMM memory modules into the available slots, ensuring they are seated correctly.
- Reinstall the CPU fan and secure it with the three screws. Reconnect the CPU fan power cable.
- Carefully slide the motherboard tray back into the case.
- Secure the motherboard tray by screwing the two screws back into the bottom of the case.
- Алдыңкы панелди кайра бекитиңиз.
2.2. M.2 SSD орнотуу
The NAS features three M.2 slots (one occupied by the OS disk). M.2 SSDs support 2230/2280/22110 sizes. To install an M.2 SSD:
- Follow steps 1-4 from the Memory Installation section to expose the motherboard.
- Unscrew the M.2 SSD screw from the desired slot.
- Insert the M.2 SSD into the slot at an angle and gently press it down.
- Secure the M.2 SSD with the screw.
- Reinstall the SSD fan (if removed) and secure it with screws.
- Reinsert the motherboard tray and secure the case.

2.3. U.2 SSD Installation
The NAS supports U.2 SSDs (7mm thickness only) via an adapter. To install U.2 SSDs:
- Follow steps 1-4 from the Memory Installation section to expose the motherboard.
- Remove the U.2 port covers from the adapter board.
- Insert the U.2 SSDs into the adapter and secure them with screws.
- Reinstall the OS SSD into the adapter's M.2 slot (if applicable).
- Remove all screws near the adapter area on the motherboard.
- Connect the adapter's power cable.
- Align the three M.2 slots and carefully insert the adapter into the motherboard.
- Secure the adapter with two screws at the rear.
- Reinstall the SSD fan and secure it with screws.
- Reinsert the motherboard tray and secure the case.

2.4. 3.5-inch HDD Installation
The NAS supports up to five 3.5-inch mechanical hard drives (up to 22TB each) in its drive bays. These bays are tool-less for easy installation:
- Pull out the drive tray handle from an empty drive bay.
- Pinch the top of the tray to remove it.
- Remove the fastening panels from the sides of the tray.
- Place the 3.5-inch HDD into the tray, ensuring the screw holes face down.
- Align the screw holes on both sides and insert the fastening panels.
- Reinstall the loaded drive tray into the empty drive bay.
- Press the tray handle to lock it in place.
2.5. PCIe x16 Expansion Card Installation
The NAS includes a PCIe 4.0 Expansion Slot for single-slot low-profile cards (≤200mm length, ≤75W power), enabling network acceleration, SSD caching, or GPU expansion:
- Follow steps 1-4 from the Memory Installation section to expose the motherboard.
- Unscrew the bracket screw on the rear panel.
- Кашаа алып салуу.
- Insert the discrete GPU or other PCIe expansion card into the PCIe slot.
- Put the screw back in to secure the card.
- Reinsert the motherboard tray and secure the case.

3. УИАны иштетүү
The MINISFORUM NAS N5 Pro comes pre-installed with MinisCloud OS on a built-in 128GB system disk. This system provides features such as automatic backup, remote access, AI-driven photo album analysis, and support for various media formats. Access the system via your web browser or dedicated applications for file management, media streaming, and more.
3.1. Программаны баштапкы орнотуу
Upon first boot, connect the NAS to your network and a display (if desired). Follow the on-screen prompts or access the MinisCloud OS web interface via a browser on a connected device to complete the initial setup, including network configuration, user accounts, and storage volume creation.
3.2. MinisCloud OS Features
- Борборлоштурулган сактоо: Manage all your files in one secure location.
- Автоматтык камдык көчүрмө: Configure automatic backups for your devices.
- Алыстан кирүү: Сиздин кирүү files anytime, anywhere via the native MinisCloud system.
- AI Photo Album: Utilize AI-driven NPU analysis for face recognition, scene classification, and image search.
- Медиа сервер: Supports all lossless music formats and almost all end-side video players for home theater use, including real-time/offline transcoding.
- Колдонуучуну башкаруу: Refined permission classification and parental control features.
3.3. Third-Party Operating System Option
The MINISFORUM N5 Pro comes with MinisCloud OS installed on a built-in 128GB system disk, which occupies one of the three M.2 SSD slots. If you need to use all three M.2 SSD slots or prefer a third-party system (e.g., Linux-based NAS OS), you must uninstall the pre-installed system disk. You can then install a third-party system using a USB flash drive inserted into the machine's internal USB port. Please note that using a third-party OS will disable MinisCloud OS and its related functions.
4. Техникалык тейлөө
Regular maintenance ensures optimal performance and longevity of your MINISFORUM NAS. This includes checking drive health, ensuring proper ventilation, and keeping the software updated.
4.1. Drive Replacement
The NAS N5 Pro features tool-less drive bays for easy hot-swapping of 3.5-inch HDDs. For M.2 or U.2 SSDs, refer to the installation steps in the 'Setup' section.
4.2. Муздатуу системасы
The device is equipped with dual 92mm rear fans and a dedicated CPU fan for active cooling of HDD bays. Ensure vents are clear of obstructions for efficient airflow to maintain stable and cool operation.

5. Кыйынчылыктарды
If you encounter issues with your NAS, consider the following common troubleshooting steps:
- Дисктин катасы: The NAS supports RAID options (RAID 10, 6, 5) for data protection. In case of a drive failure, consult the MinisCloud OS documentation for drive replacement and RAID rebuild procedures. Ensure you have backups of critical data.
- System Access Issues: Verify network connectivity and ensure the device is powered on. Refer to the MinisCloud OS interface for network settings and user access management.
- Аткаруу маселелери: Utilize the SSD cache feature for frequently accessed data to improve read/write speeds. Ensure sufficient RAM is installed for your workload.
6. Техникалык шарттар
| Процессор | AMD Ryzen AI 9 HX Pro 370 (12C/24T, up to 5.1GHz) |
| Сактоо сыйымдуулугу | Up to 144TB (5 x 3.5-inch HDD bays supporting 22TB each, 3 x M.2 slots, 2 x U.2 interfaces) |
| Эс | 16GB DDR5 (expandable, supports up to 96GB DDR5 SO-DIMM) |
| Network | 1 x 10Gbps LAN, 1 x 5Gbps LAN (supports link aggregation) |
| Порттар | HDMI (8K), USB4 (8K), PCIe 4.0 Expansion Slot x 1, USB 3.2 Gen2 |
| Өлчөмдөр | 199 мм × 199 мм × 252 мм |
| Операция системасы | MinisCloud OS (pre-installed on 128GB system disk) |
7. Кепилдик жана колдоо
MINISFORUM offers a 3-year limited warranty on every NAS from the date of purchase. This warranty is backed by our dedicated after-sales team to ensure a smooth experience.
For technical assistance, warranty claims, or any questions regarding product suitability for your installed system, please contact MINISFORUM customer support before purchasing же көйгөйлөр пайда болсо.


