1. Маанилүү коопсуздук нускамалары
Please read all instructions before using this sewing machine. This machine is intended for household use only.
DANGER - To reduce the risk of electric shock:
- Шайманды розеткага сайганда эч качан кароосуз калтырбоо керек.
- Колдонгондон кийин жана тазалоодон мурун бул шайманды дайыма электр розеткасынан сууруңуз.
- Re-l алдында ар дайым розеткадан ажыратыңызamping. Лампаны бирдей типтеги номиналдык 15 Вт (110-120 В аянты) же 15 Вт (220-240 В аянты) менен алмаштырыңыз.
WARNING - To reduce the risk of burns, fire, electric shock, or injury to persons:
- оюнчук катары колдонууга жол бербеңиз. Бул шайманды балдар же анын жанында колдонгондо кунт коюп көңүл буруу зарыл.
- Бул шайманды ушул колдонмодо сүрөттөлгөн максатта гана колдонуңуз. Бул колдонмодо камтылган өндүрүүчү тарабынан сунушталган тиркемелерди гана колдонуңуз.
- Бул шайманды эч качан иштетпеңиз, эгерде анын шнуру же сайы бузулса, ал туура иштебей калса, кулап же бузулуп калса, же сууга түшүп кетсе. Текшерүү, оңдоо, электрдик же механикалык тууралоо үчүн шайманды жакынкы ыйгарым укуктуу дилерге же тейлөө борборуна кайтарыңыз.
- Эч качан шайманды аба тешиктери жабылып иштетпеңиз. Тигүү машинасынын жана бут контроллерунун желдеткич тешиктерин түктүн, чаңдын жана бош кездемелердин топтолбоосунан сактаңыз.
- Бармактарды кыймылдуу бөлүктөрдөн алыс кармаңыз. Тигүүчү машинанын ийнесинин айланасында өзгөчө кылдаттык талап кылынат.
- Ар дайым туура ийне пластинасын колдонуңуз. Туура эмес пластинка ийненин сынып кетишине алып келиши мүмкүн.
- Ийилген ийнелерди колдонбоңуз.
- Тигүү учурунда кездемени тартпаңыз же түртүңүз. Ал ийнени буруп, анын сынып кетишине алып келиши мүмкүн.
- Always unplug sewing machine off ("O") when making any adjustments in the needle area, such as threading needle, changing needle, threading bobbin, or changing presser foot, and the like.
- Капкактарды алып жатканда, майлоодо же башка колдонуучуга техникалык тейлөө көрсөтмөсүн келтиргенде тигүүчү машинаны ар дайым электр розеткасынан ажыратыңыз.
- Эч качан эч кандай тешикке эч кандай нерсени түшүрбөңүз же салбаңыз.
- Сыртта колдонбоңуз.
- Аэрозолдук спрей каражаттары колдонулуп жаткан же кычкылтек колдонулган жерде иштебеңиз.
- Ажыратуу үчүн, бардык башкаруу элементтерин "өчүрүлгөн" ("O") абалына буруңуз, андан кийин сайгычты розеткадан сууруп алыңыз.
- шнурду тартып сууруп албаңыз. Электр розеткасынан сууруп алуу үчүн шнурдан эмес, сайгычтан кармаңыз.
- Кадимки иштөө шарттарында үн басымынын деңгээли 75дБ(А).
- Always turn off the machine or unplug when the machine is not operating properly.
- Бут башкаруучуга эч качан эч нерсе койбоңуз.
- If the supply cord to the foot controller is damaged, it must be replaced by the manufacturer or its service agent or a similar qualified person in order to avoid a hazard.
- Бул шайман физикалык, сезүү же акыл-эс жөндөмү начар же тажрыйбасы жана билими жок адамдар (анын ичинде балдар) үчүн, эгерде алардын коопсуздугуна жооптуу адам тарабынан көзөмөлсүз же шайманды колдонуу боюнча көрсөтмө болбосо, колдонууга арналбайт.
- Балдар шайман менен ойнобошу үчүн аларды көзөмөлгө алуу керек.
БУЛ КӨРСӨТМӨЛӨРДҮ САКТАҢЫЗ
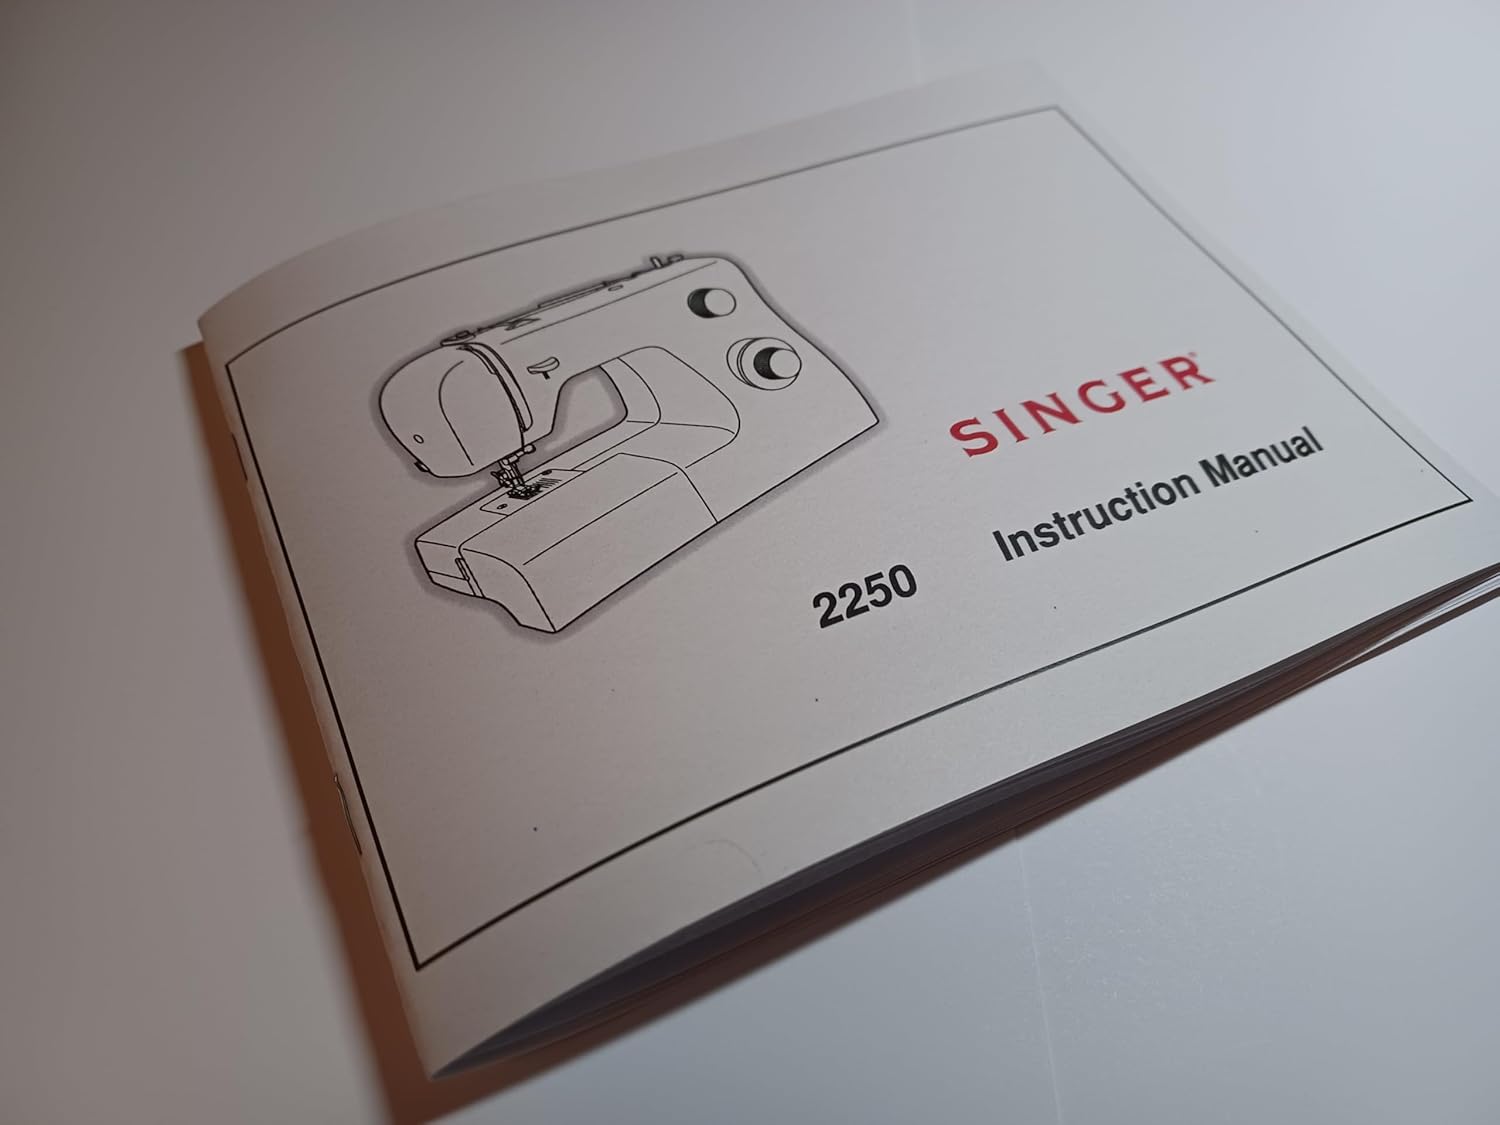
Image: Important Safety Instructions page from the Singer 2250 manual, detailing electrical and general safety warnings.
2. Орнотуу
2.1 Аксессуарлар
The Singer 2250 sewing machine comes with a set of standard accessories and supports various optional accessories for different sewing tasks.
- Стандарттык аксессуарлар: All purpose foot, Button sewing foot, Zipper foot, Screwdriver, Seam ripper/brush, Pack of needles, Bobbin (3), Darning plate, Spool holder.
- Optional Accessories (not supplied with machine, available from SINGER® retailers): Edge/quilting guide, Zipper foot, Straight stitch foot, Overcasting foot, Hemmer foot, Blind hem foot, Satin stitch foot, Cording/embroidery foot, Second spool pin, Spool pin felt.
2.2 Бобинди ороо
- Place thread and corresponding spool holder onto the spool pin.
- Snap the thread into the thread guide.
- Wind the thread counterclockwise around the bobbin winder tension disc.
- Thread the bobbin as illustrated and place it on the spindle.
- Push the bobbin spindle to the right.
- Hold the thread end.
- Step on the foot control pedal to begin winding.
- Cut the thread once the bobbin is full.
- Push the bobbin spindle to the left and remove the wound bobbin.
Эскертүү: When the bobbin winder spindle is in the "bobbin winding" position, the machine will not sew and the hand wheel will not turn. To start sewing, push the bobbin winder spindle to the left (sewing position).

Image: Manual page illustrating standard and optional accessories, and a step-by-step guide for winding the bobbin.
2.3 Connecting to Power Source
Ensure the machine's power switch is in the "O" (off) position. Insert the machine plug into the electrical outlet. Always use a grounded outlet.
2.4 Raising the Presser Foot Lifter
The presser foot lifter is located at the back of the needle bar area. Lift it to raise the presser foot for placing fabric, and lower it to hold the fabric in place for sewing.
3. Операция
3.1 Choosing Your Pattern
The Singer 2250 features a Pattern Selector Dial to choose various stitch patterns.
- Stitches indicated in black on the diagram correspond to the Pattern Selector Dial.
- For patterns indicated with the "S" color, turn the Pattern Selector Dial to "S", then use the Stitch Length Dial to adjust the desired stitch length.
- The Pattern Selector Dial can be turned in either direction.
3.2 Stitch Length Dial
The Stitch Length Dial controls the length of straight stitches and the density of zig-zag stitches.
- For Straight Stitching: Turn the Pattern Selector Dial to the straight stitch symbol. The stitch length increases as the dial approaches "4". Use longer stitches for heavier fabrics and thicker needles, shorter stitches for lighter fabrics and finer needles.
- For Zig-Zag Stitching: Turn the Pattern Selector Dial to "~~~ ". The density of zig-zag stitches increases as the setting of the stitch length dial approaches "0". Dense zig-zag stitches are known as satin stitches.

Image: Manual page detailing how to choose stitch patterns and adjust stitch length for various sewing applications.
3.3 Машинага жип салуу
Proper threading is crucial for smooth sewing. Follow these general steps:
- Жиптин катушкасын катушканын төөнөгүчүнө коюңуз.
- Жипти үстүнкү жип багыттоочулары аркылуу өткөрүңүз.
- Жипти чыңалуу дисктери аркылуу өткөрүңүз.
- Bring the thread up through the take-up lever.
- Жипти ийне тилкесинин жип жетектөөчүсү аркылуу ылдый багыттаңыз.
- Ийнени алдыдан артка сайлаңыз.
- Raise the bobbin thread by turning the handwheel towards you, catching the bobbin thread with the needle thread.
- Pull both threads under the presser foot and towards the back.
3.4 Sewing on Buttons
To sew buttons using your Singer 2250:
- Каптоочу табакты орнотуңуз.
- Change the all-purpose foot to the button sewing tool.
- Position the fabric and button under the foot.
- Lower the button to the desired position and lower the foot.
- Set the Pattern Selector Dial on "---" and sew a few securing stitches.
- Select one of the two narrow zig-zag patterns (between 0.5 and 1.5) and sew through both holes of the button. Turn the handwheel to check needle clearance.
- Slowly sew the button with about 10 stitches.
- Select pattern "---" again and sew a few securing stitches.
- If a shank is required, place a darning needle on top of the button and sew.
- For buttons with 4 holes, sew through the front two holes first, then sew backwards and then sew through the back two holes.
3.5 Installing the Removable Extension Table
The removable extension table provides a larger work surface and also serves as an accessory box.
- Орнотуу үчүн: Hold the removable extension table horizontally and push it in the direction of the arrow until it clicks into place.
- Алып салуу үчүн: Pull the extension table towards the left.
- The inside of the removable extension table can be used as an accessory box. To open, flip the cover down.
4. Техникалык тейлөө
4.1 Darning Plate
The darning plate is used for specific tasks like darning or free-hand embroidery.
- Орнотуу: Install the darning plate as illustrated in the manual.
- Алып салуу: Кадимки тигүү үчүн, тартынуучу табакты алып салыңыз.
- For free-motion sewing, a darning/embroidery foot (optional accessory) is recommended.
4.2 Inserting & Changing Needles
Regularly change your needle, especially if sewing problems occur. Use SINGER® Brand Needles for best results.
- Turn the power switch to off ("O").
- Ийне клинасын бошотуңузamp бурама.
- Insert the new needle with the flat side of the shaft facing the back, pushing it up as far as it will go.
- Ийне clamp бурама.
Көңүл буруңуз: Needles must be in perfect condition. Problems can occur with bent needles, damaged points, or blunt needles.
4.3 Changing the Bulb
To change the light bulb, ensure the machine is unplugged. Replace the bulb with the same type rated 15 watts (110-120V area) or 15 watts (220-240V area).
4.4 Тазалоо
Regularly clean the lint and dust from the bobbin case area and feed dogs using the provided brush. Ensure the machine is unplugged before cleaning.
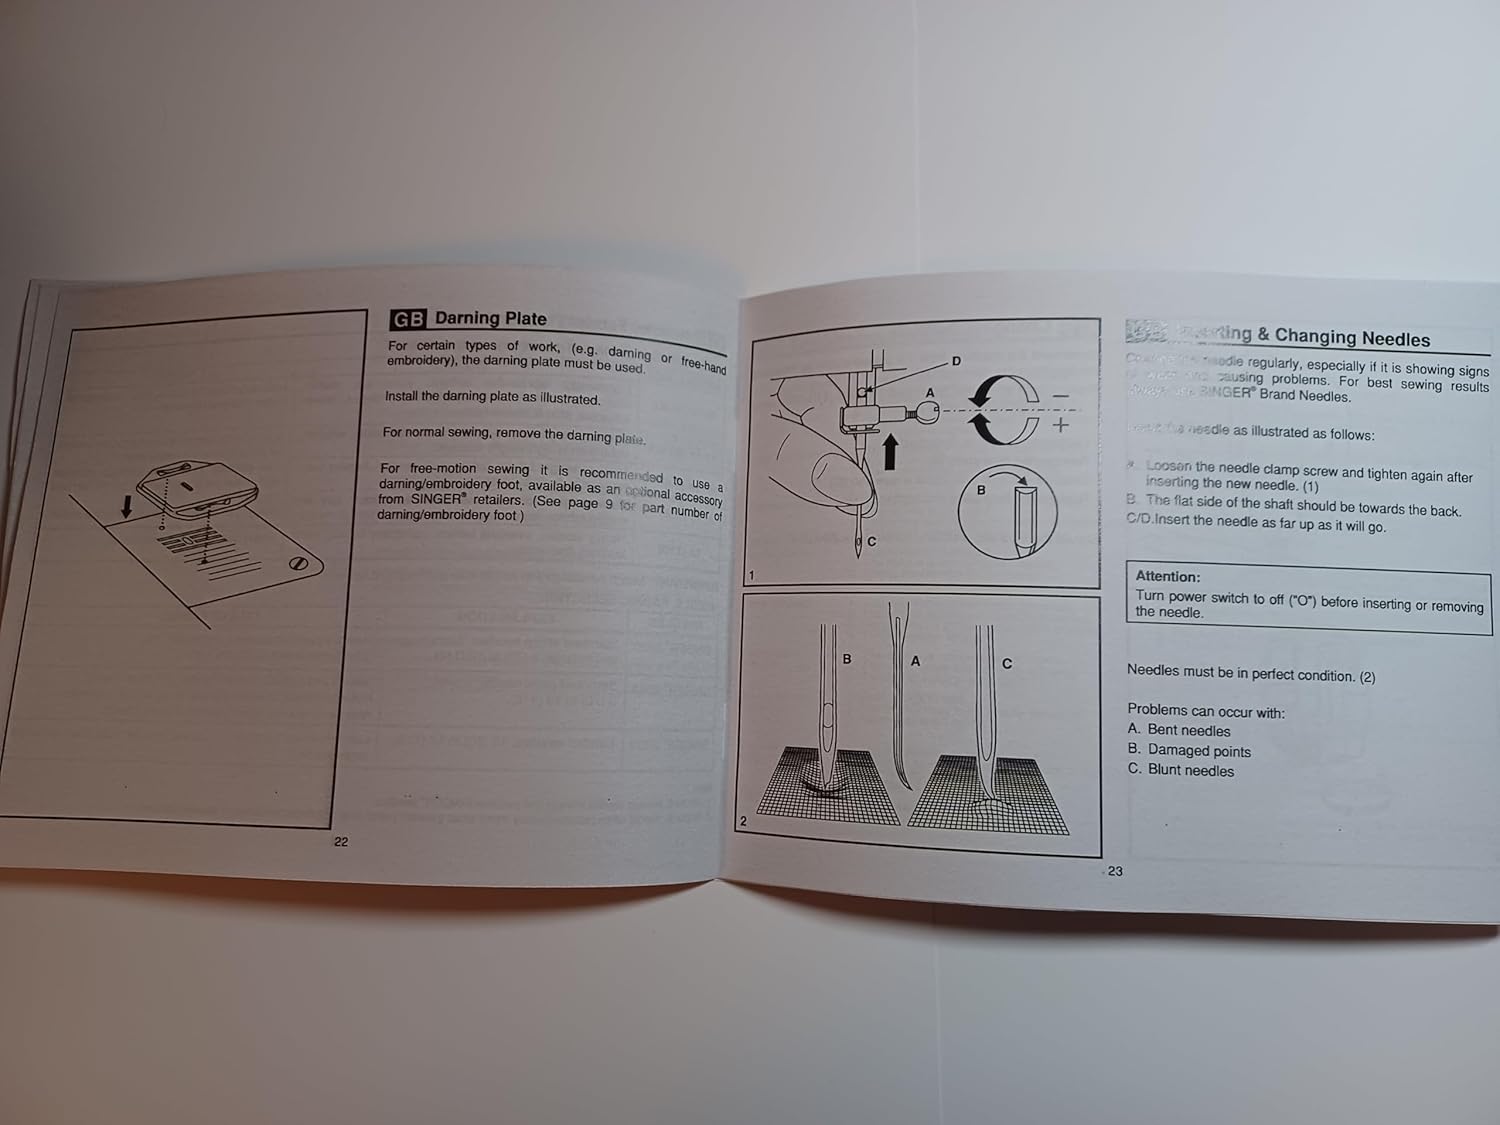
Image: Manual page illustrating procedures for sewing on buttons, installing the extension table, using the darning plate, and changing needles.
5. Кыйынчылыктарды
If you encounter issues with your Singer 2250, refer to the following common problems and solutions:
- Өткөрүлүп жиберилген тигүү: Ensure the needle is inserted correctly, not bent, and is the appropriate size for the fabric and thread. Re-thread the machine.
- Жипти үзүү: Check for correct threading, proper tension, a bent or blunt needle, or burrs on the needle plate or bobbin case.
- Кездемени бырыштыруу: Adjust tension settings, use the correct needle size, or ensure the presser foot pressure is appropriate for the fabric.
- Машина менен азыктандырылбаган кездеме: Check if the feed dogs are raised. Ensure the presser foot is lowered.
- Ызы-чуу операциясы: Clean and lubricate the machine as per maintenance instructions. Check for loose parts or a bent needle.
For persistent problems, contact an authorized Singer service center.
6. Техникалык шарттар
| Продукциянын өлчөмдөрү | 8.5 x 5.5 x 0.1 дюйм |
| Элемент Салмагы | 3 унция |
| Модель номери | SINGER 2250 Manual |
| Өндүрүүчү | TabSynth Design (for reproduction manual) |
| ASIN | B0G19M5M63 |
7. Кепилдик жана колдоо
This instruction manual is a reproduction for the Singer 2250 Sewing Machine. For warranty information regarding your Singer 2250 sewing machine, please refer to the original documentation provided with your machine or contact Singer customer support directly.
For support related to the operation or maintenance of your Singer 2250, please consult this manual. If further assistance is needed, contact an authorized Singer service center or your local Singer dealer.